I attended a quick meeting at the beekeepers association yesterday... our president of the club called and said "Good news. Instead of showing up at 1pm like everyone else, you've been selected to get special training at 8am with 5 or so other people." Personally I'm an 11am kind of guy but this was good. The emphases was on insect photography, and I got a quick crash course from someone who trains scientists and field workers at the USDA.
The camera I'm using (featured left) has excellent macro and is probably the best thing you can buy without upgrading to a real camera you have to worry about lenses with. I was kind of the black sheep though as I was the only person who had one. Everyone else was using an expensive Nikon SLR with a fancy macro lens.
Search Amazon.com for nikon slr digital camera
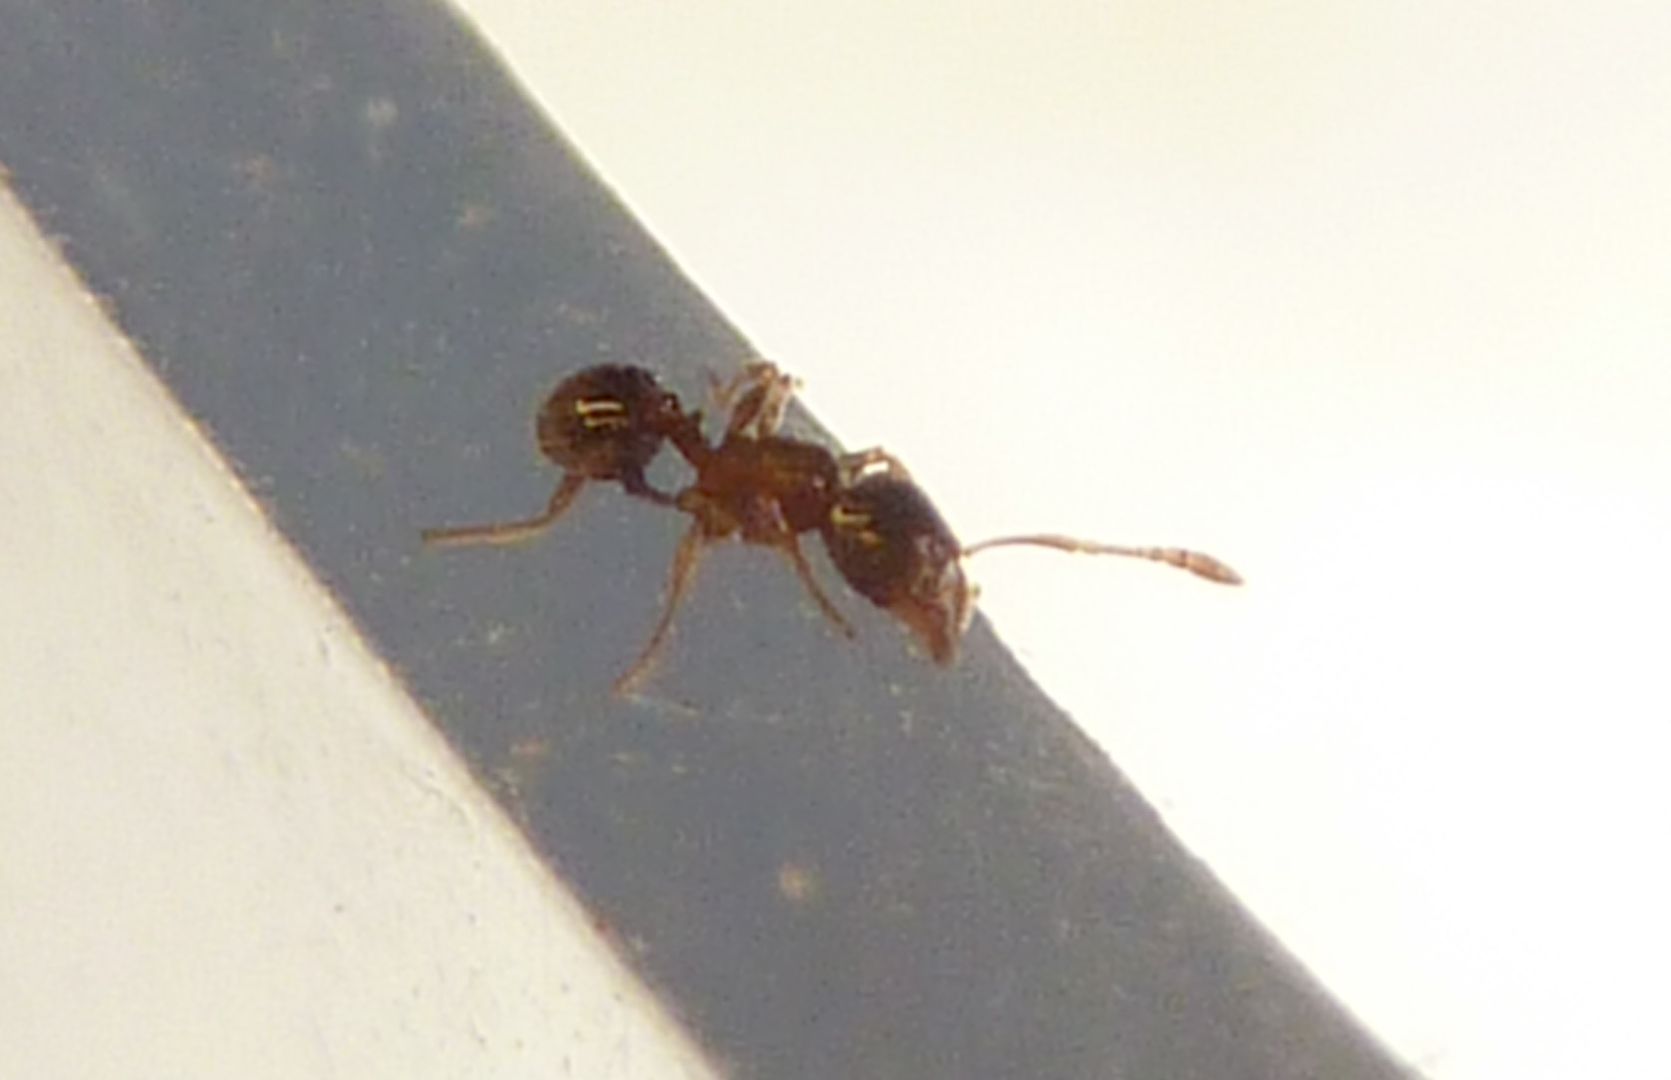
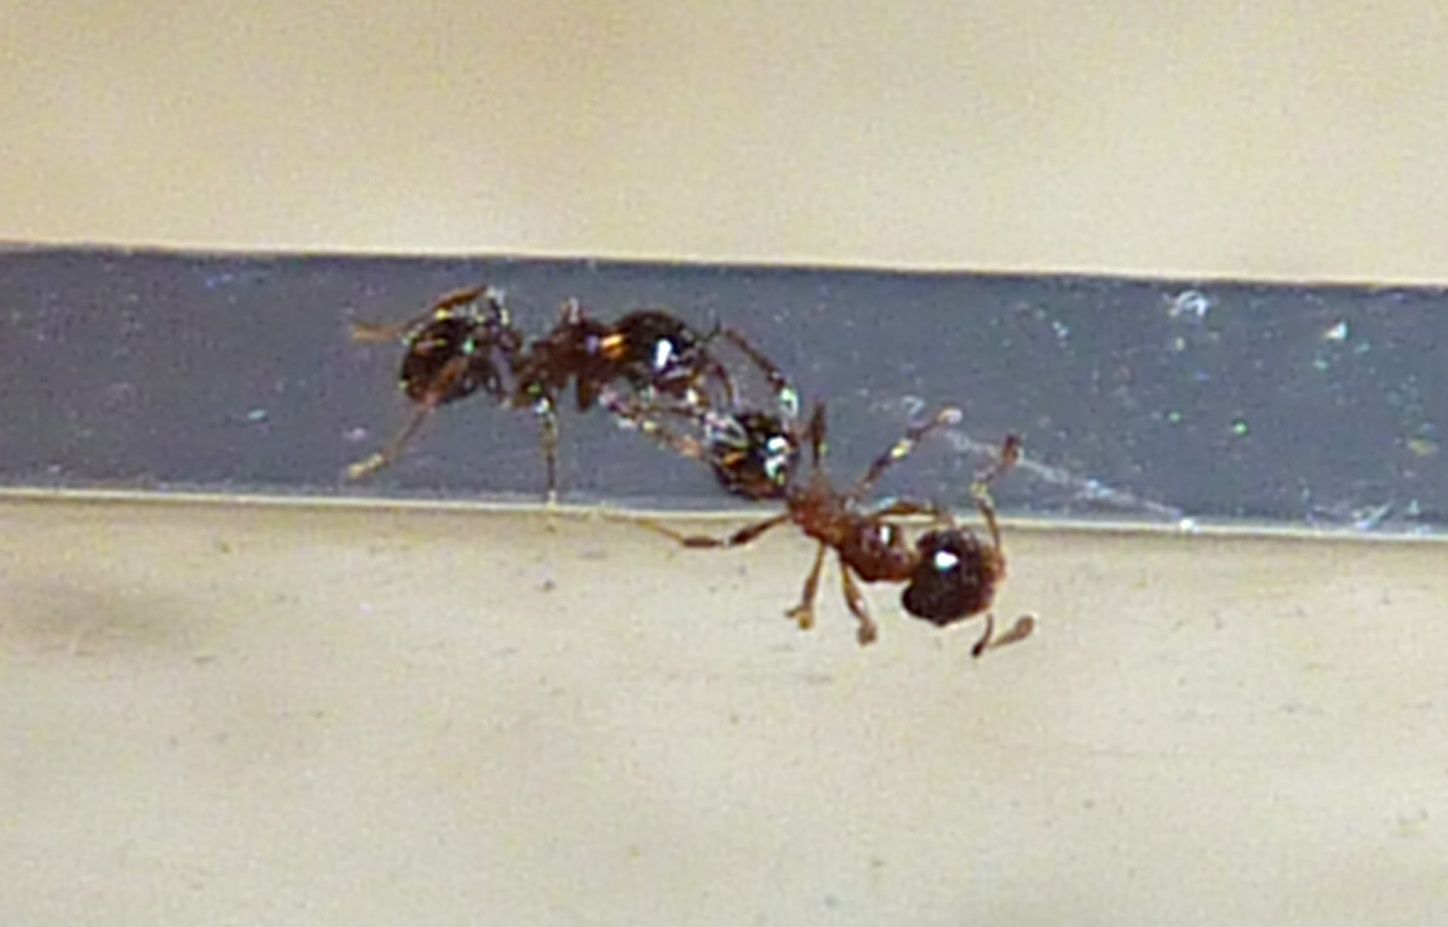
Basically with an SLR you can stand 1 to 2 feet away from the subject. With my camera I'm usually 1 to 2 inches, depending on the size of the subject. Focus on SLR's can be set manually. Auto focus is awful with macro images. More often than not it focuses on the background and turns the ant or whatever into a blurry image in the foreground. Putting your hand infront or just behind the subject and letting it focus on that is a way to get around this but not ideal for most subjects. Shifting toward or away from the subject can then be done.
The Instructor is a huge fan of Flash. Before today I typically hated flash. I'd only use it at night and or when lighting conditions are not ideal. It seemed like using a flash with macro, especially when you have to stand 1 inch from the subject, was overkill lighting. She showed me a trick though with my camera. Simply placing paper over the flash (but not the sensor) to diffuse it makes all the difference.
So after the crash course was over it was time to hit the field and start taking pictures. As much as I wanted to use one of the Nikons I stuck with my camera because I wanted to take the photos home with me. Afterward we went over the pictures we took, and while I was clearly the only one having focus issues she was impressed with the pictures I took. She even said I have "The Eye" for this sort of thing. So here are some images I was able to take in the 2 hours we had.
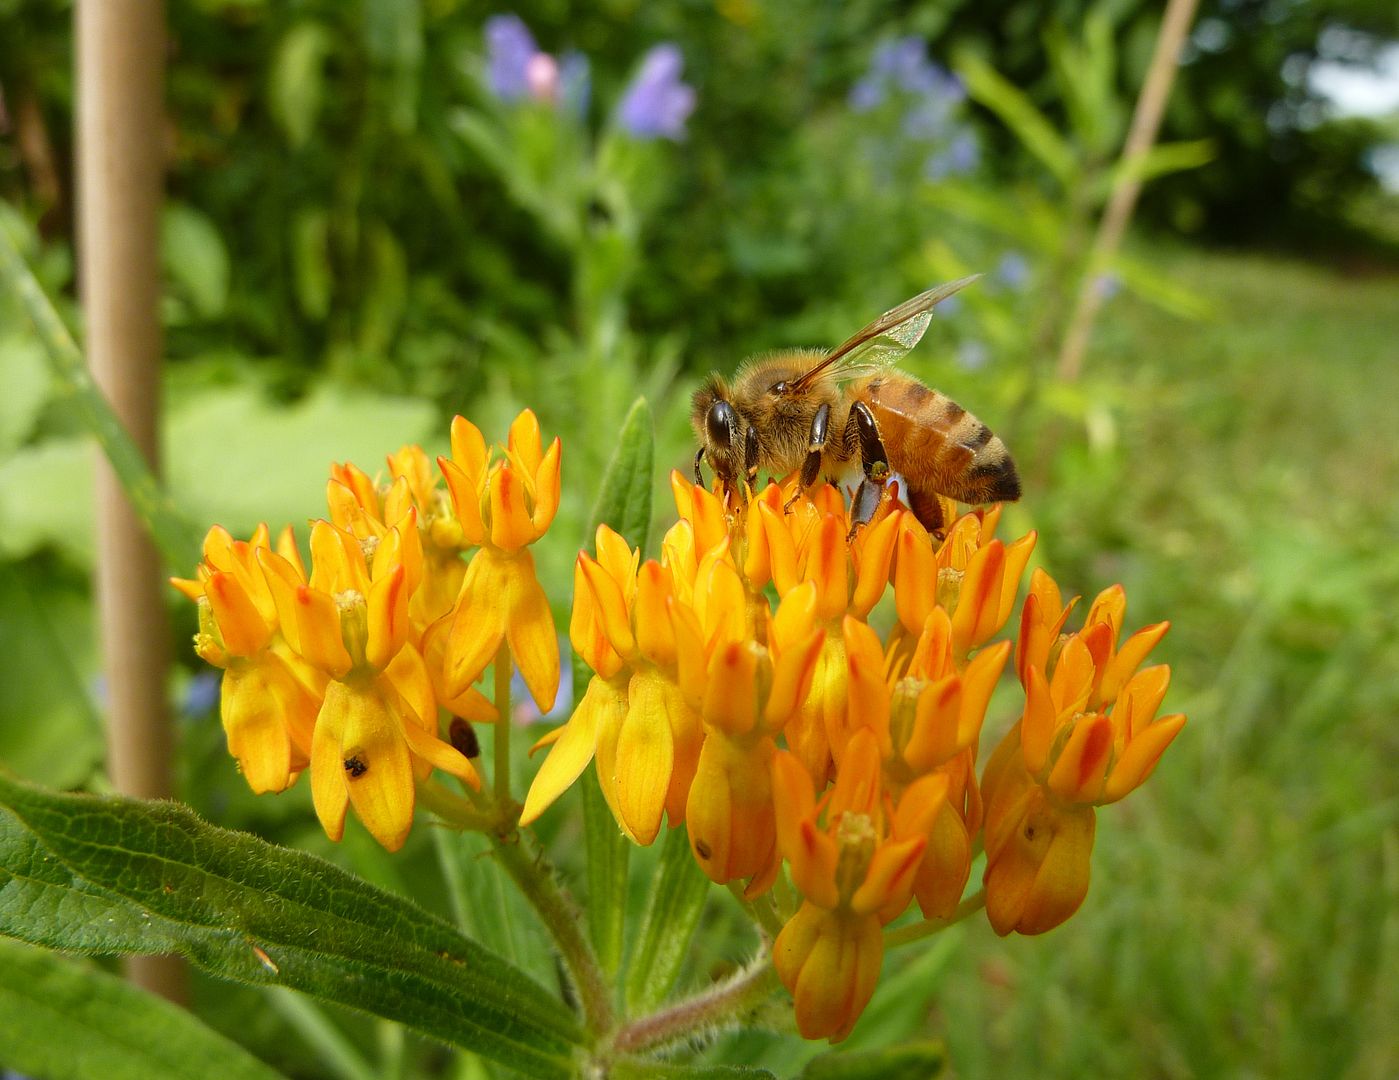
You can barely tell I used a flash but it's there. I didn't color correct anything to this image in photoshop. The most I did was crop it down some. Had I not used the flash basically the right half of the flower and bee would have been much darker, but here (partly thanks to the intensity of the flower color) it's almost glowing.
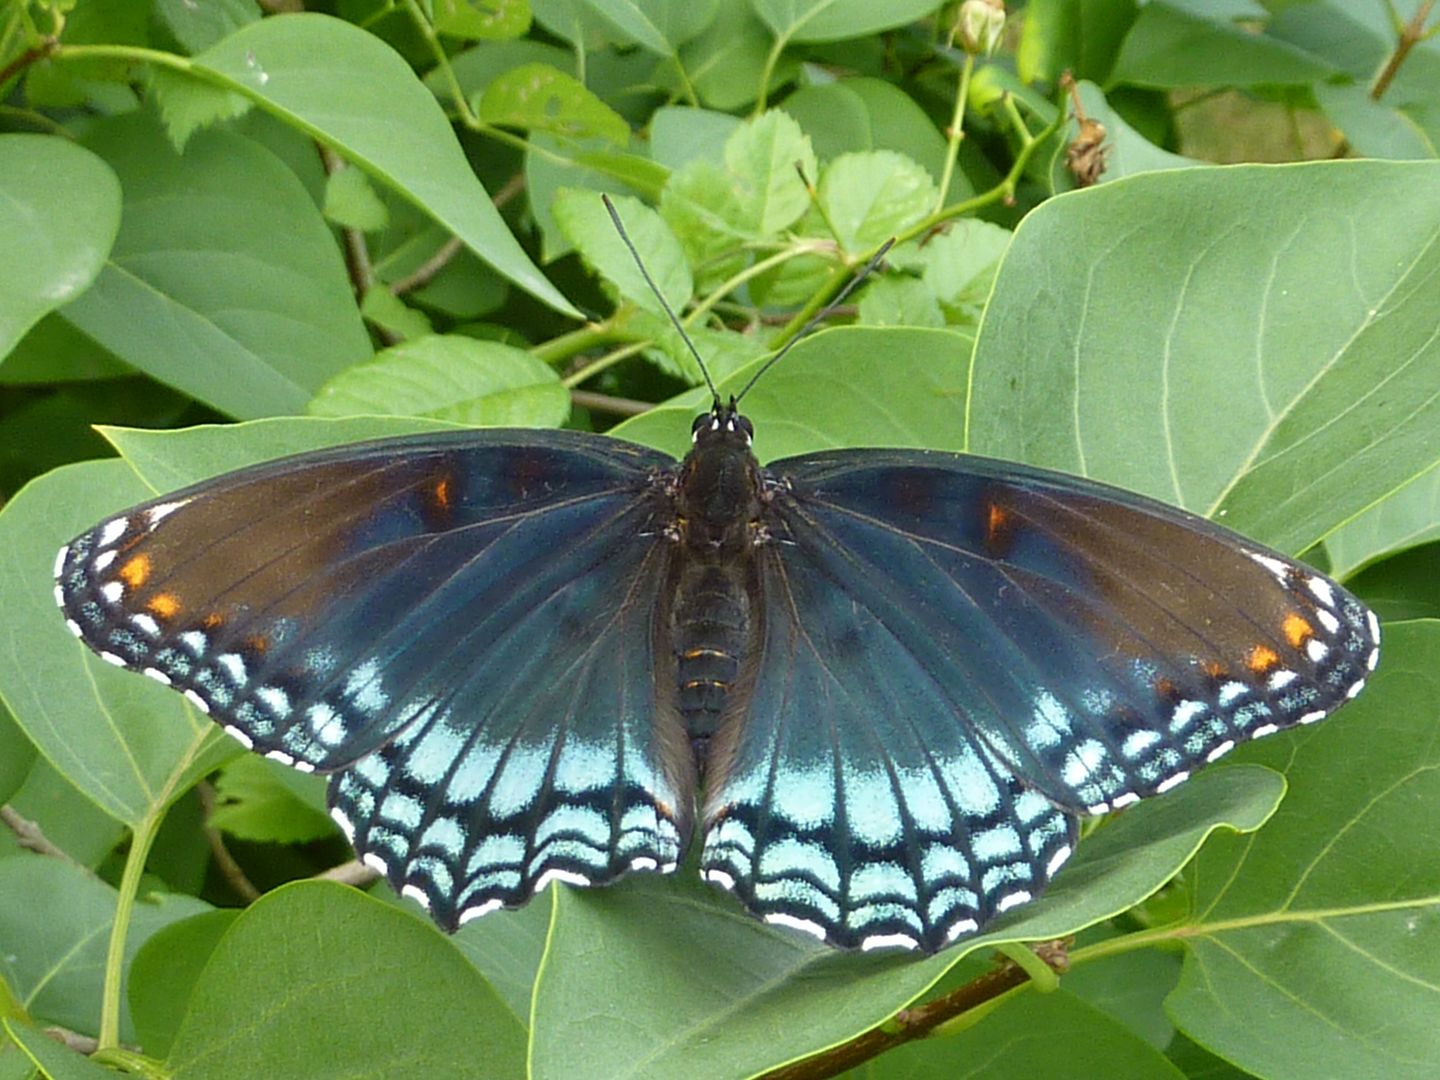
The colorful wings to a Red-Spotted Purple,
Limenitis arthemis, are illustrated beautify. The spots in the middle of the wings don't always come out in photos. The turquoise hue can also appear quite black from what I've seen. But here there's just enough flash that all the pigments show up beautify. I've been looking at images around the web, such as
BugGuide and I'd say I did well for myself... at least with the color form of this butterfly. One color form is called the White Admiral for it's white stripes, and with others the turquoise isn't as pronounced up the wing, some lack the orange spots entirely. Had I not diffused the flash the leaves would have become very glossy and the effect on the wings would likely have been lost.
(As a side note this butterfly was being unusually cooperative. I suspect it was freshly hatched.)
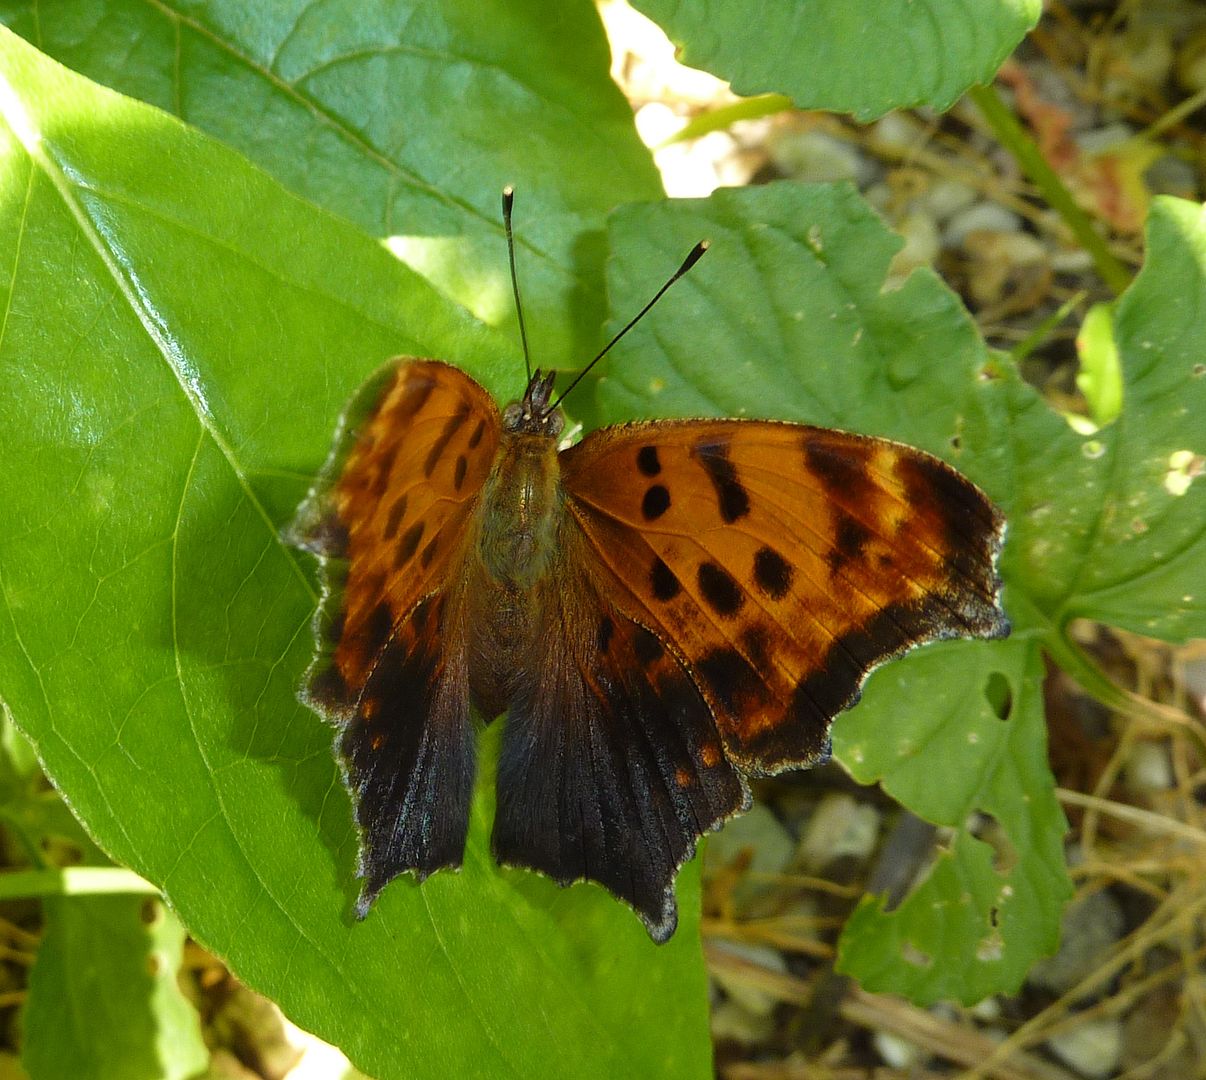
What I believe to be a Question Mark,
Polygonia interrogationis was sunbathing in her flower bed. I still don't understand the common name. The instructor was amazed at this. Not because it's a good photo but because she had no idea such pretty things were in her garden.
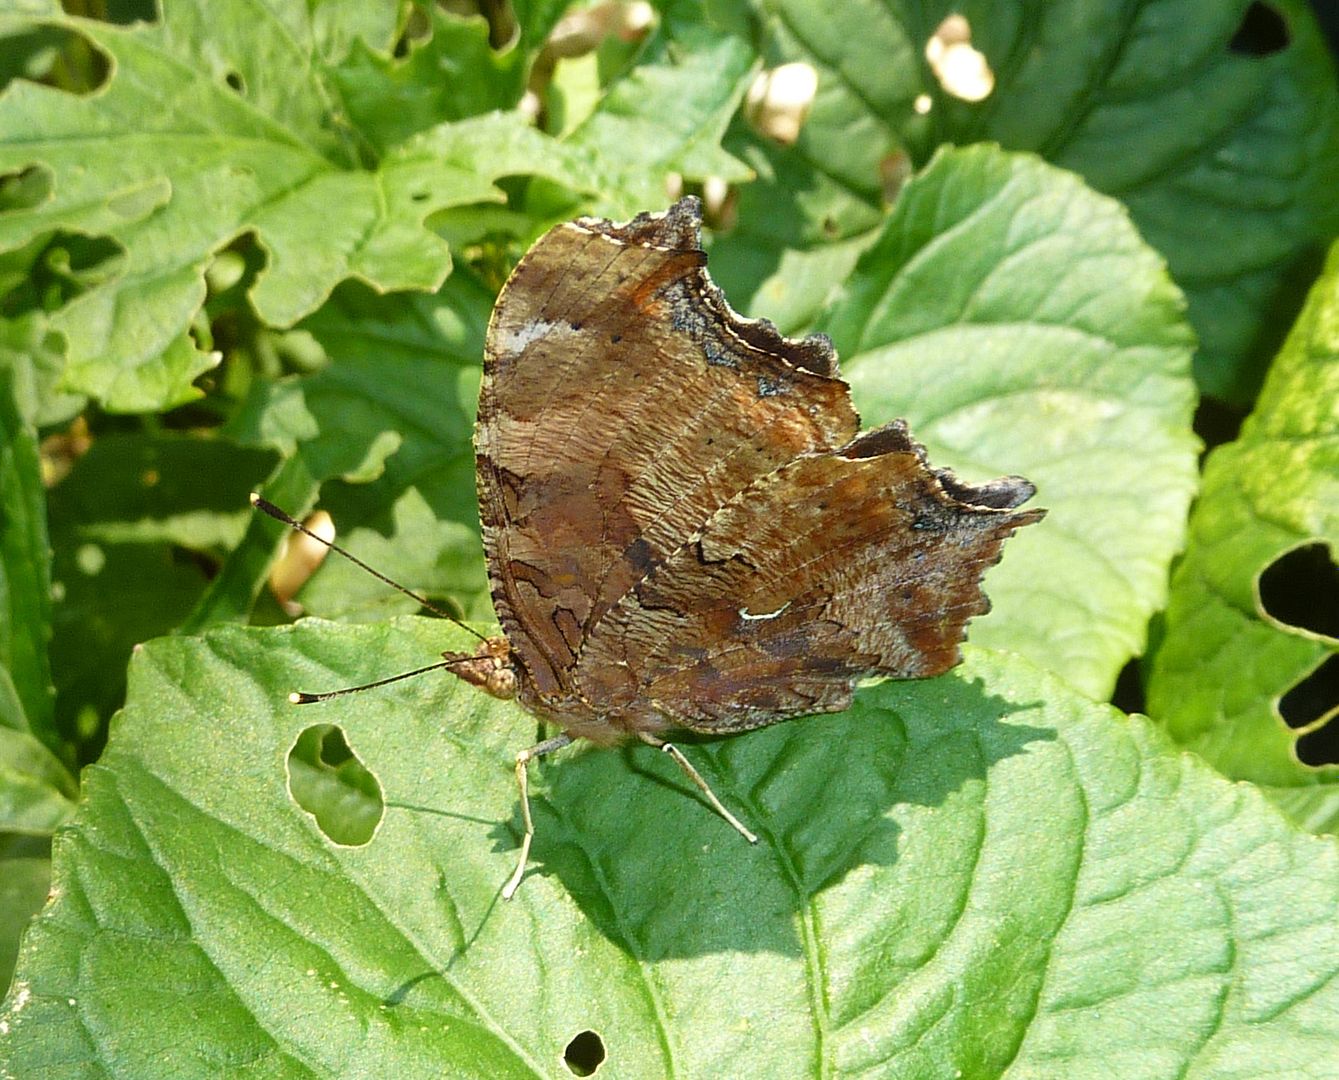
Here is the same Question Mark on a Violet leaf. I didn't cover the flash this time so the butterfly seems unnaturally illuminated. The leaf is also shining to much to seem right. The afternoon sun also created a bit of a shadow underneath. I kept the picture though to show off what the butterfly looks like when it's wings are closed. It goes from a jewel in the sky to a ratty looking leaf in an instant.
Here is the same butterfly in more natural lighting, without a flash. The vibrant colors aren't brought out, I can barely make out the white rim of the wings, and texture to the dark parts are lost. It's still the afternoon but the harsh sun is being filtered by leaves to the plant above.
A lot of these issues can be cleared up in photoshop. But frankly I looked at everyone else's pictures and I think mine were in the most desperate need of touch up work. I can only dream of the day when I upload 200 images from my camera and don't have to spend at least a half hour deleting the bad ones and working on the good ones. There have been days when I've spent hours just working on a dozen images. The best images I've taken though are the ones I don't need to touch at all.