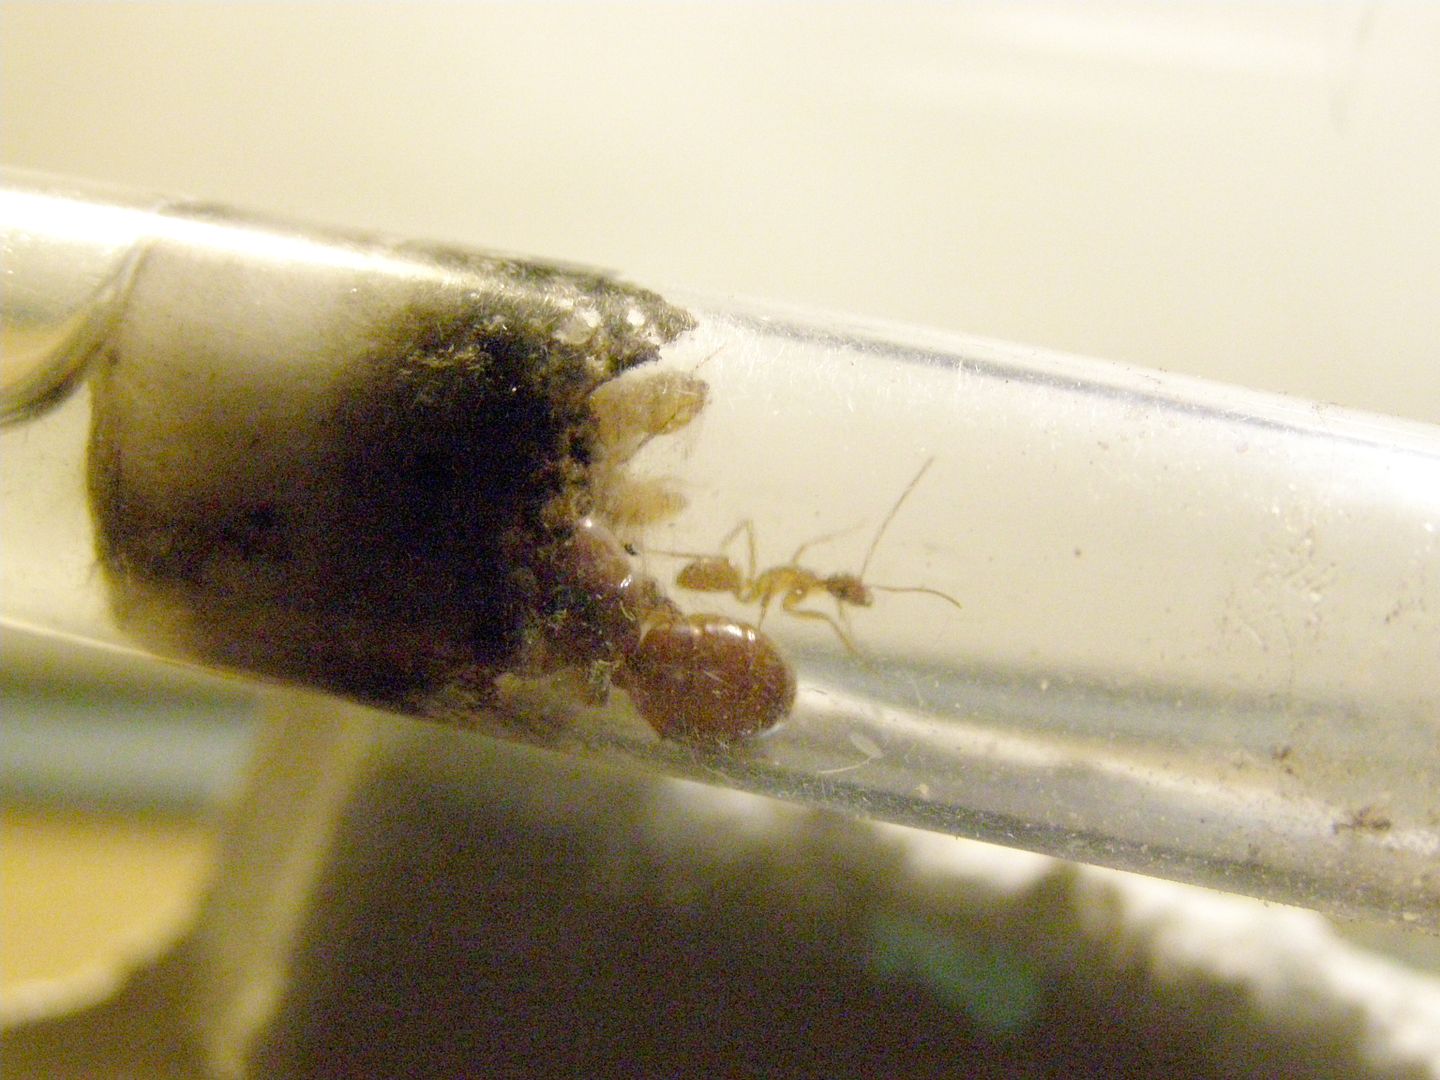
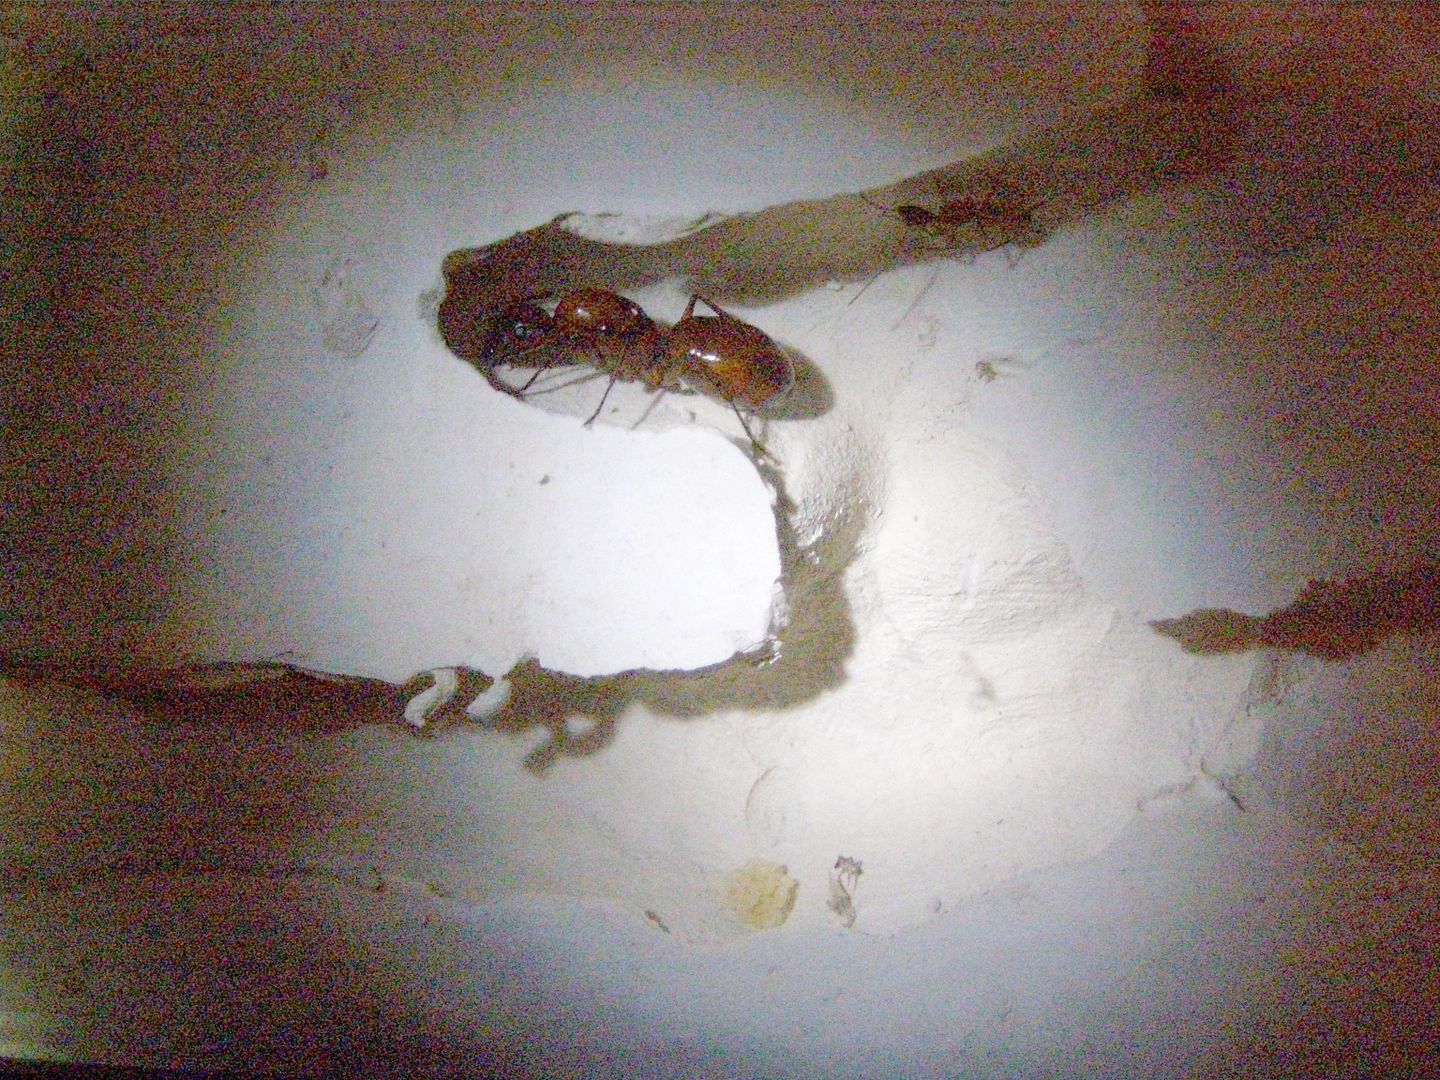
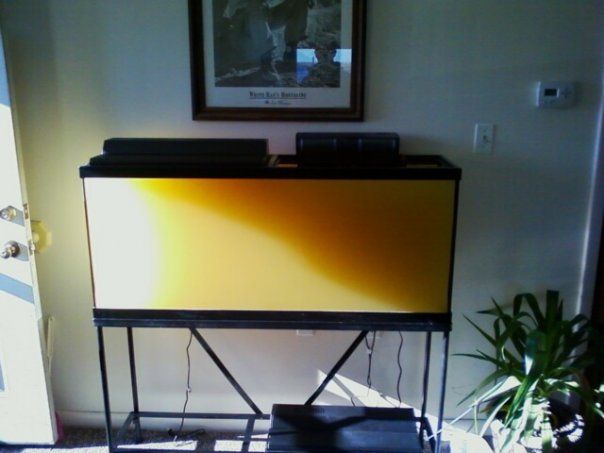
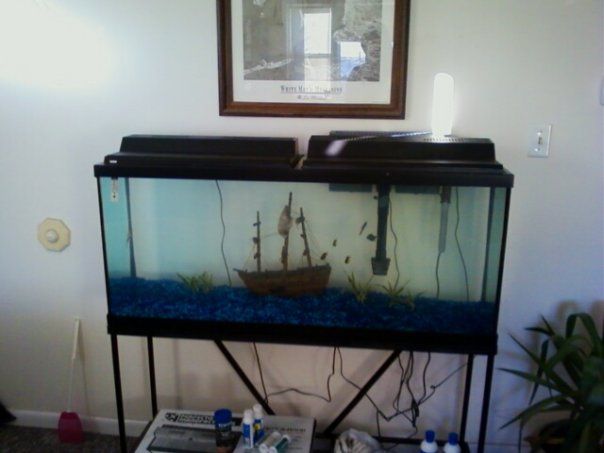
For Christmas I bought my brother a nice big 55 gallon fish aquarium. What I didn't think about was how he lives down by the Bay now. All his water comes from well reserves. I knew he liked to drink alcohol a lot but didn't realize his brackish water was the reason why.
What makes this hilarious is how my dad always brags about how clean such sources are. A river my brother lives by in particular is something my dad always highlighted. I'm thinking about framing this picture with the caption "New Jersey's Freshest" or something like that.
It's good to know the filter works! The water cleared right up after only a day or two.
Tuesday, December 29, 2009
Saturday, December 26, 2009
The Day After
Another Christmas come and gone and still I didn't get what I really want, a big box of ants. But I'm tankful for what I did get though and that's all that matters.
Friday, December 25, 2009
December the 25th
All hale Sinter Claus, Norse God of Thunder. May he rain hot coals down upon the wicked and blast the kind hearted with the bolt of joy.
Oh and Merry Christmas too.
Tuesday, December 22, 2009
Almost Covered
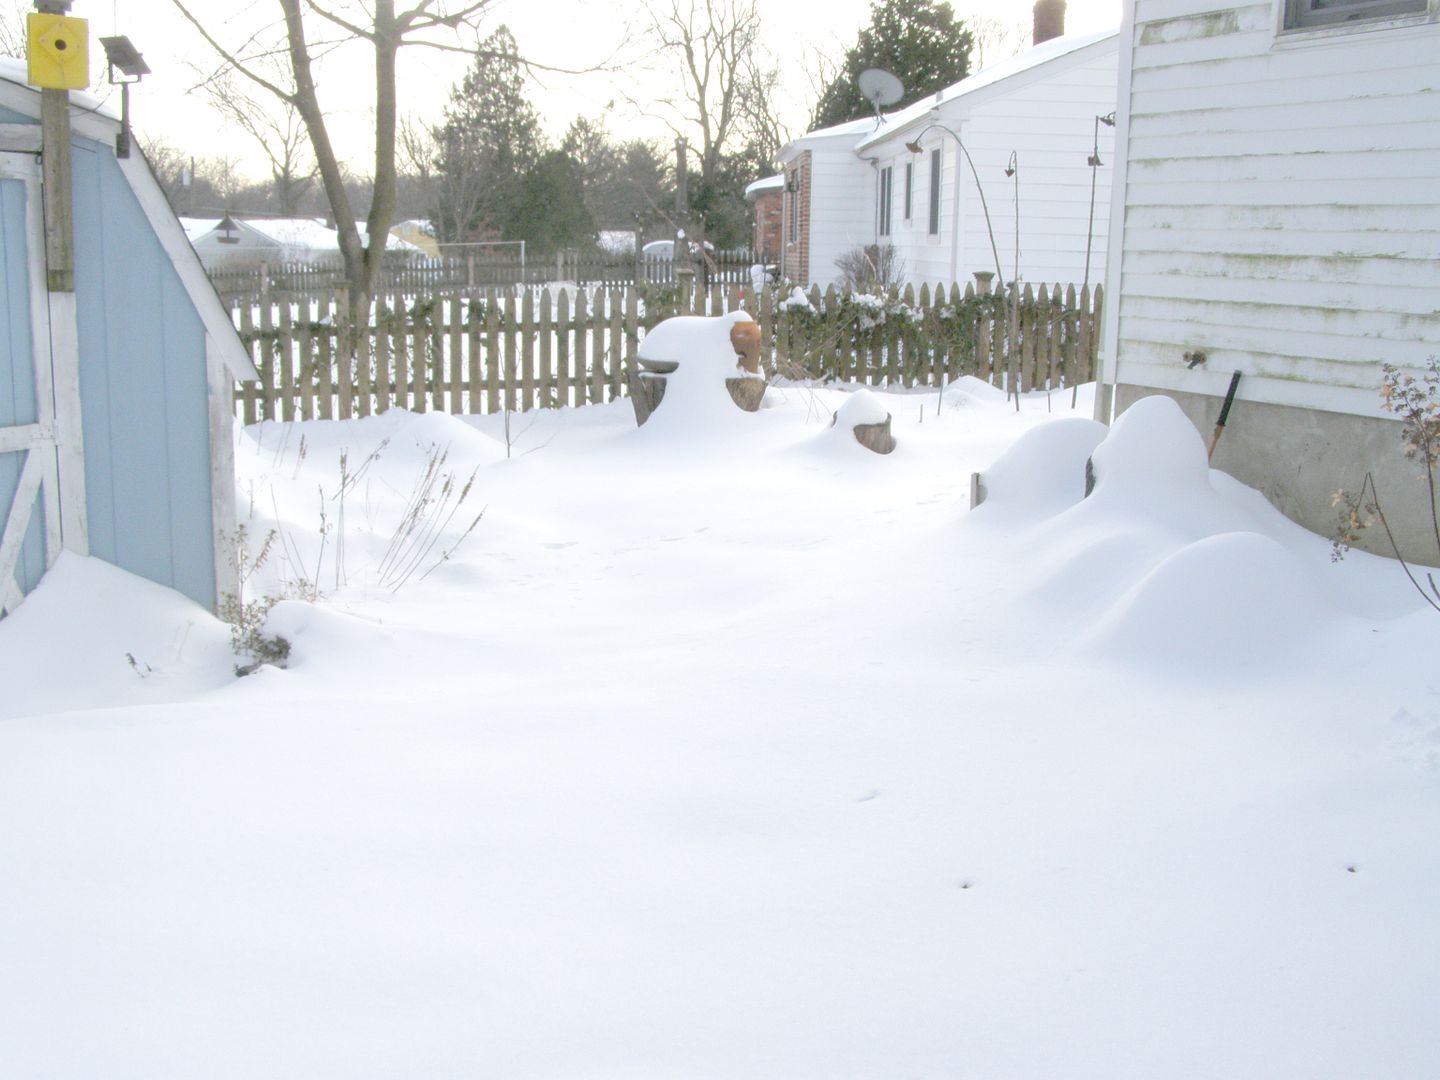
Click here just a sec. It's a NASA satellite photo of the east coast. My house is a white dot somewhere in southern NJ, closer to PA. All that snow we got was impressive enough to be viable from space. In some parts of the world that's not uncommon but I can't remember the last time we got this much snow. For the past couple of years it's snowed here maybe twice and almost always in January or February. And it's was never anything really worth noting. It would be 4 inches ... or so the weather man would say and we'd get a dusting that would be gone later that day.
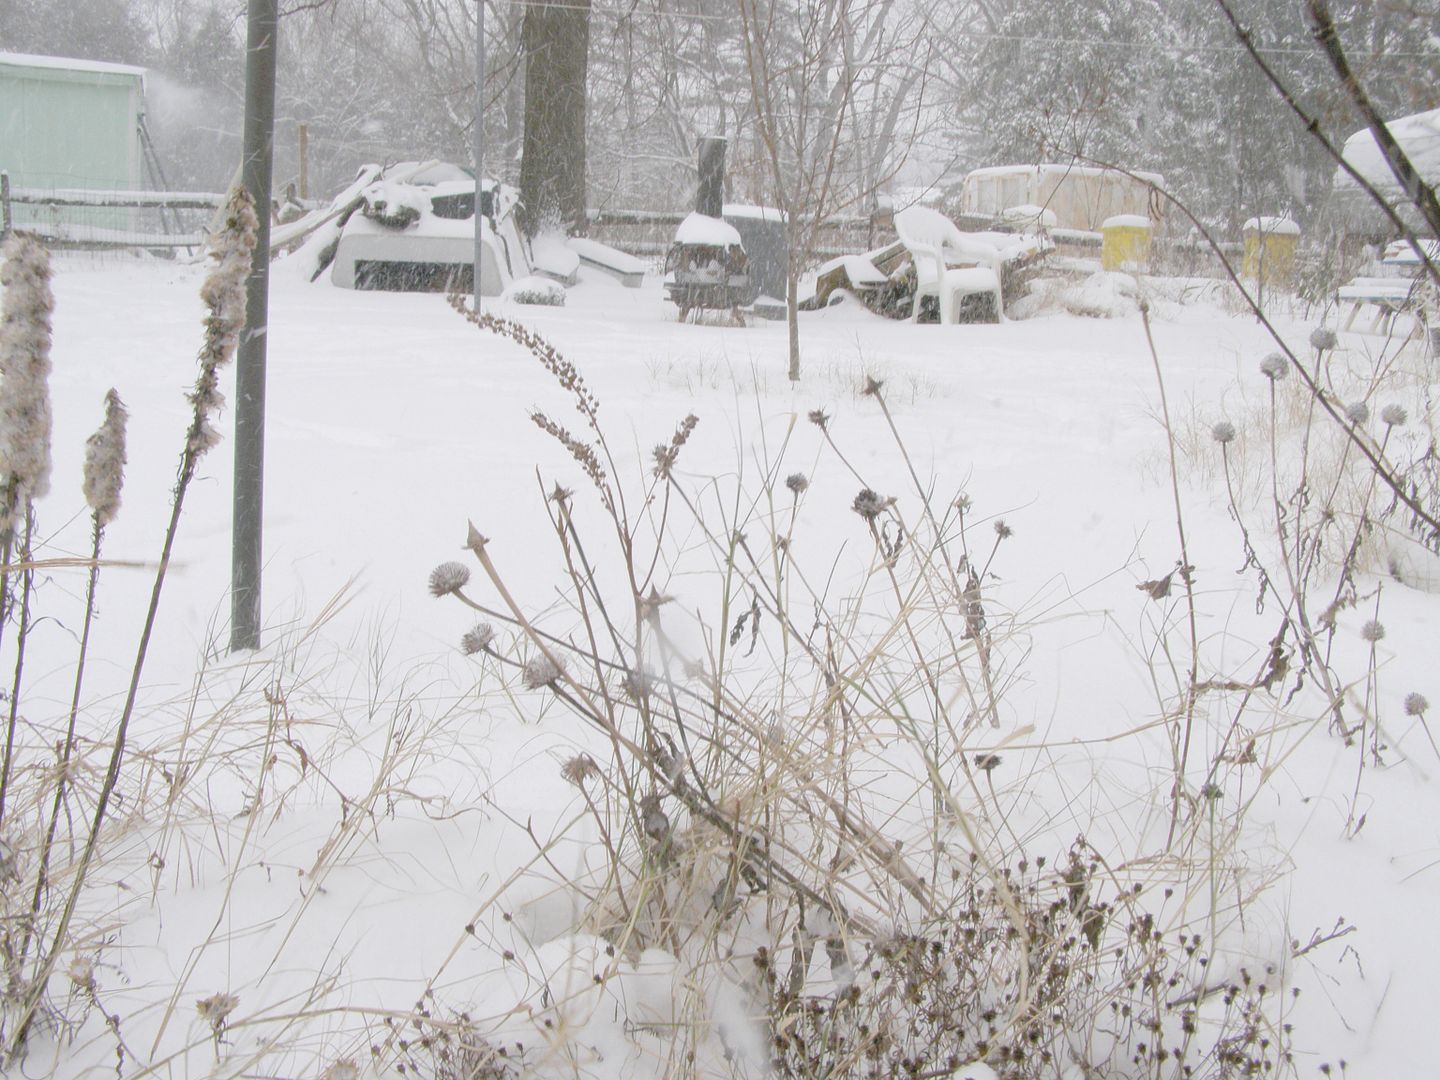
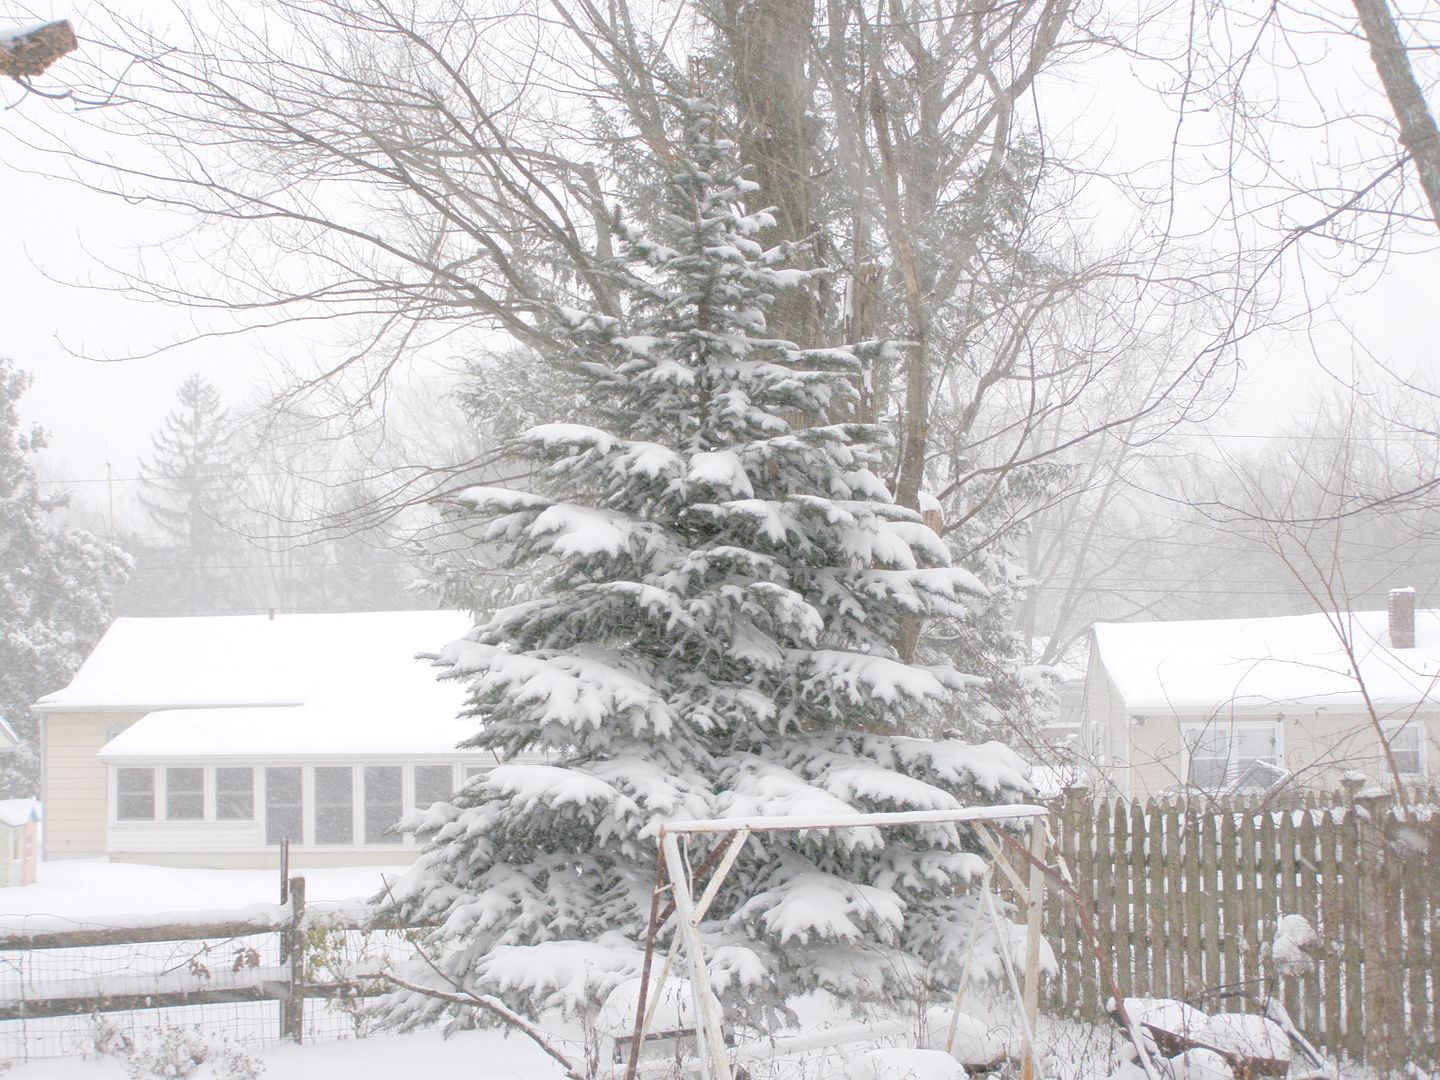
So going back to my yard, earlier photos were taken while the snow was coming down.
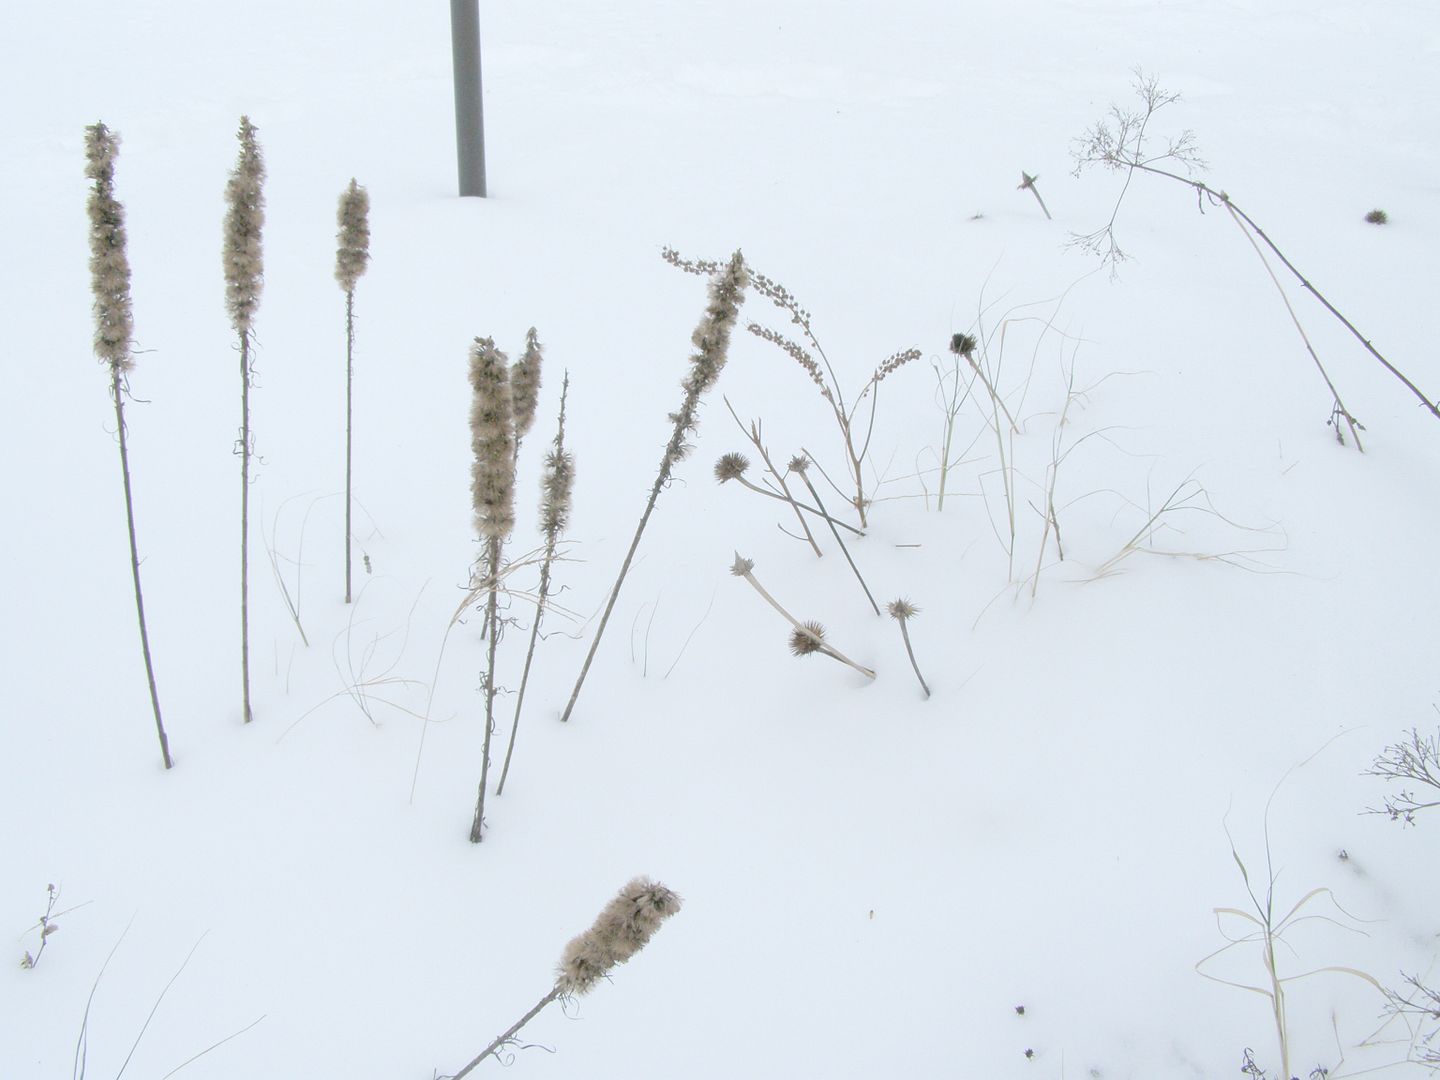
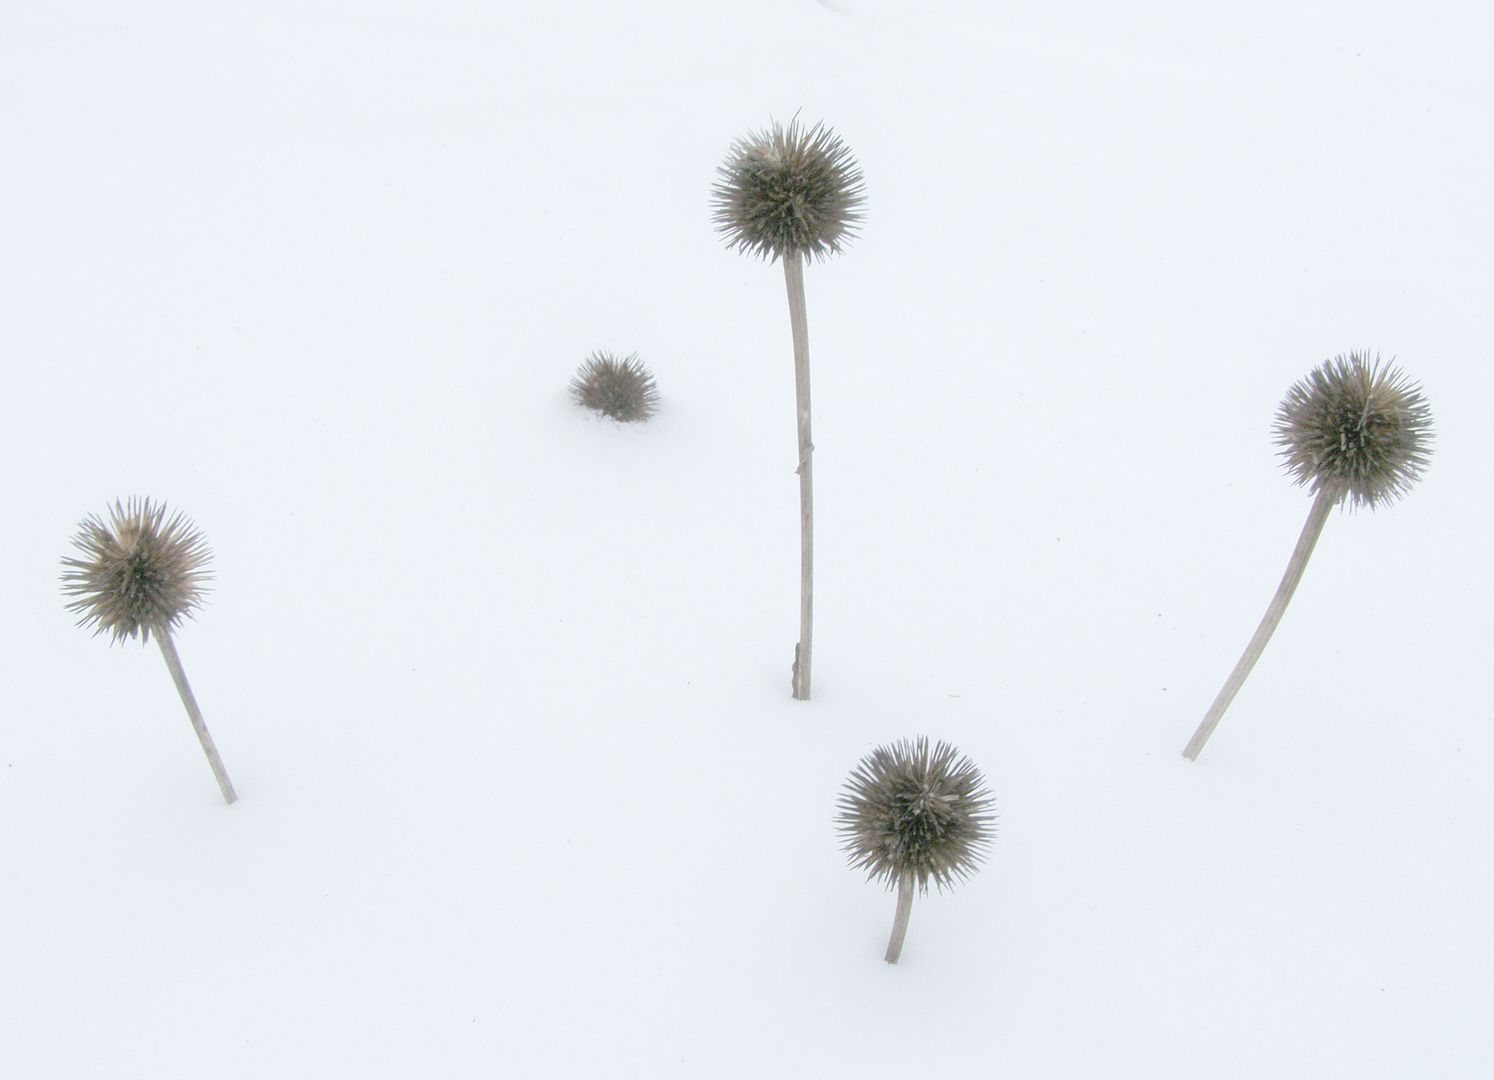
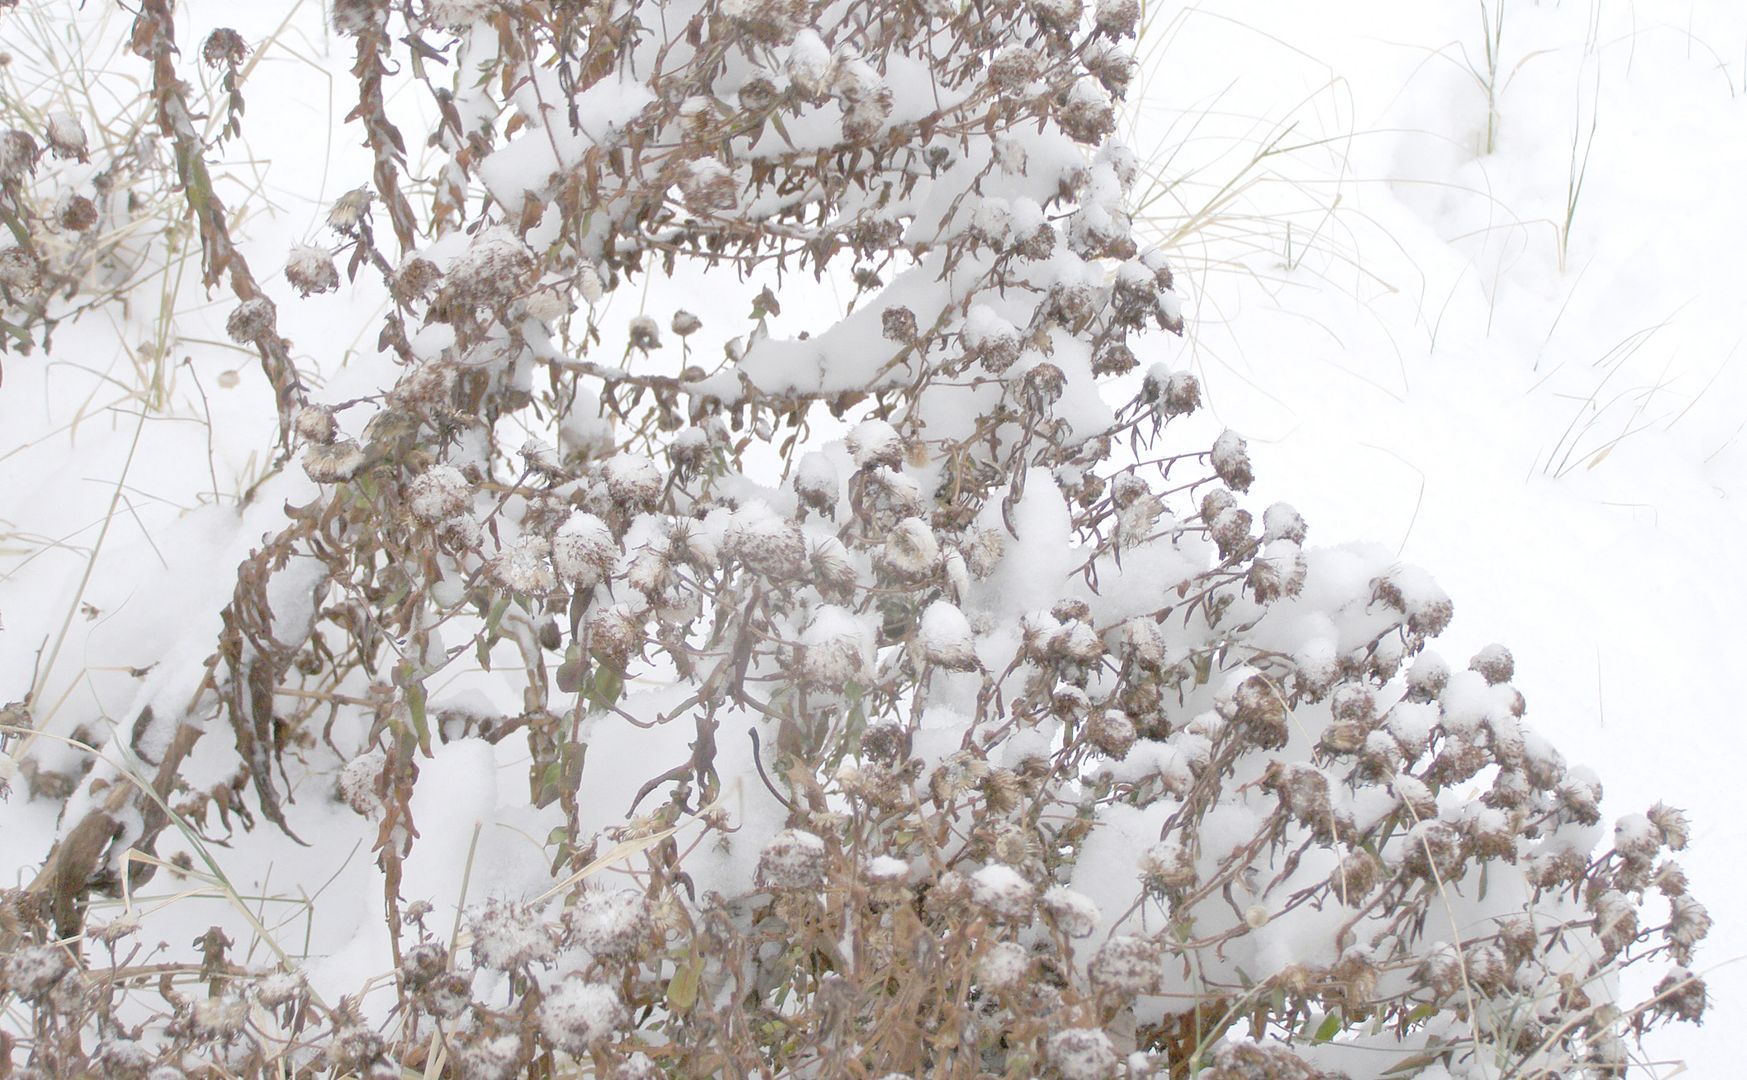
There is still plenty out there for the birds to eat, it's just a lot of the smaller plants like Coreopsis, and most of the Coneflowers are under the snow. They'll just get eaten later on. Also the Coreopsis variety I have doesn't get very tall.
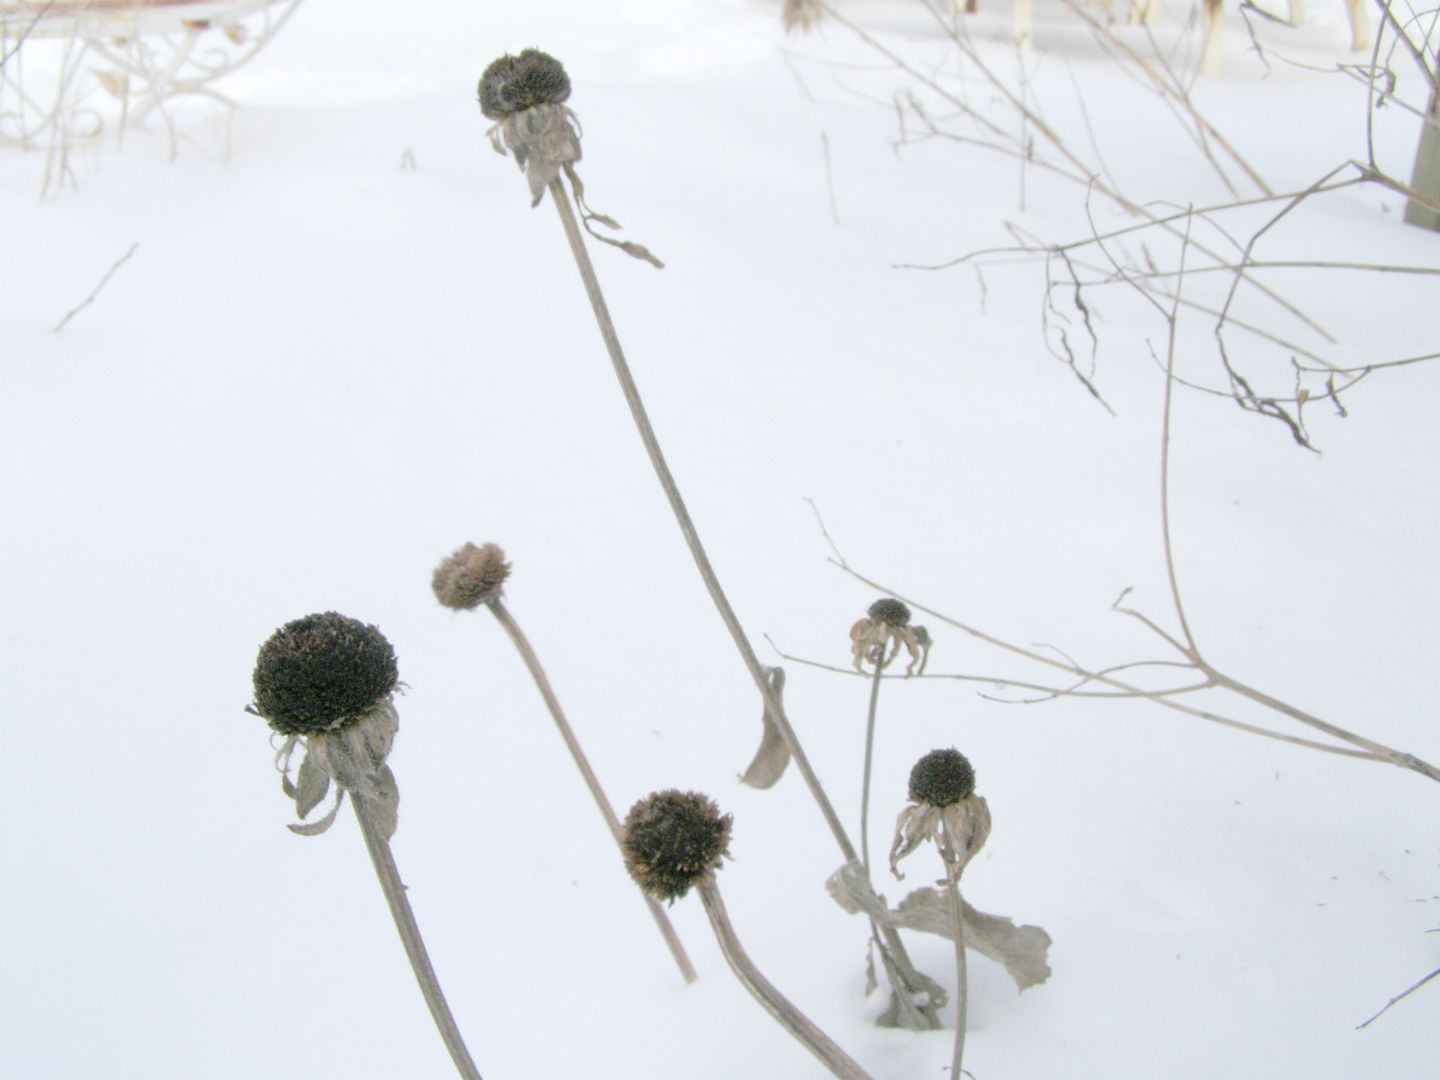
Black Eye'd Susan's are still up in abundance.
Most of the yard though is a barren waste land. Pretty but useless... unless you like snowmen.
So going back to my yard, earlier photos were taken while the snow was coming down.
Before
Before
After
After
There is still plenty out there for the birds to eat, it's just a lot of the smaller plants like Coreopsis, and most of the Coneflowers are under the snow. They'll just get eaten later on. Also the Coreopsis variety I have doesn't get very tall.
Black Eye'd Susan's are still up in abundance.
Most of the yard though is a barren waste land. Pretty but useless... unless you like snowmen.
Monday, December 21, 2009
Guarded Entrances
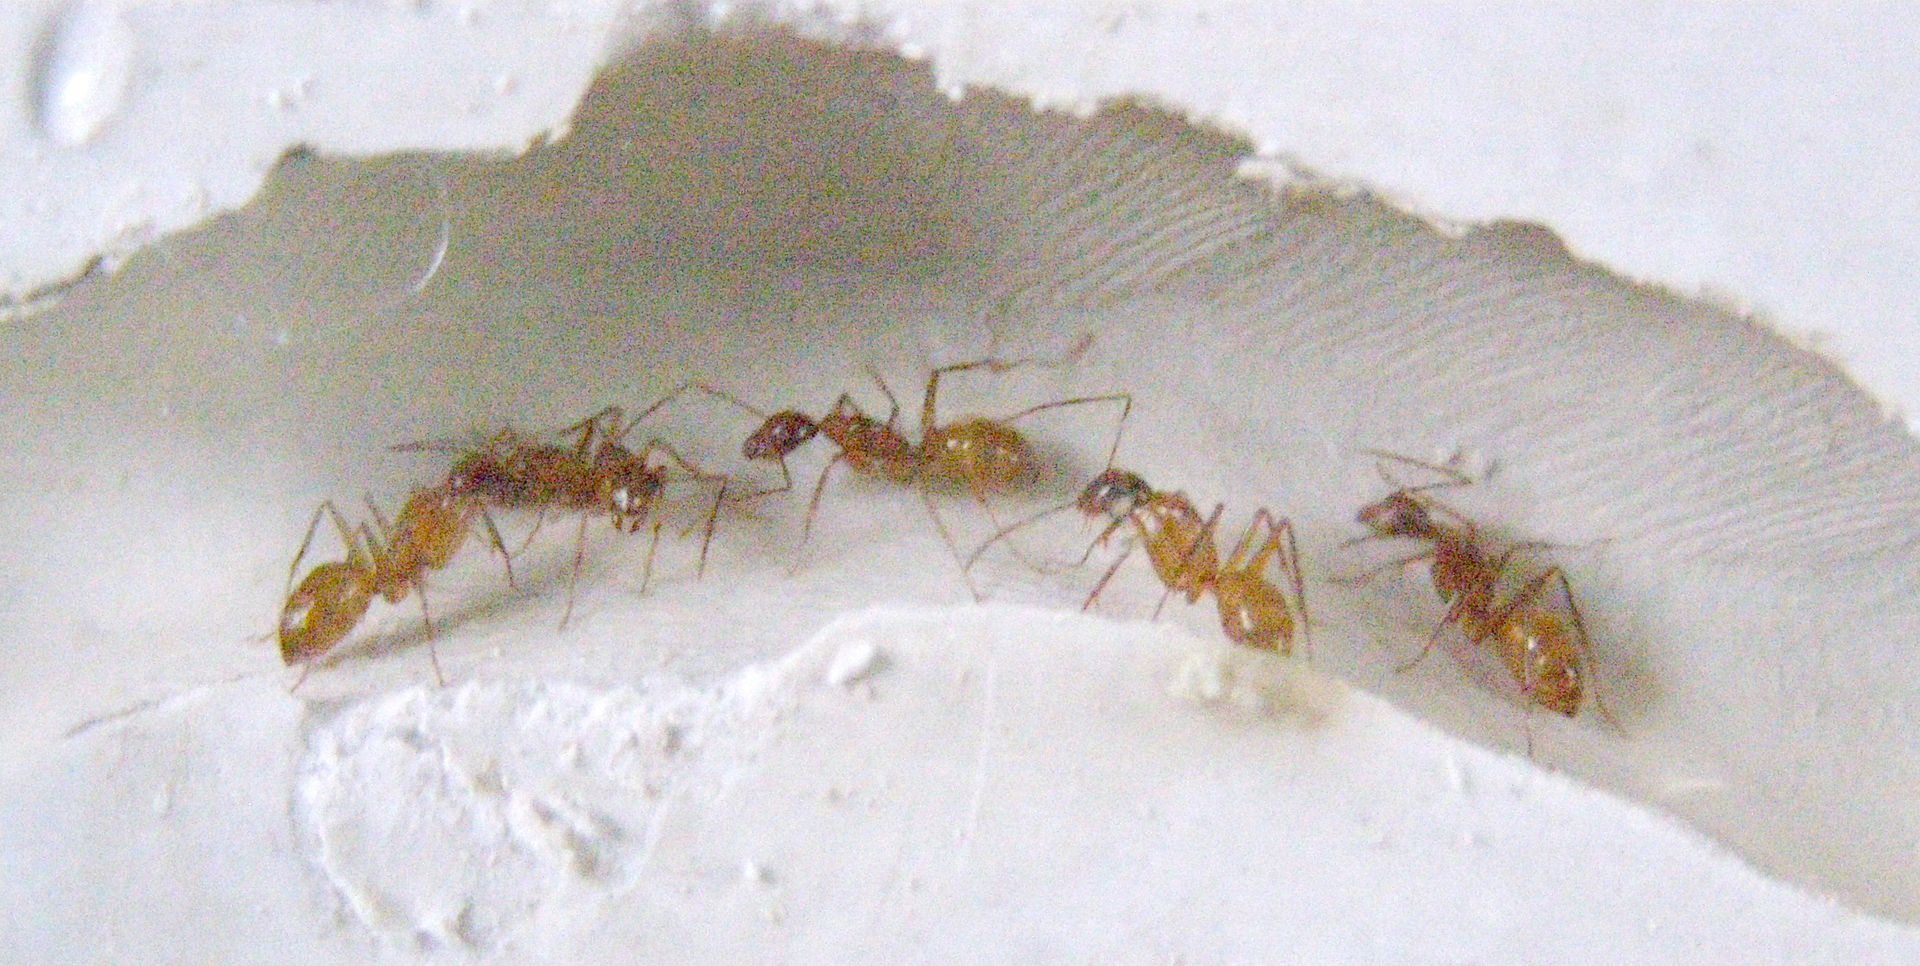
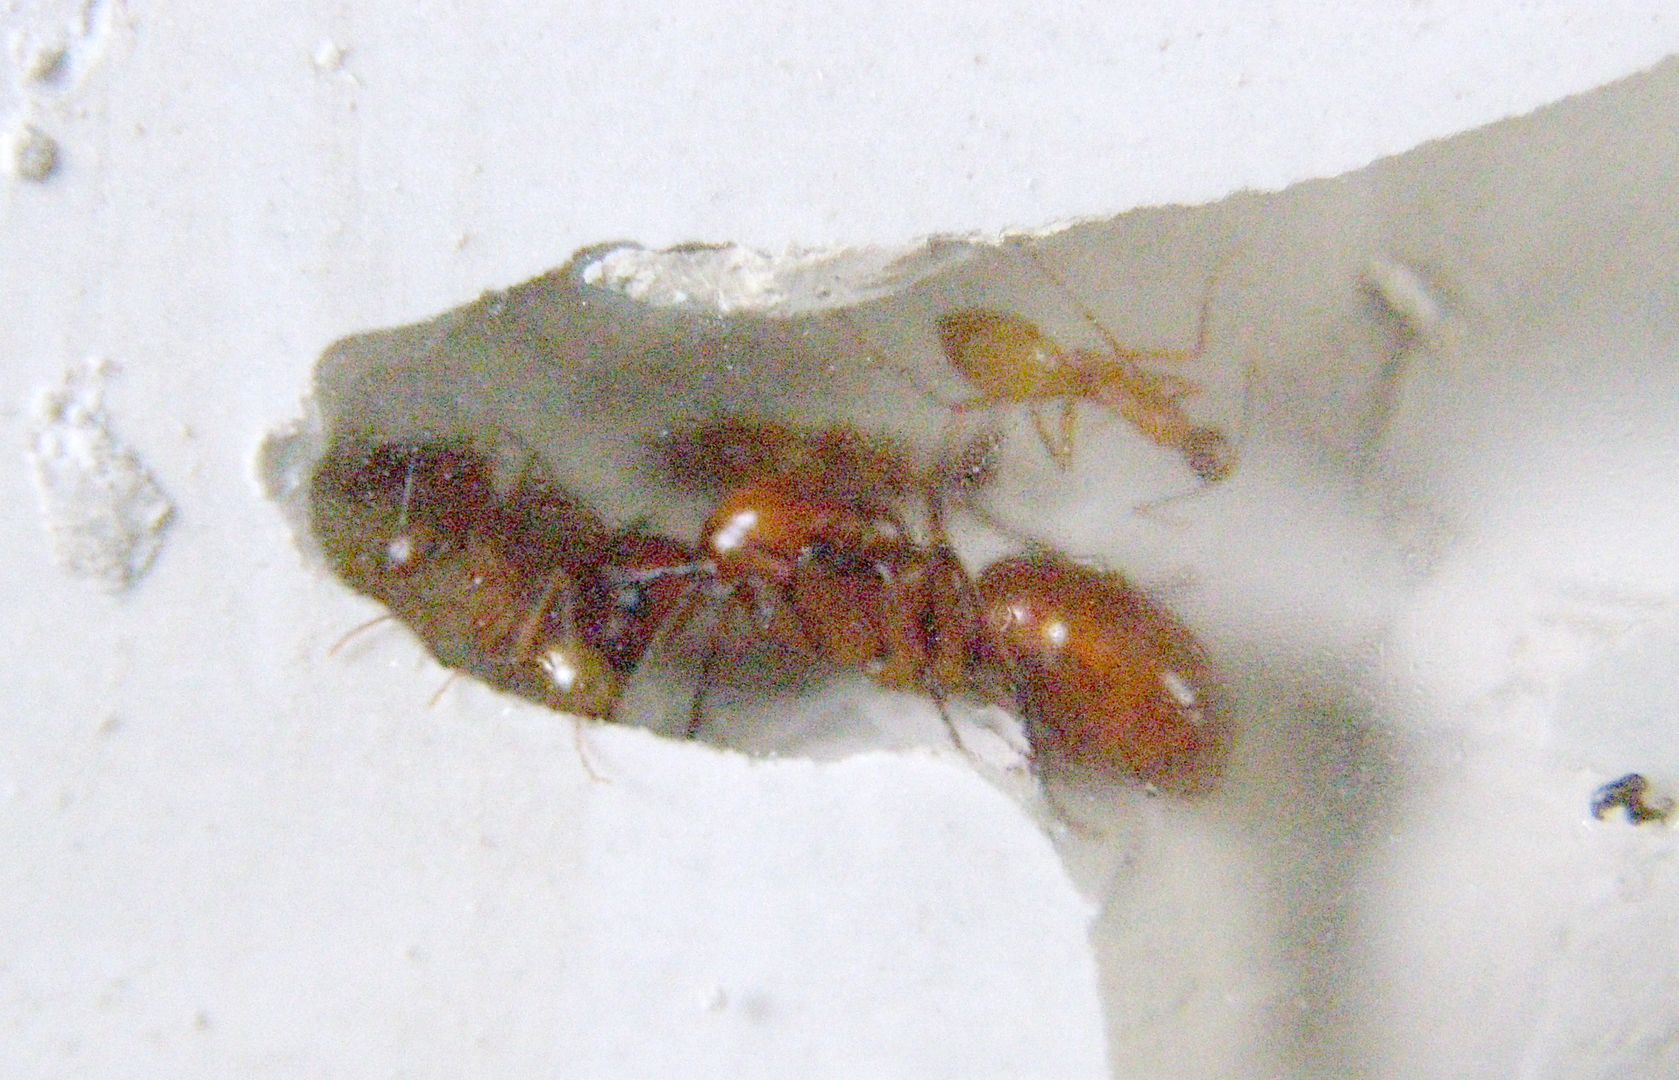
Well as I've said they would the ants have used some of the wood chips to improve their nest. In this case they've simply narrowed the entrance. No sense in being invaded by swarms of ants after all. Creating a chock point is as good a strategy as any. If they ever produce a major caste blocking the entrance up will be simple. Of course the only thing this colony has to fear is a pest species invading my house.
I'm lucky enough that it's only been Tapinoma sessile, which isn't that invasive a species but they do harasser other colonies of ants for some reason or other. In other parts of the country though ant keepers might have to deal with Fire Ants, Solenopsis invicta, or worse, the Argentine Ant, Linepithema humile. These two invasives will forage in your home happily. It's one thing for them to find a food source but quite another to stumble on a cash of rival queens in test tubes trying to start colonies in what they consider to be their territory. You'll have a line of invaders all swarming to get in your ant setups and there's little you can do about it. Surrounding them with water doesn't help either. Argentine ants have been known to wonder in large numbers right into fish tanks, in an attempt to get a drink. They don't break the surface of the water either. Fire ants might be better detoured by water though despite their behavior to flooding. I still don't see either being a good solution though and I'm not sure there is one. :(
Saturday, December 19, 2009
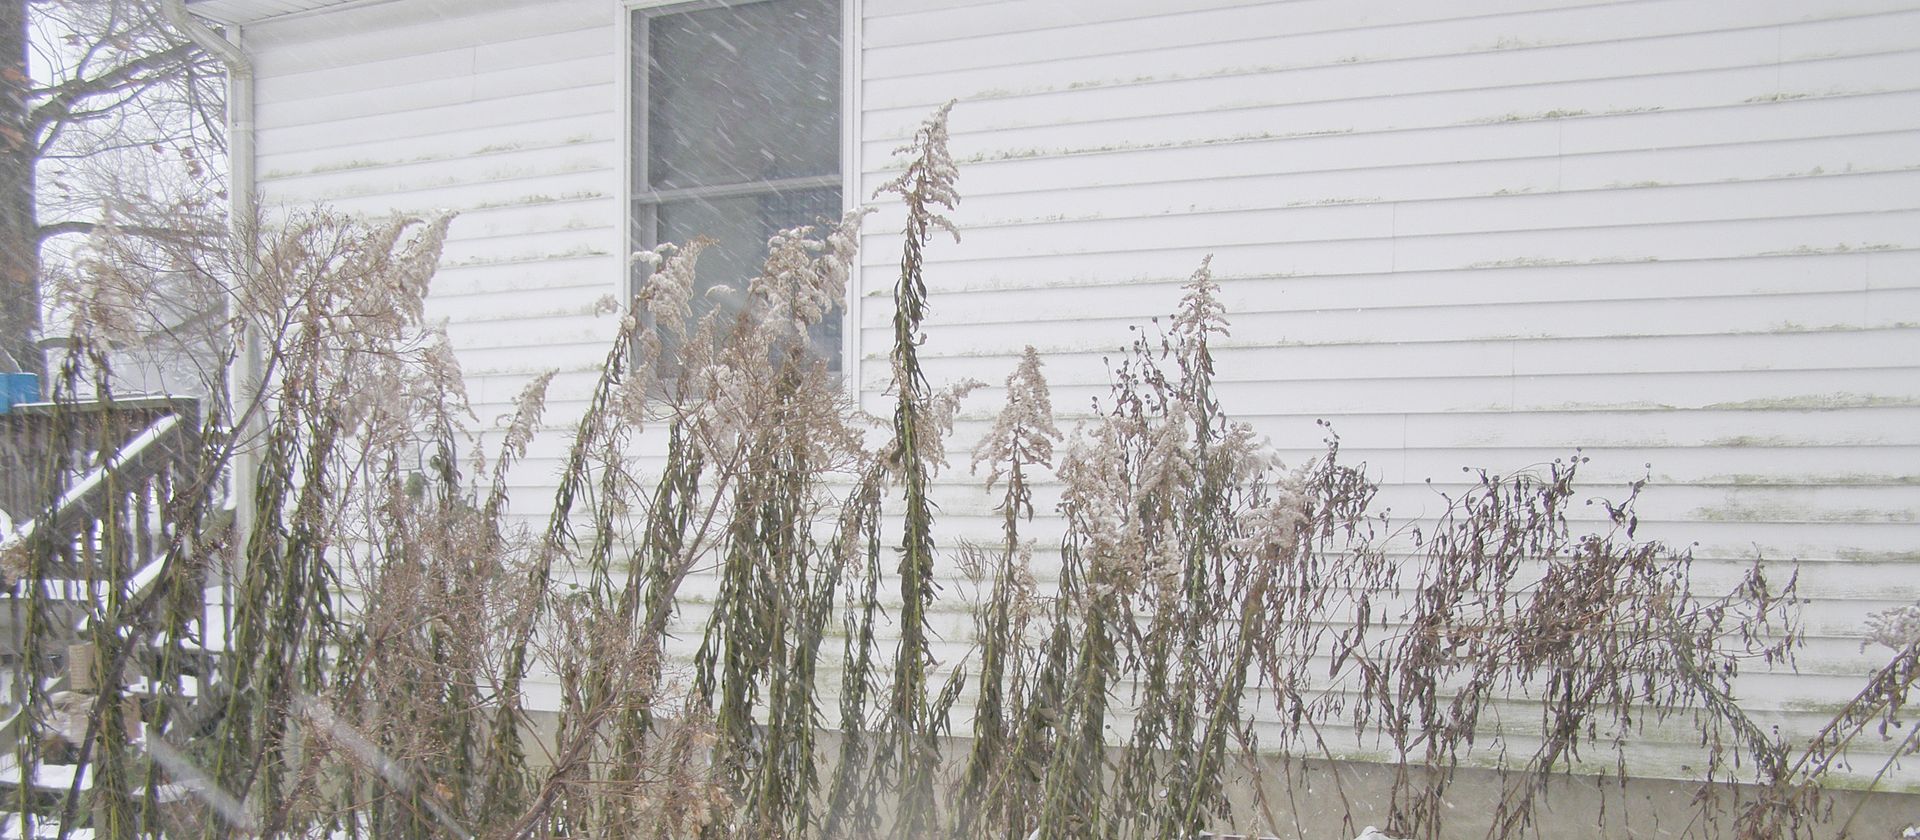
Seeds in the Snow
Well I don't need to visit TheFuckingWeather.com to know "It's Fucking Cold and Snowing," out. ... and now I just herd thunder. That's kind of creepy, but okay. Either that or a plow truck just crashed into something. Anyhow... okay I'm told "Thunder Snow" is nature's way to saying we're getting 3 inches of snow in the hour... Moving on,
Winter can seem like fun and games, and sure enough they are, but there are a certain few out there who are less fortunate.
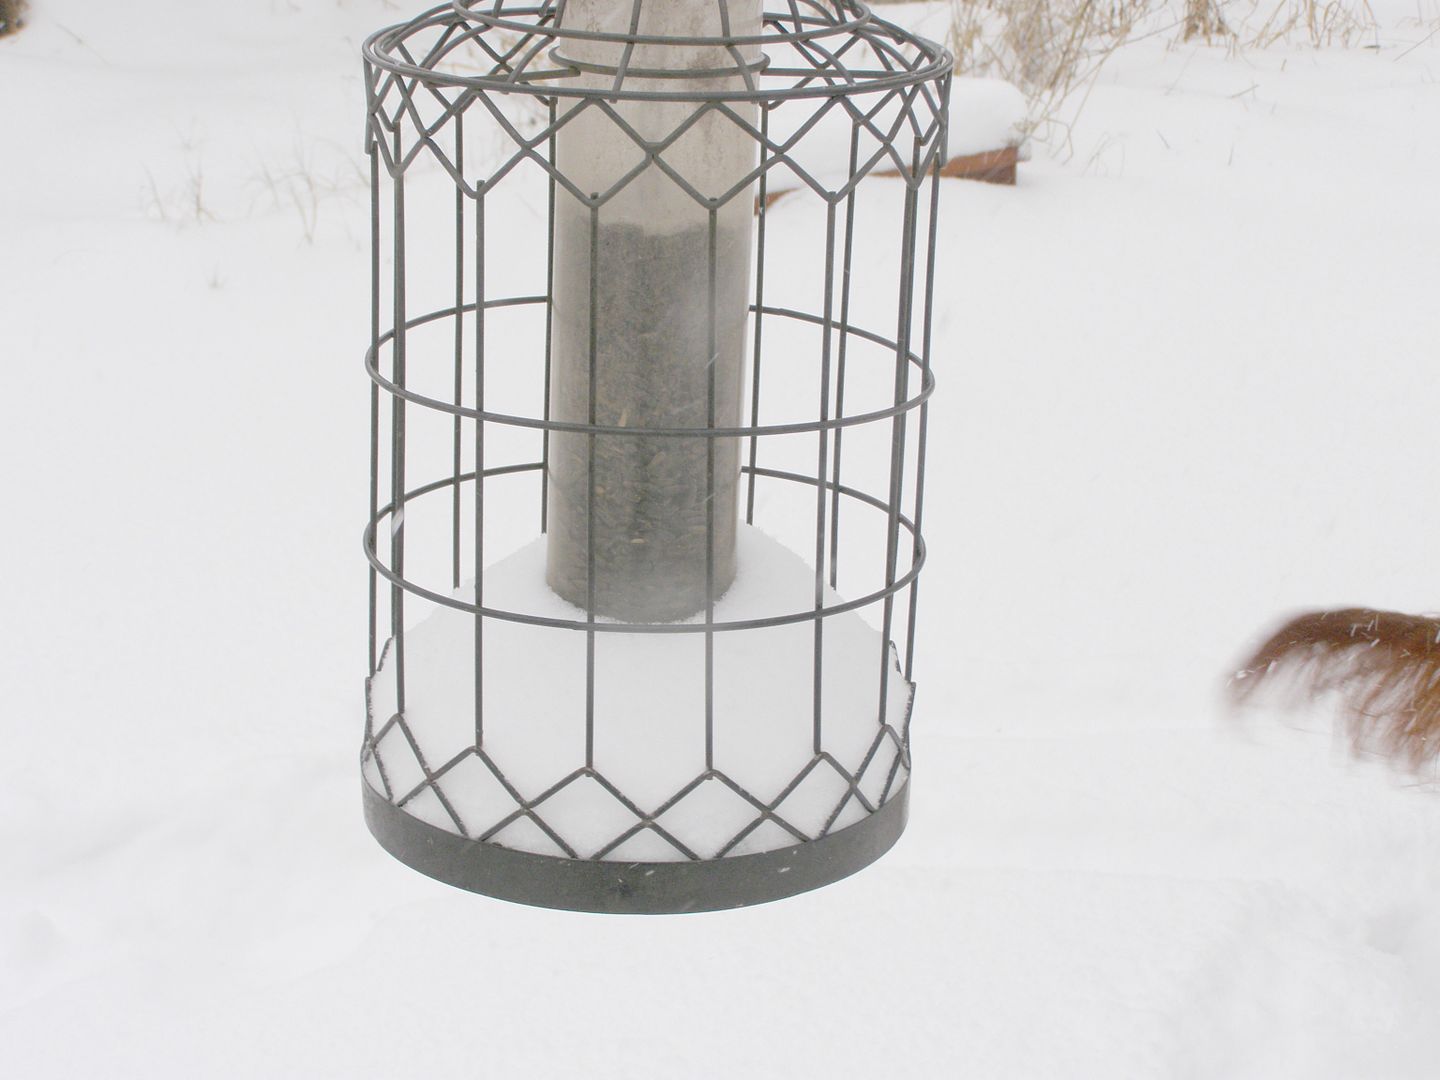
I'm talking of course about the birds. Notice the full bird feeder. It's that way because the snow has clogged up where the seed comes out. Assuming I'm a forgetful person, or otherwise can't unclog the feeder every hour, what are the birds to do?
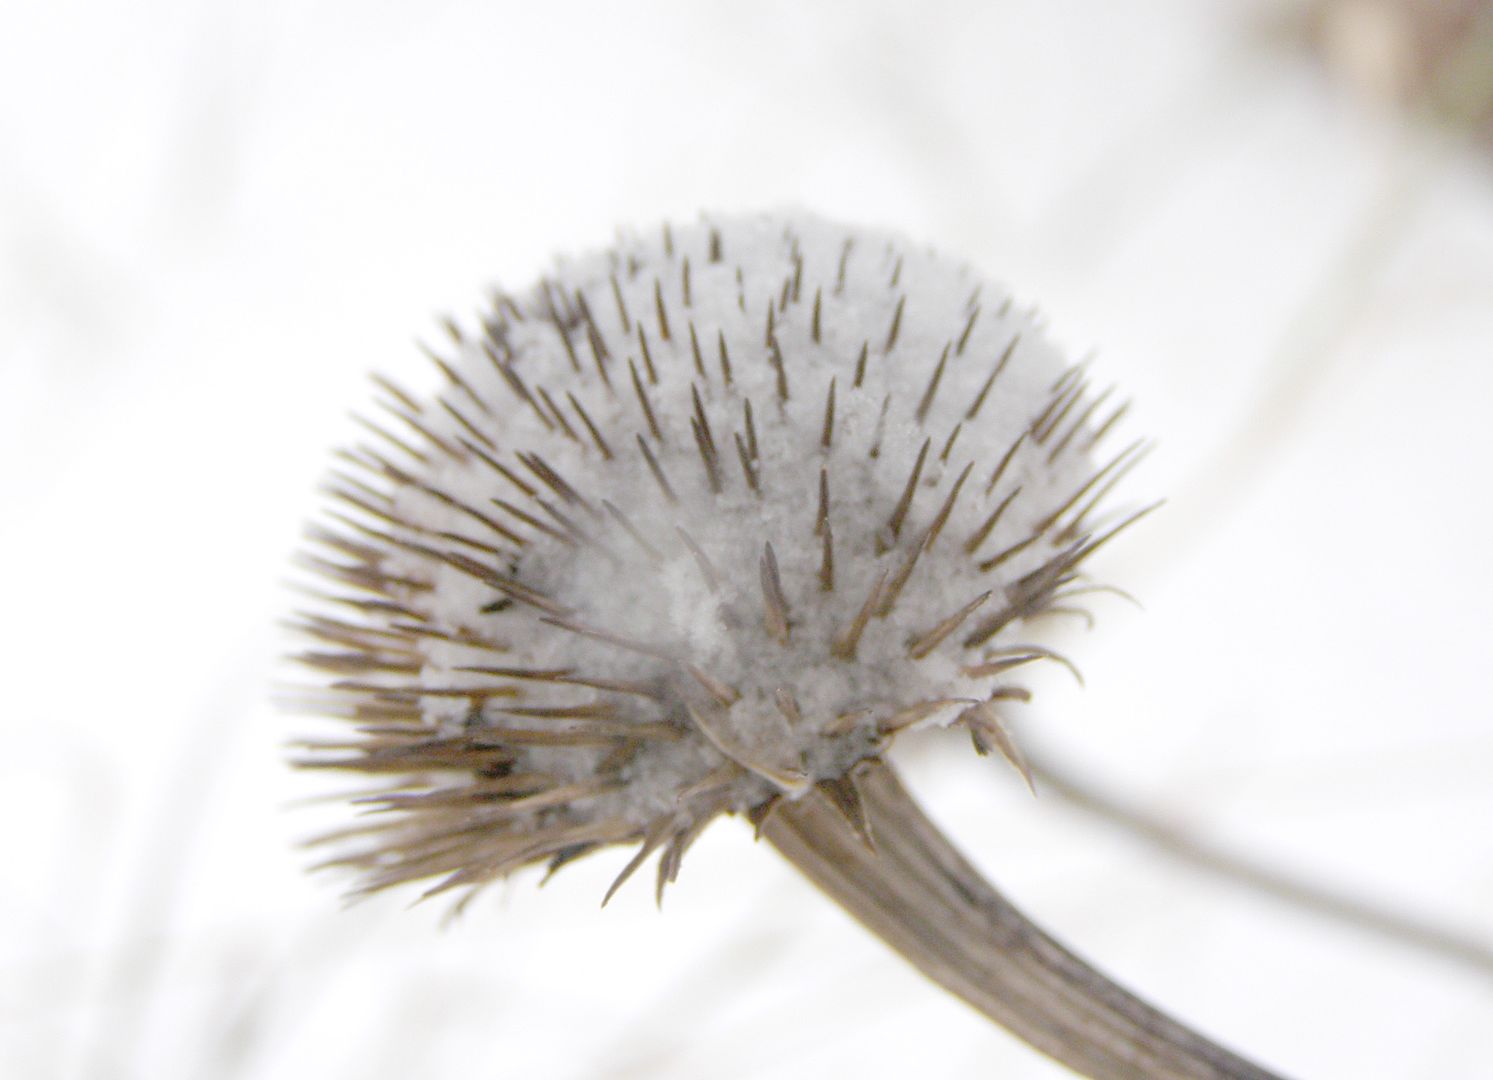
Not a whole lot really. Yes thanks to me being a laze gardener there are plenty of food sources still around my yard. Dead seed heads shouldn't be removed until late winter, or early spring, so we're talking around March. Plants like Liatris, Coneflower, Coreopsis (Tickseed), Goldenrod, Rudbeckia, Sunflowers, and others of course, all leave their seeds up where birds can get them.
Currently there's 5 inches of snow on the ground. Had I cleaned up the garden when the plants died back in the fall the seed heads would have been laid in a pile out in the compost bit, or discarded to prevent plants from growing in unwanted places. They'd be unavailable under the snow or otherwise discarded.
What little snow that does collect on the plant can simply be pecked away by most birds.
Like berry plants, some seeds are prized more than others. I hope to plant more berries for this purpose and to add some winter color, but until then I post about the seeds. (As a side note the berries that were on the Coral Honeysuckle are already gone.)
Here's why sunflowers point down. The birds that feed from them though only get to eat what the Goldfinches left behind.
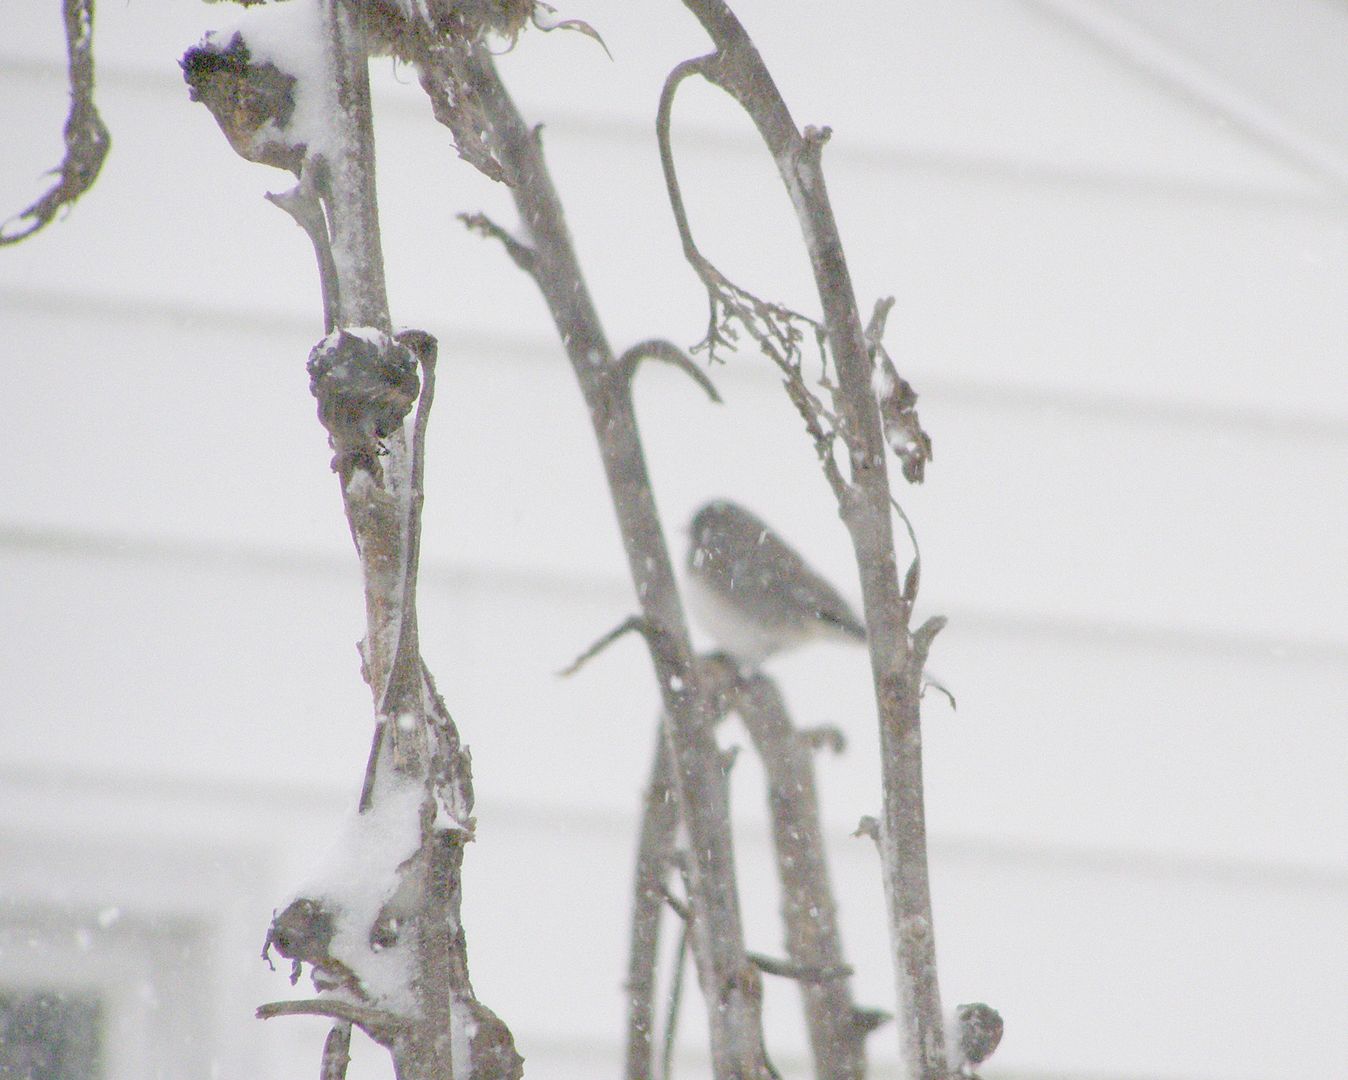
Upon turning the corner I spooked a little Junco which was feeding on Liatris seeds next to the house. Sorry it's a little out of focus.
My one regret is having planted so much next to the house. This makes birdwatching difficult because I'm always spooking what's out there. I'm sure that will change though.
Probably the only plus to having a bird feeder is the concentrated traffic of birds it creates. When you have the seeds nicely sorted and still attached to their parent plant the birds don't gather as much. They can pick and choose, but at least they have the convenience and don't need to rely on us.
Friday, December 18, 2009
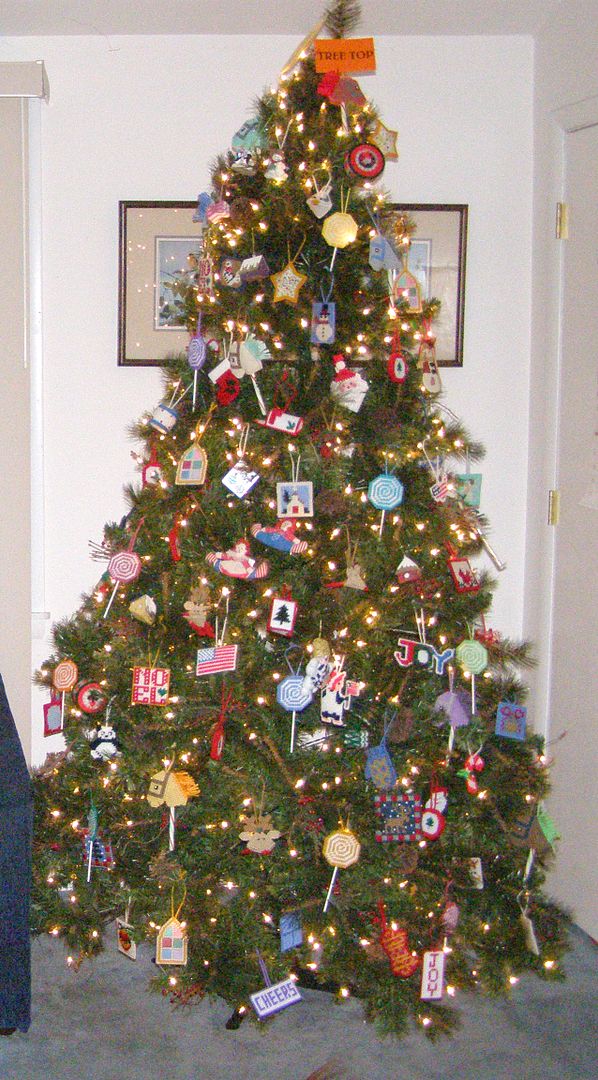
Our Christmas Tree
Thursday, December 17, 2009
Coral Honeysuckle Fruits and Flowers
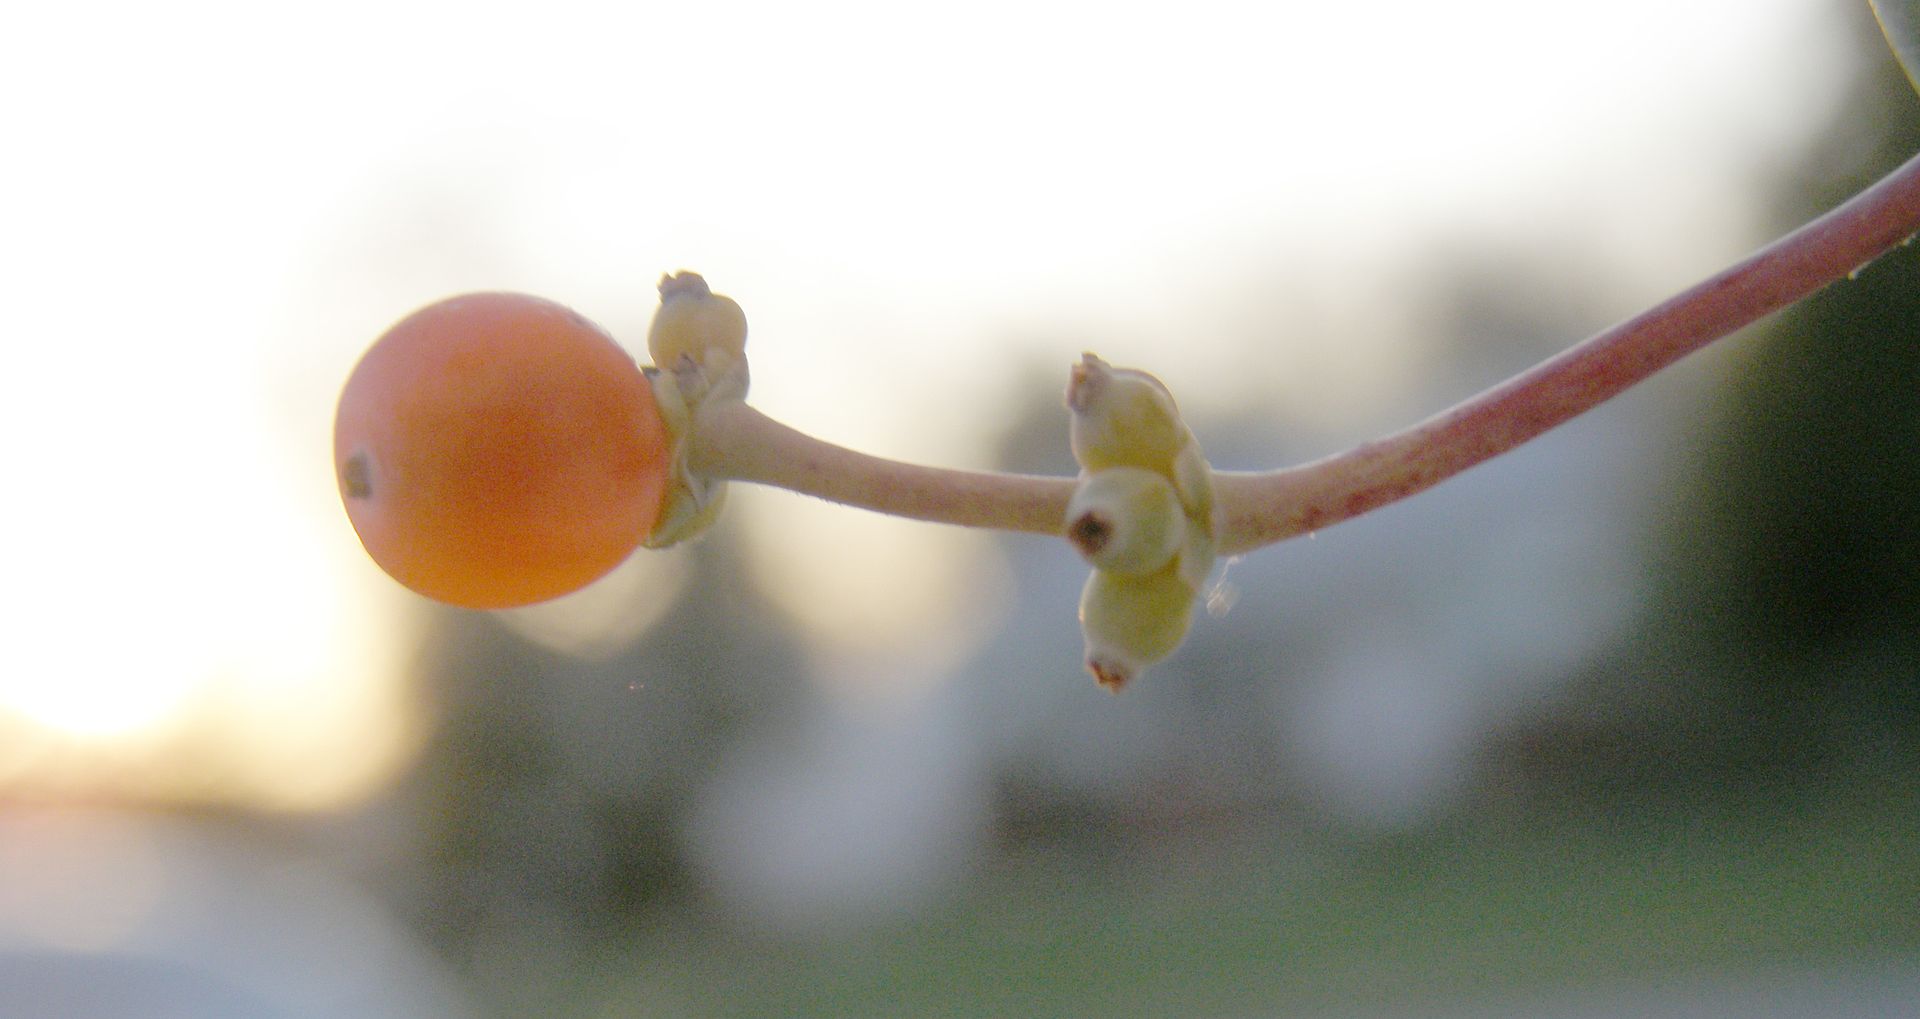
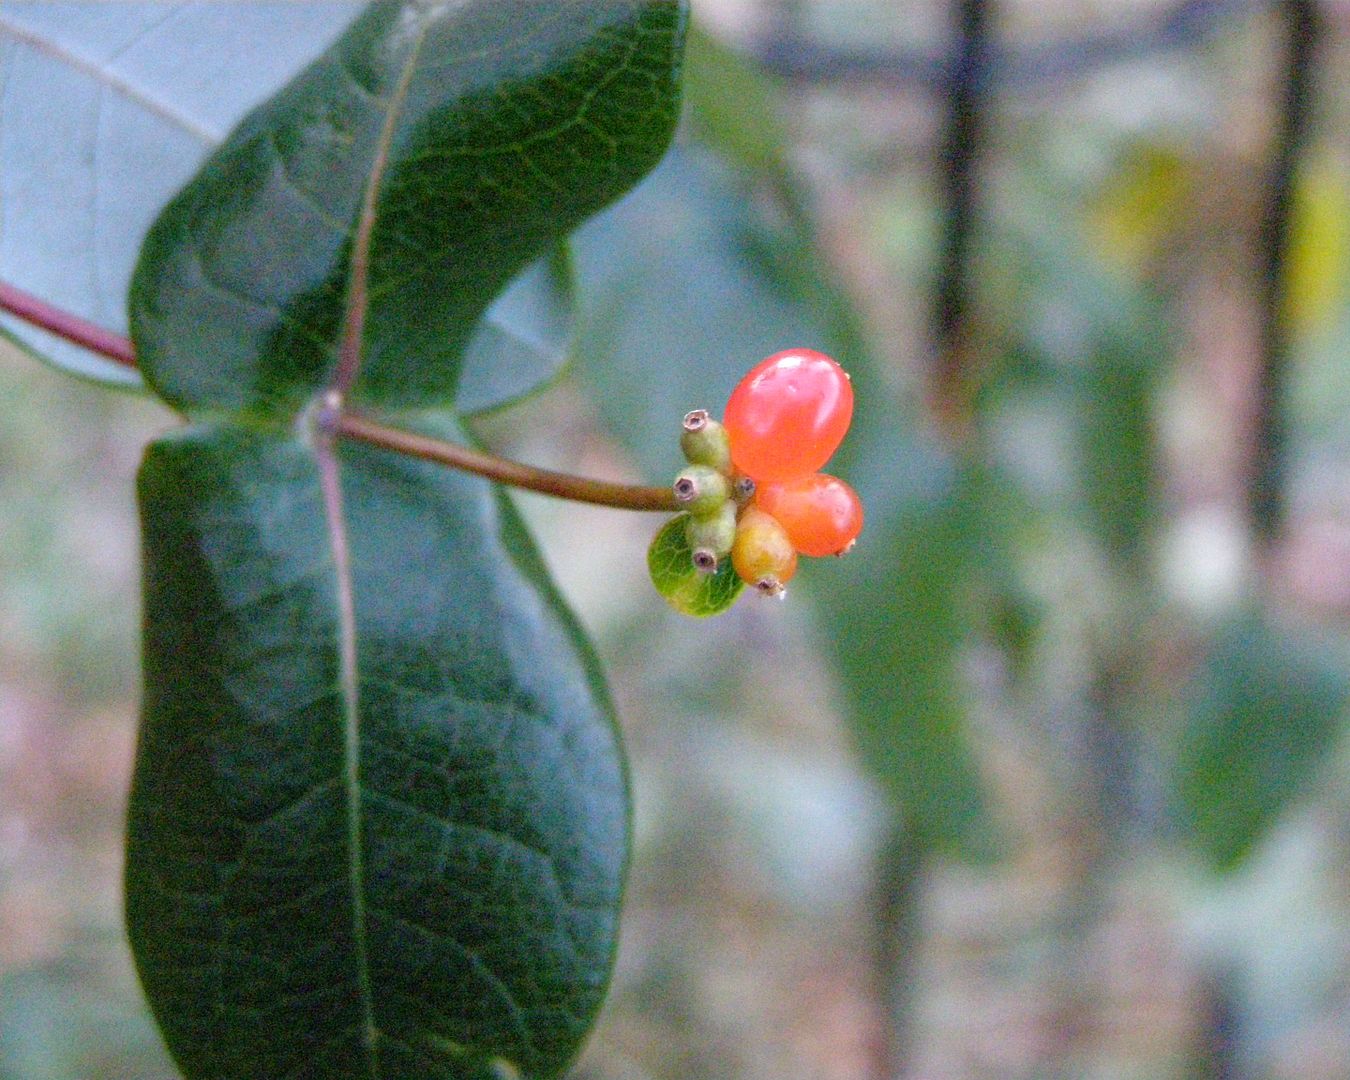
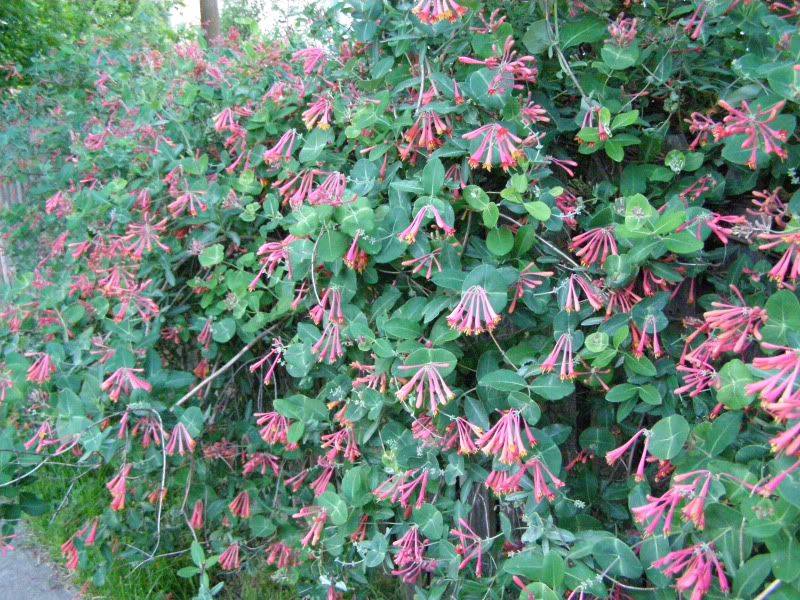
A fruit coming into season now is that of Coral Honeysuckle, also called Native Honeysuckle, Lonicera sempervirens. I know my picture is nothing spectacular, but that's because I planted two of these vines last march. So they're fairly young.
The berries grow from where the flowers had been. Only the ones that were pollinated though develop and they're a good source for birds. Most of the fruit I think actually develops in the summer time but it's probably not something you'd want to eat. Flowering in continuous for the whole year, only stopping in the winter time. The energy to produce flowers though is still being stored and come next year the whole plant becomes covered in blooms. (see below)
Last year I had to help a friend last minute with her Biology Project. Basically she needed to collect and identify 50 native plants. I said "Great, I'll go raid my garden." I also took a clipping from a friend's garden of this vine. I showed up with a big trash bag of yard clippings and their identifications. She was completely shocked when I pulled out a length of Coral Honeysuckle. Not only was it green and growing with berries, but it was also still flowering in November.
My friend's garden has a few of these vines lining his fence. That is to say it used to. The new owners of the house decided to cut everything back. Hopefully they haven't killed the plant. A good number of hummingbirds were regular visitors to his yard.
Coral Honeysuckle blooms early and gets the attention of migratory hummingbirds. I've read that this is THE plant those birds migrate with. As they bloom, I think in chilly month of March, they become the main food source for these birds.
My plants are still young but should bloom great all the same next year. They're such a wonderful plant. They don't crowd and strangle plants as the invasive Japanese honeysuckle does. They don't get as long and I've even know people to grow Coral Honeysuckle up a rose bush. Both of which are fine to prune regularly.
Monday, December 14, 2009
Ant Chat: How to Build a Tank Setup
And for those of you who didn't read the last two posts, Here's the episode of Ant Chat explaining them.
How to Build a Tank Setup (Part 2)
This is a continuation from yesterday's post, Here.
After roughly a day of having built your Tank Setup it should be ready to house a colony of ants. Hold back on decorating it until after the ants have established themselves. This will ensure they "set up shop" and nest in the plaster setup and dont' try building little huts out of bark and stones... the fools. (I once had a colony of Aphaenogaster that decided to stack tiny stones in order to make a nest rather then move into the plaster setup, so hold off on that stuff for now.)
Also it's time to apply the Fluon or 3 in One Oil. A little bit of both goes a long way. So add a few drops to a large cotton ball or crumbled up paper towel. Coat the corners first as best you can. Then go along the top inch of the tank. If you don't...
... this can happen. Actually it's bound to happen sooner or later. An escape proof setup is one that's surrounded by a moat and locked in an air tight chamber. Even scientists have trouble with this. Thankfully ants are more than reasonable, and can easily be swayed back into the setup.
NOTE: Ants that are ill tempered and aggressive are best swayed around with something other then your hand. The same applies for ants that have painful stings.
Ants that spray formic acid were not meant for captivity and can actually die from the putrid odor of the formic acid they spray, besides you don't want that in your room either.
Now onto Adding Ants! Before we begin you should only add Colonies, not queens still working on their first batch of brood. Colonies have workers and presumably a foraging force. Loan queens are a stage behind this step.
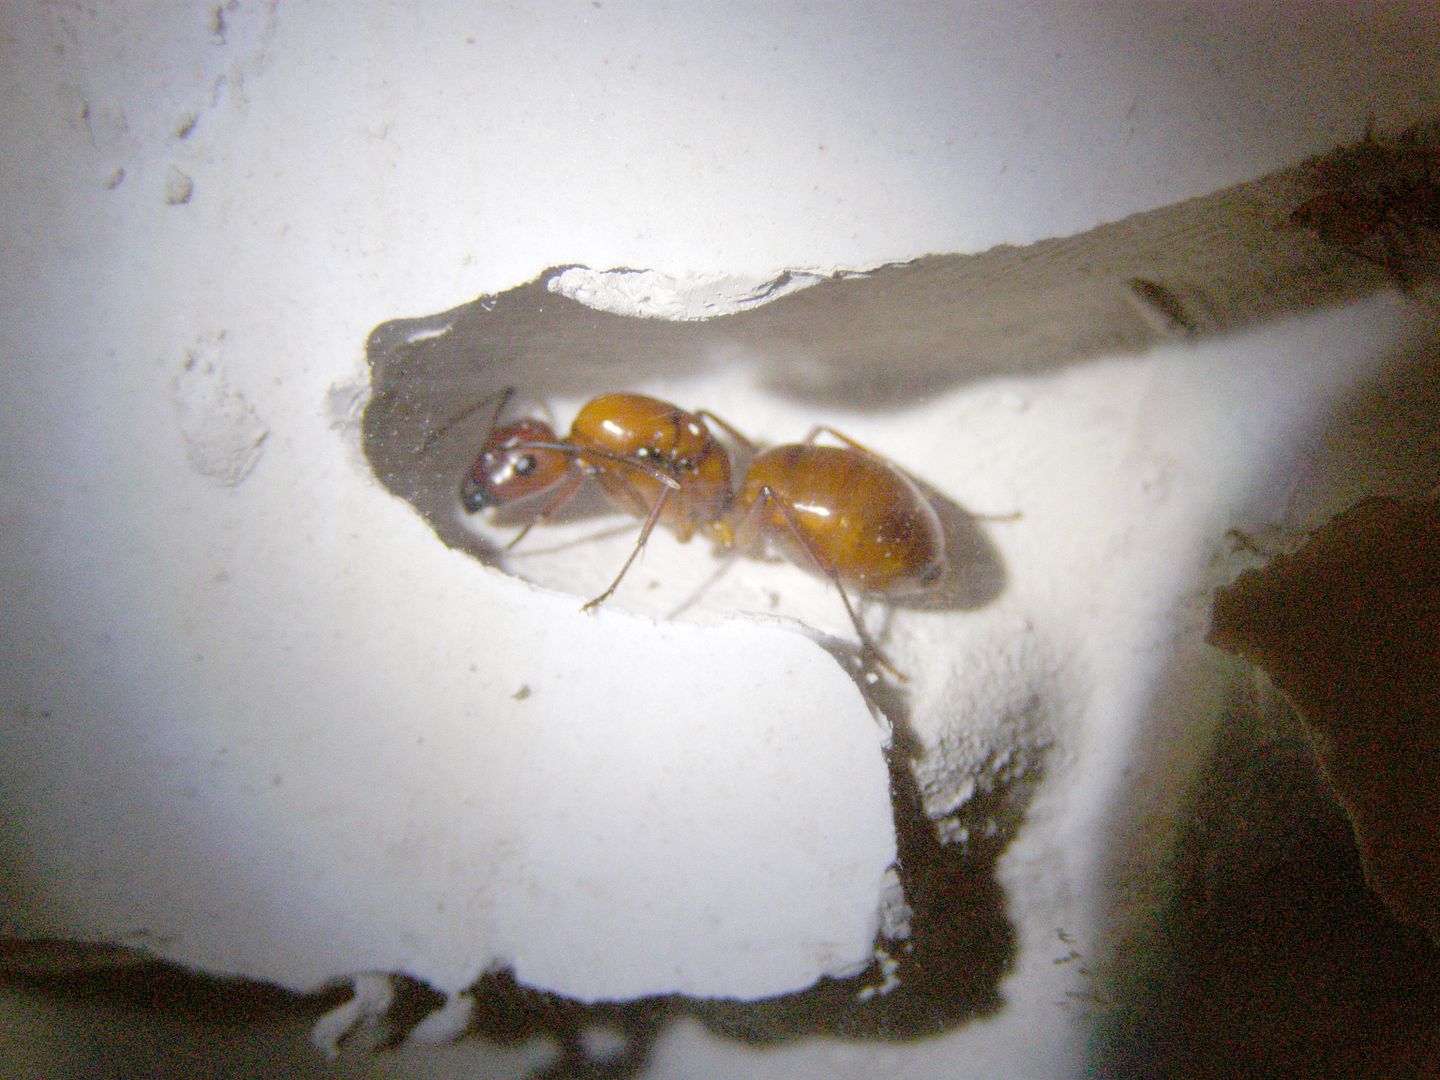
Take one colony, in this case Camponotus castaneus...
... say hello to guard ant...
... Then dump colony directly in the entrance of the setup! The end.
Well that wasn't hard at all... okay maybe I should elaborate some.
Once removed from the tube they called home since last June, the ants will scatter looking for cover. Because I dumped them right inside the plaster setup they mostly explored all the tunnels and galleries that are each ideal for a small colony to setup shop. Two things are vital though.
1: The Queen. While only 2 of the 9 workers actually bothered to explore outside the plaster setup, they would have been no significant lose had the queen escaped. The queen is safely doing nothing in one of the chambers. Now that I know that I can focus on getting the 2 workers that were running around back into the nesting area.
(I actually didn't apply the 3 in One Oil until after the ants were in the setup. Oops)
2: The Brood! Camponotus in general tend to lay eggs in batches. Currently they only have 2ed and 3rd instar larva in the nest. And they all fell out of the tube in one big clump. This is great! Usually what happens is some eggs are left in their old test tube setup and I end up either crushing them in an attempt to get them out. Or I have to put the test tube setup back in where the ants can find it. The issue here is their old test tube setup has the colony odor and all the ants will move right back inside the thing regardless of how bright it now is. It smells like home and that's all the ants are interested in. You really don't want either of these things to happen.
The brood is the next generation of workers. Because Camponotus lay eggs in batches this is vital to the colonies survival. When the queen's current work force dies off she's not going to bother foraging for food to build the next one. So it's important the current workers successfully rear new workers before they're die. At the same time allowing them to continue living in their test tube setup isn't good. You may as well have not built a new setup at all.
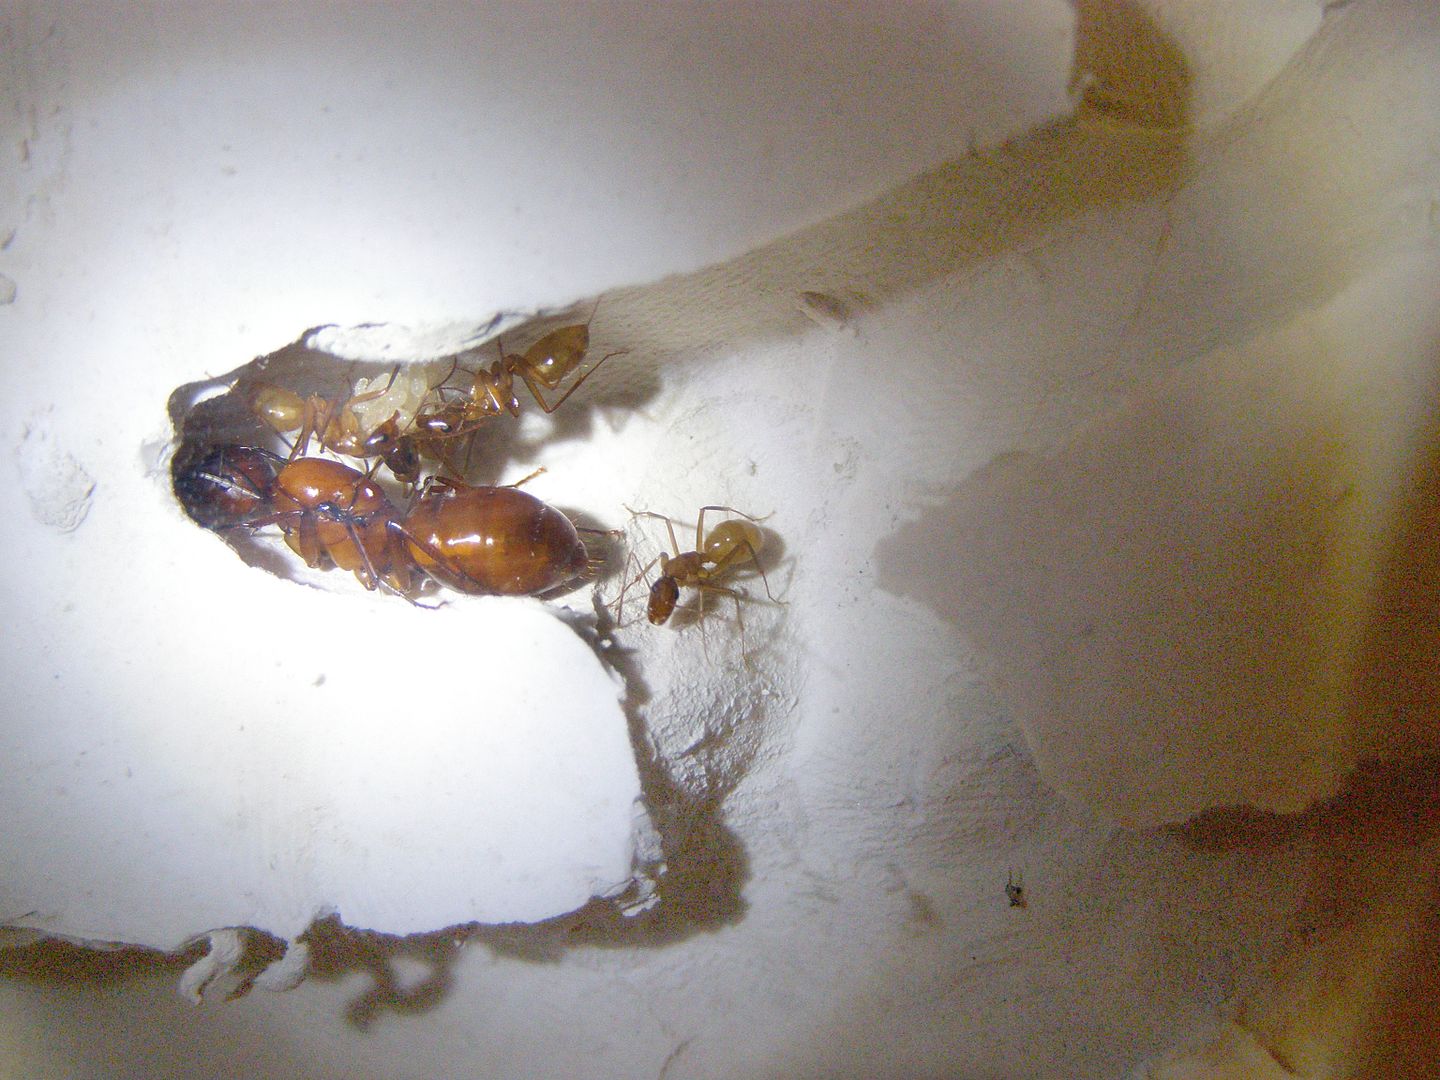
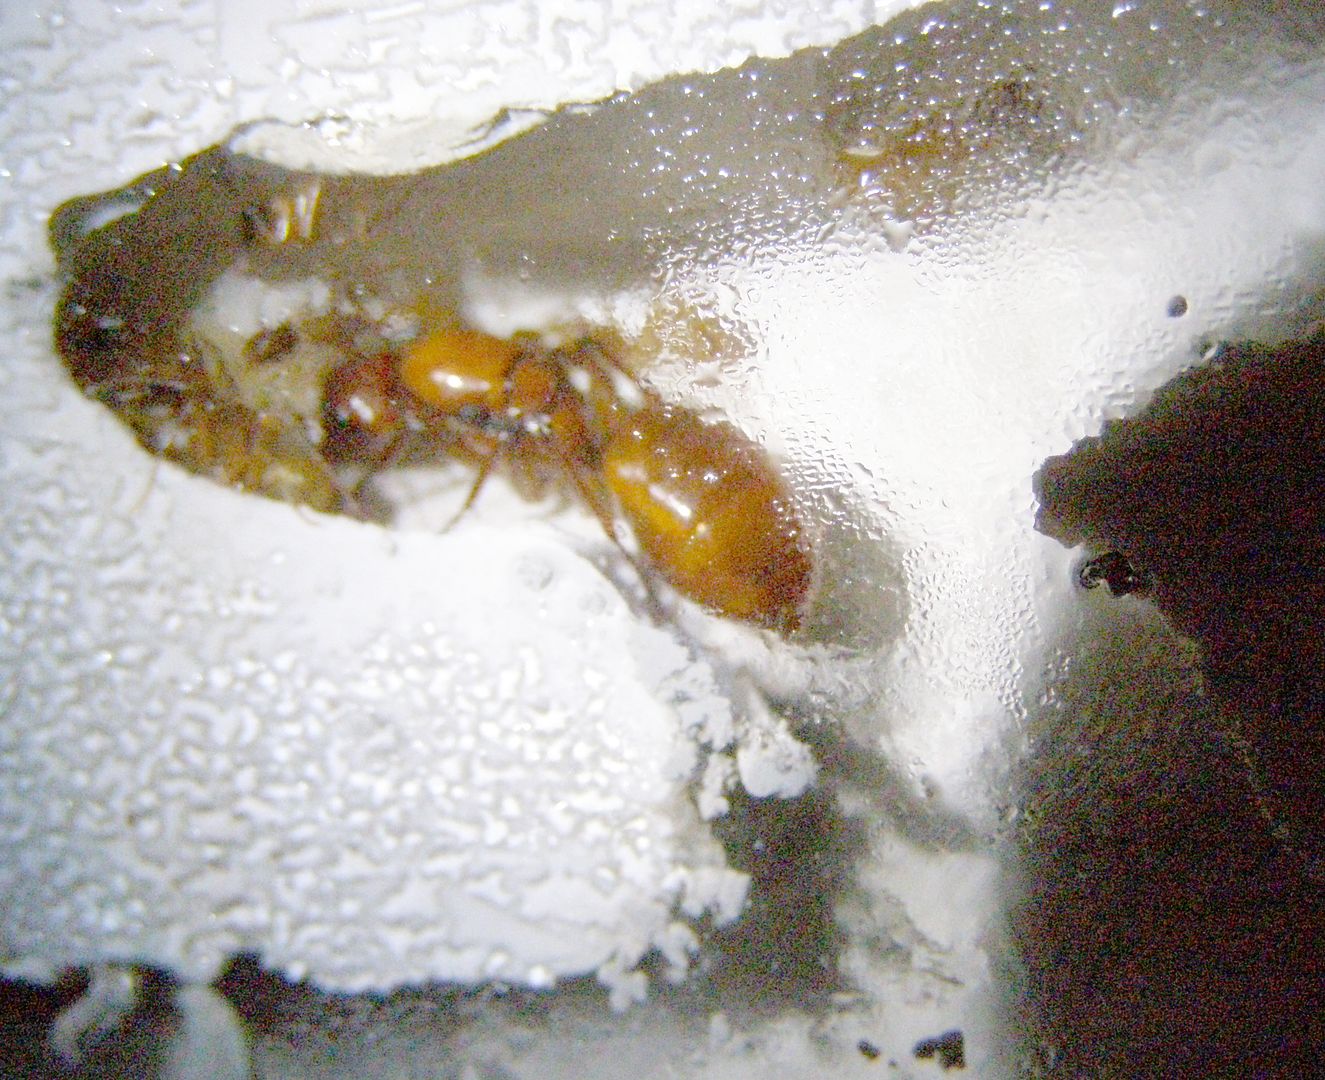
Just hours after the colony has been dumped they've already found a temporary nesting site. Right now the queen is the closest thing the workers have to a colony odor so they all tend to cluster around her and places that she's been to.
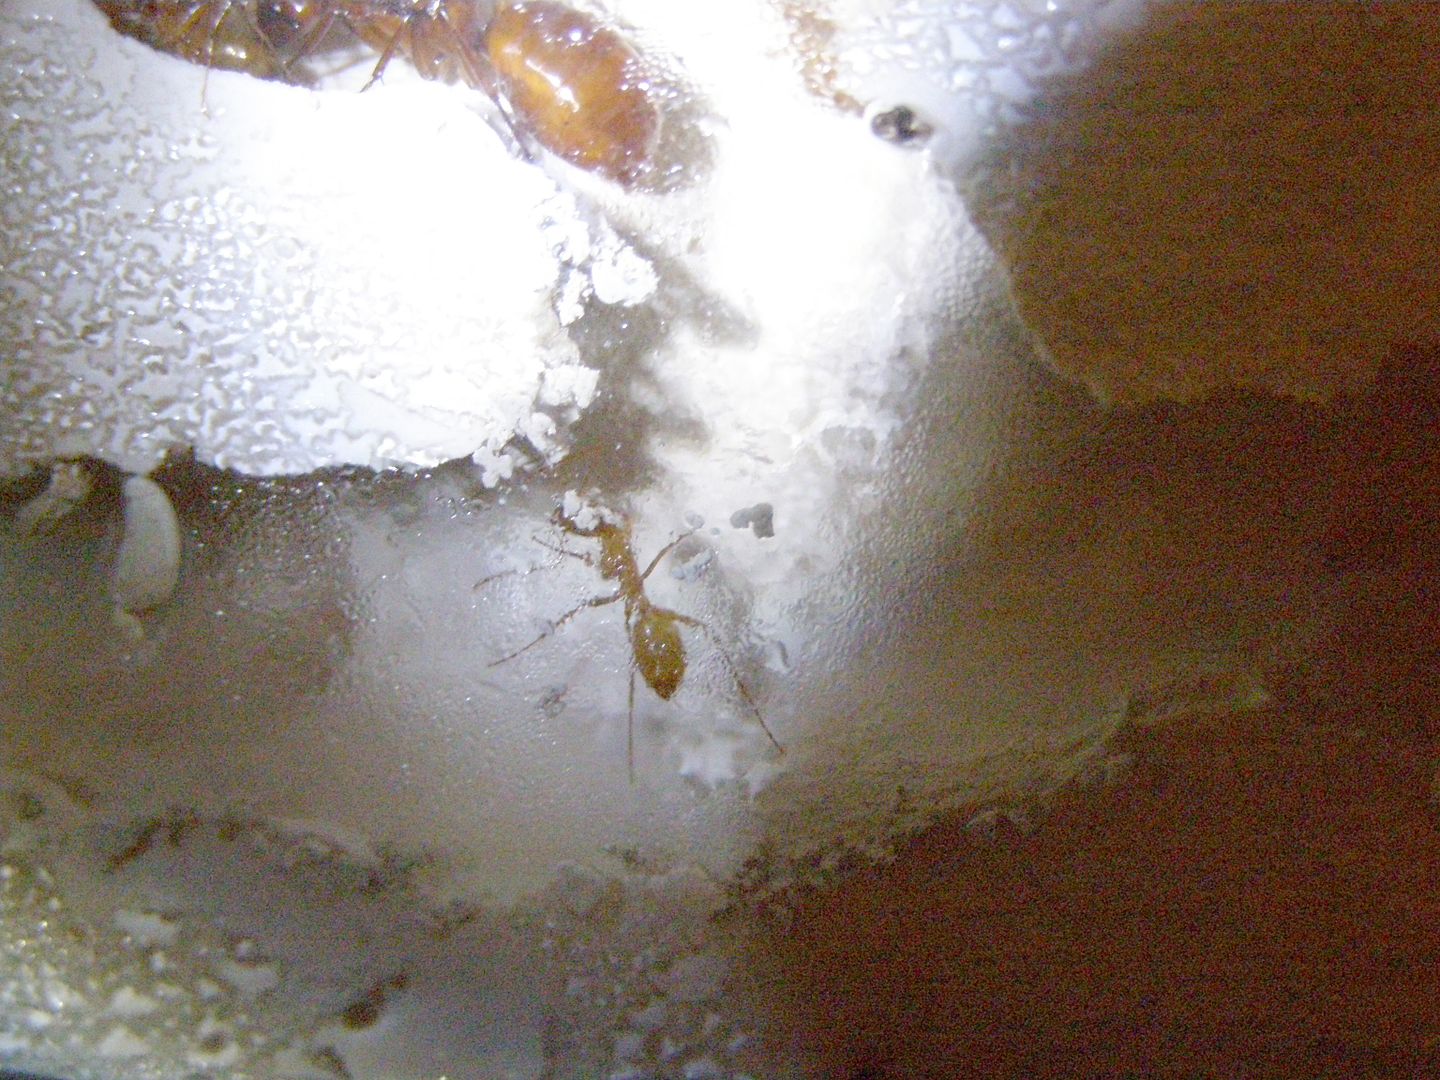
You may notice small groups of workers hanging our randomly too. They eventually disband and rejoin the group that has the queen.
You may see some ants carrying other ants, or in the case of the queen, dragging her. This is a worker that has found a chamber she thinks will be a great nest site. The trouble is convincing the colony. One by one she grabbed each of the workers and brought them to this chamber. The trouble is they disagreed with her and simply left after being let go. A noble effort but the colony said no. Had they liked the new space then the workers she brought here would have joined in the effort to bring the colony here.
Back to their stoop they went. To be honest though I wish they had gone to that chamber instead, but what do I know.
For the first few days don't bother feeding the ants. Stuffing your face when the family tree has been chopped down is considered poor form among ants. Foraging simply isn't done until they have established a nesting site to take the food.
The following day: Condensation can be an issue in plaster setup. It is easily controlled by opening the lid to the setup, but may take time. The temperature of the glass and the plaster, having the light on or off, and how much moisture is in the plaster are all factors. It's not a problem for ants of their size but smaller species can have issues with it sometimes.
Still in the second day the ants begin making edits to the room they've choses to take over. Here an ant gathers some modeling clay I forgot to remove. When you start seeing this behavior it's safe to start decorating. (I added a thing layer of Repti Bark outside to act as the floor to the setup. Feeding should be done on trays so insect corpses don't build up.)
Slowly she builds out the stoop and gets the nest more floor space. Eventually (as I see today) they'll bring in the wood chips I place in as a floor medium. I love seeing ant engineering at it's finest.
The other behavior I see is scouting. I tried feeding them but she wasn't interested. I think she was trying to locate the old nest to be honest. The 3 in One Oil holds, actually she has lots of trouble just climbing the glass now, I'm not sure what that's about. When they were first introduced they had no issue with climbing glass. Before leaving the nest I notice she gives all her stored food to another worker.
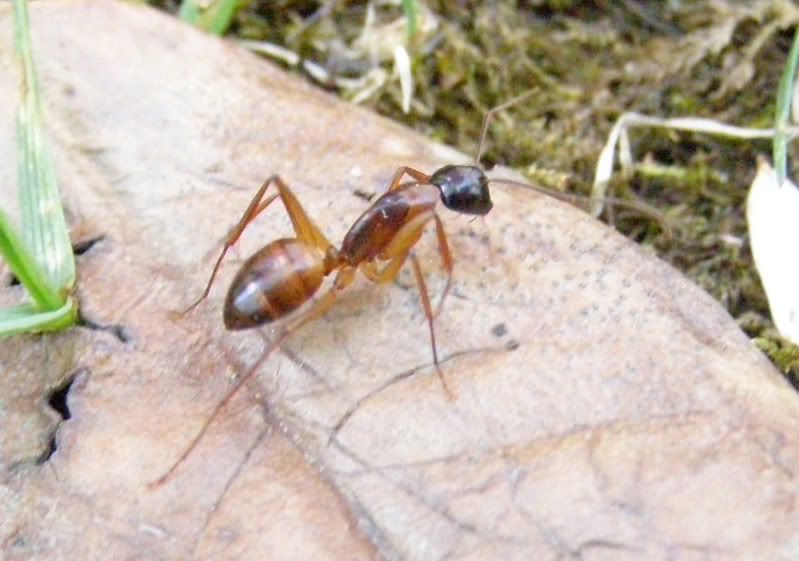
And now I would like to address something. The last time I tried keeping a journal like this I had a colony of Camponotus chromaiodes. The thing is though for the longest time I had them misidentified as C. novaeboracensis. So this time I want to get it right. Unfortunately until I see a wider range of workers Color is the only thing I have to go on.
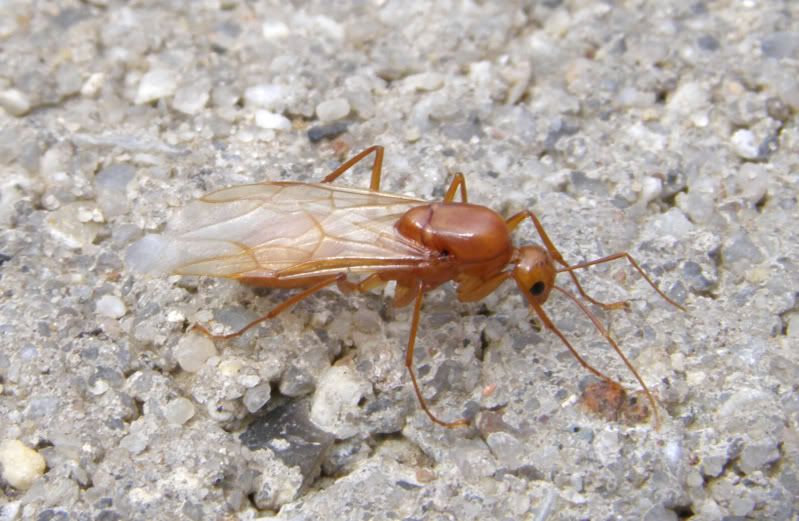
C. americanus tends to have darker traits (as seen above,) it can also be as light as C. castaneus. I don't know of any C. americanus colonies in the area though. I took this picture in Delaware, about an hour away from where I live in New Jersey.
A main difference between the two species is C. castaneus has orange males, (seen above). But no males are present in the colony I have.
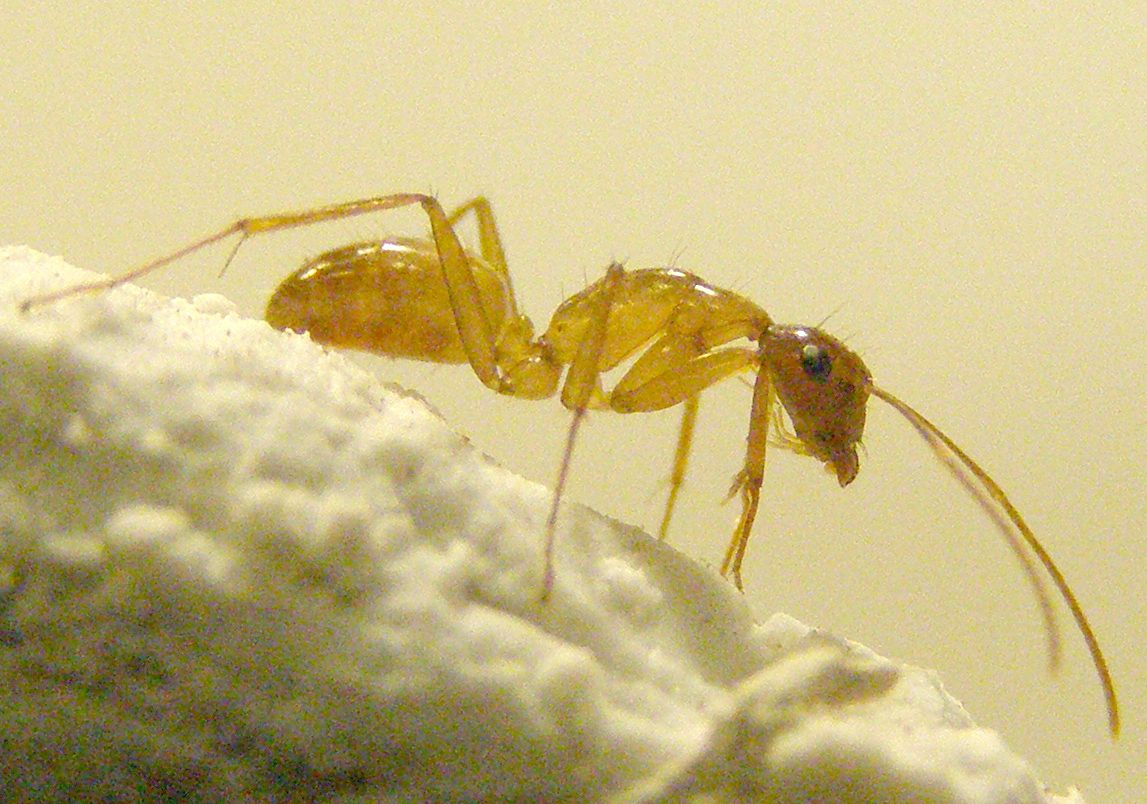
This lighter color and more brilliant oranges is more in line with Camponotus castaneus which is locally abundant. I probably have three colonies in my yard I know of and that's where I caught both queens. But as I look on Ant Web I see things like placement of hairs, length of the maxillary palp, and head shape (currently) are all similar. Actually this worker is hairy enough to be a C. americanus worker but I'm not willing to accept that yet until I start seeing some darker workers.
Even if I'm wrong a second time though C. americanus is just as pretty.
Sunday, December 13, 2009
How to Build a Tank Setup (Part 1)
Alright because editing the podcast is taking a while I'll post the instructions here first. In this first part I'll explain how to build it. The second part is simple adding ants.
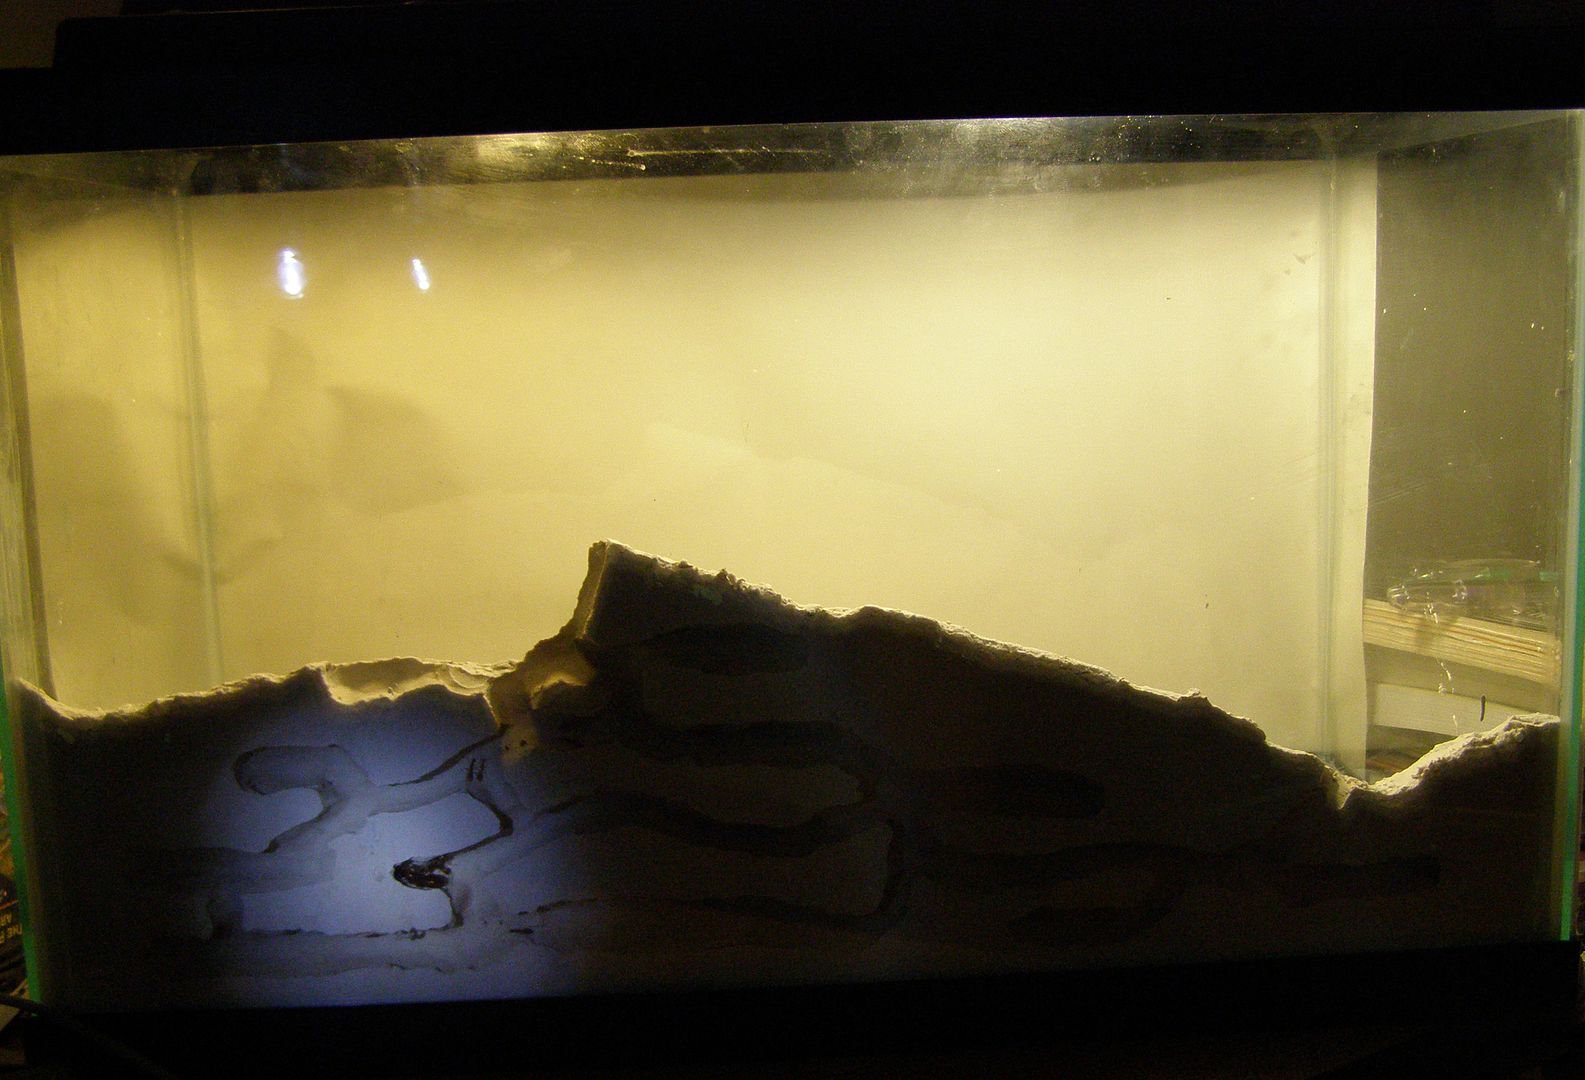
Here is the finished product so you know what you're building.
You'll need:
Wooden Blocks, or space fillers that can be used to both hole the terrarium up and prevent "plaster" from going to unwanted places.
A Terrarium, I think 20 Gallons is what I'm using but I don't know for sure.
A Lid, that should fit as well as possible. It should be solid and not a screen, lights help also.
Modeling Clay, both for making the chambers and to fill in holes in the lid.
3 in One Oil, normally used to lubricate saw blades. There are other brands of course, it's simply a light oil to detour ants away from the edge of the glass. Fluon is the official product you're supposed to use to keep insects inside their setup but it's darn expensive.
An Optional Floor Medium, I used Repti Bark sold in the lizard isle at most pet stores. It's basically large chunks of bark. You can use the colored sands they sell but my experience is that ants don't like walking on sand. Your experience may vary though. I like the bark because the ants will eventually "play" with it and bring some inside the nest to add walls and floors where they like.
And most importantly your choice of either Plaster of Paris, Ytong, Aerated Concrete, or Gypsum, aka Hydrostone. I use Plaster of Paris because it's by far the most widely available. From you local hobby store to the mega-mart hardware chain, chances are you don't need the internet to find Plaster of Paris.
Please Note! Measurements, preparation, safety hazards, and rate of causing cancer may vary! Read the labels! Plaster of Paris is safe to use but contains crystaline silica which can cause cancer. This means don't ingest it! Use gloves and or limit your contact with it, don't build a plaster setup every day, wear a safety mask and or don't breath in the dust when mixing or sanding. Don't mix it in anything you plan to later eat from. This is probably good advice for whatever medium you decide to use because they can all cause skin irritation and so on... Plaster of Paris is also nice because it gives off relatively low heat as it hardens. Some of the other products will actually produce steam as they dry!
This setup requires you to work the plaster as it hardens. You will need the use of "instruments." I suggest the following: a Pointed Stick, a few Large Cotton Balls, a Crumbled up Paper Towel, a Small Piece of Cardboard and possibly a length of plastic tube for blowing but I didn't find this useful that much.
So with all that out of the way let's begin.
Because we want the tunnels to be on the side of the glass, place the terrarium on it's side. Pick a spot about half way down the side (now closest to the table). With the modeling clay roll out an entrance tunnel. Note that the largest ants in North America can fit happily thorough a 1/2 inch tunnel, so they don't need to be that big.
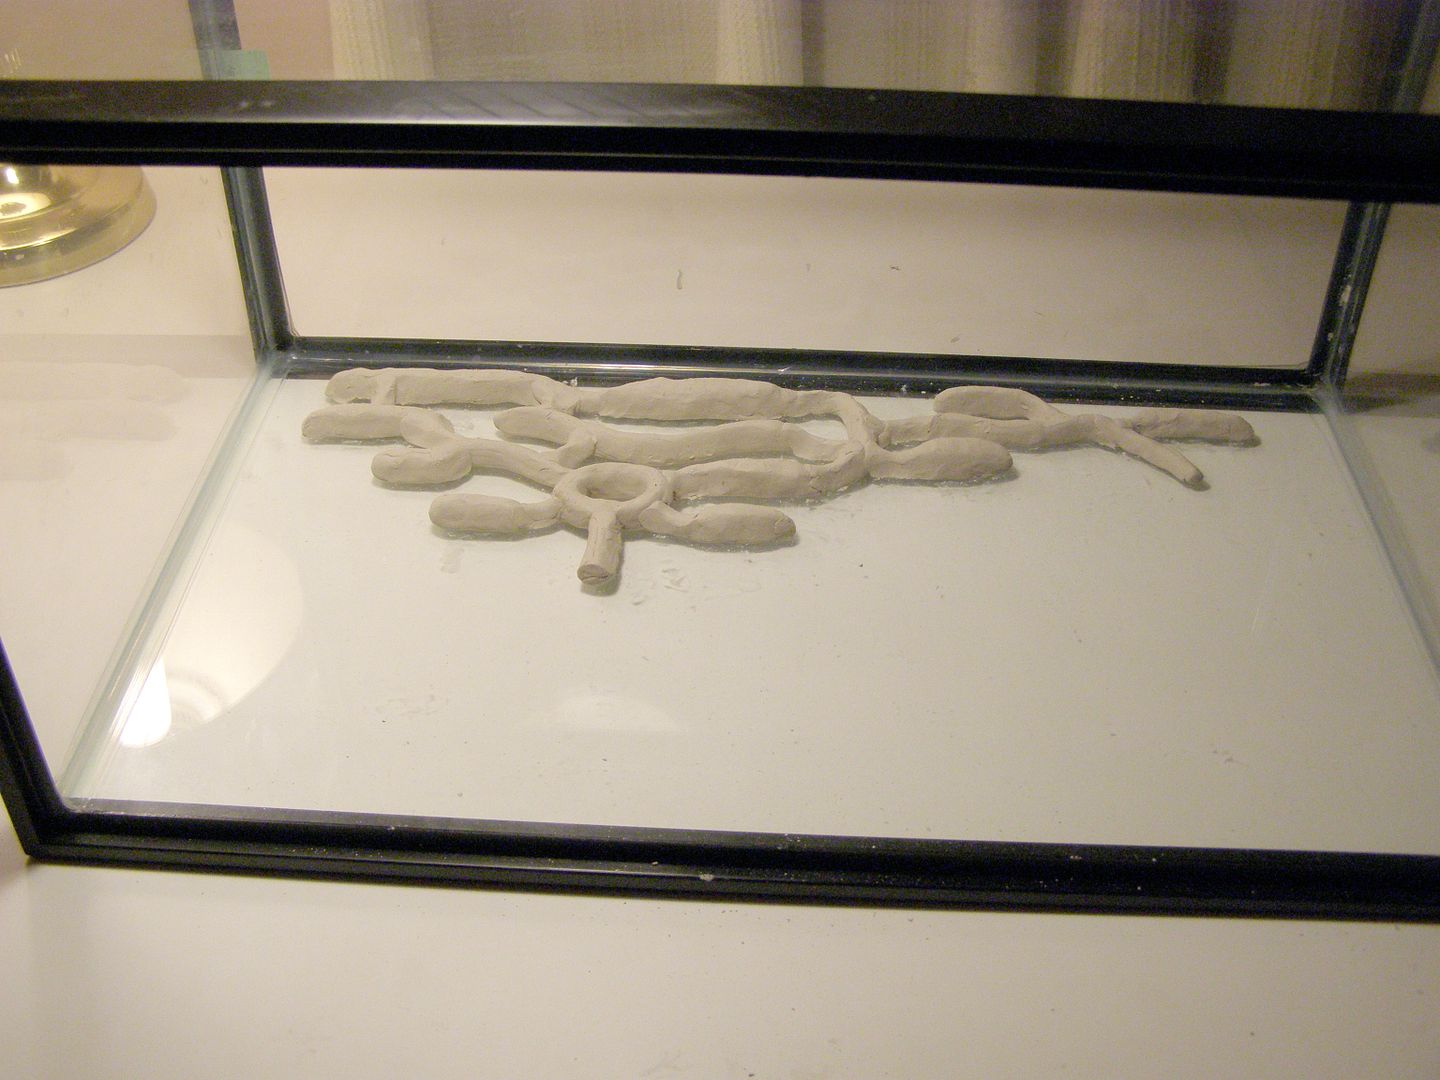
Continue building the nest. It's a good idea to start with hallways that flow to other parts of the nest before going back and adding galleries (rooms) to them.
To the right I've decided to add a second entrance. I've also decided I want the plaster to form an Ant Hill shape. This will require either a wall of modeling clay or some wooden blocks to hold back the plaster. If you don't want the Ant Hill effect it's fine to have it as a Wall instead. Had I gone with a Wall design the second entrance to the right would have to come up much farther.
When you're ready prop the tank at an angle on a wooden block, (a heavy book will also work.) If you're going for a simple Wall look then you're ready to mix and pour the plaster. If you're going for what I did and want an Ant Hill effect then you'll need to sway where the plaster goes as you pour. More wooden blocks at appropriate angles or building walls/dams out of modeling clay should be added.
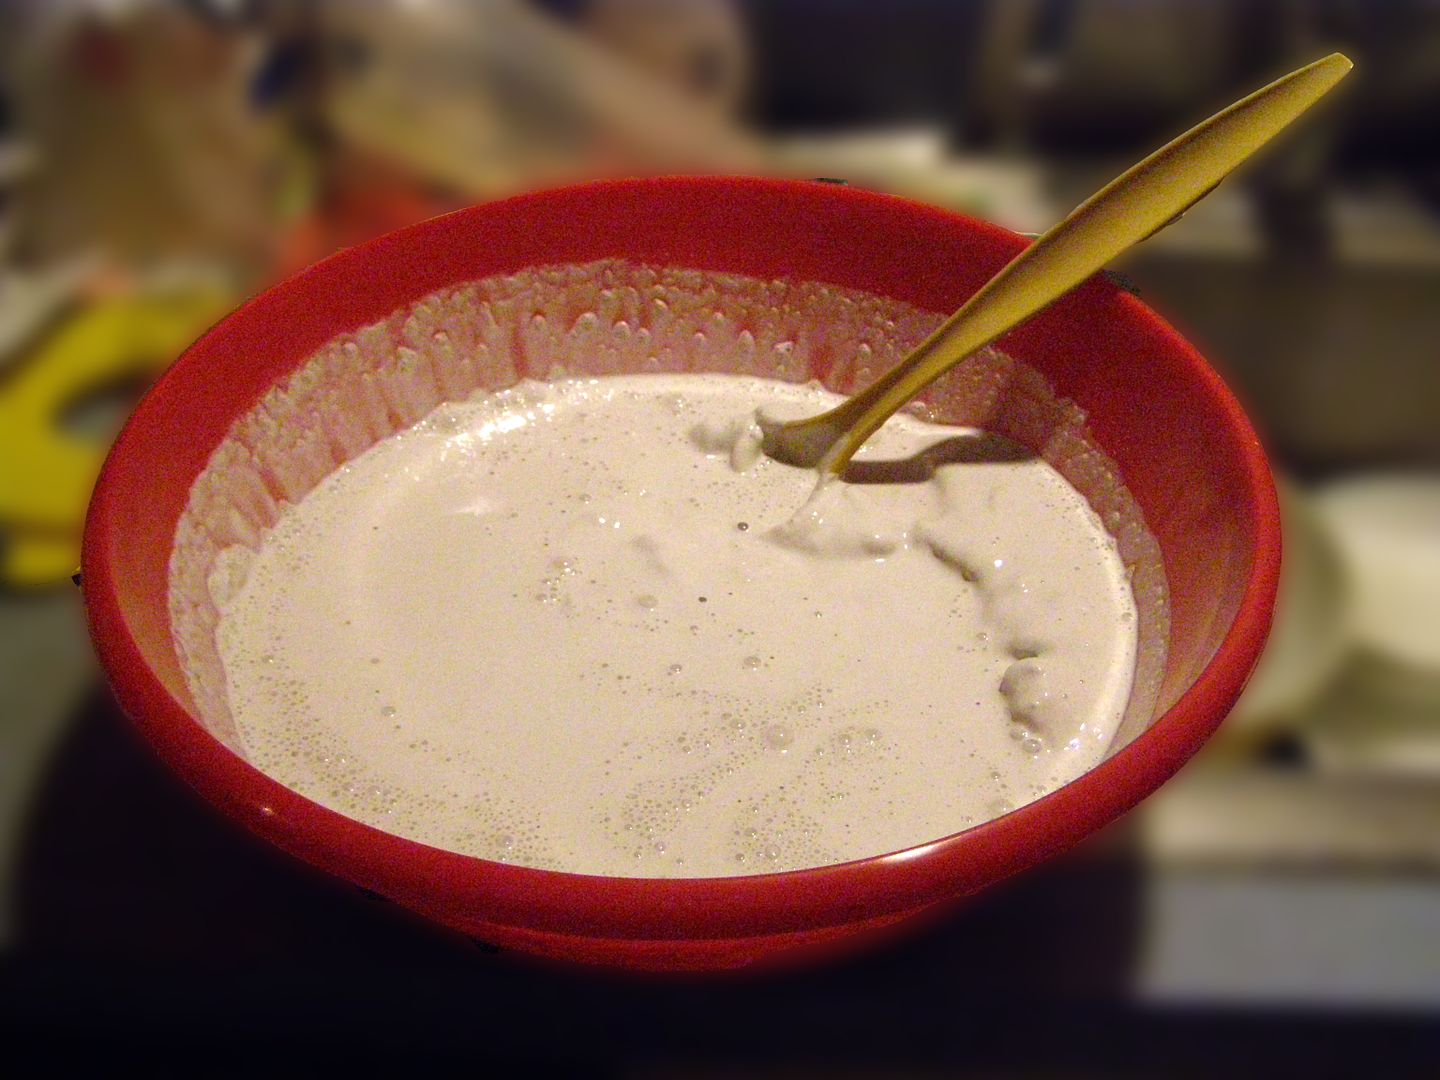
Plaster of Paris mixes at a 2:1 ratio. Meaning for ever 2 cups Plaster I have to mix in 1 cup water. If you're not using Plaster of Paris this ratio might be different. Consult directions.
Plaster of Paris should be mixed for at least 5 minutes. After 10 minutes it's started hardening and you need to get it in the Tank.
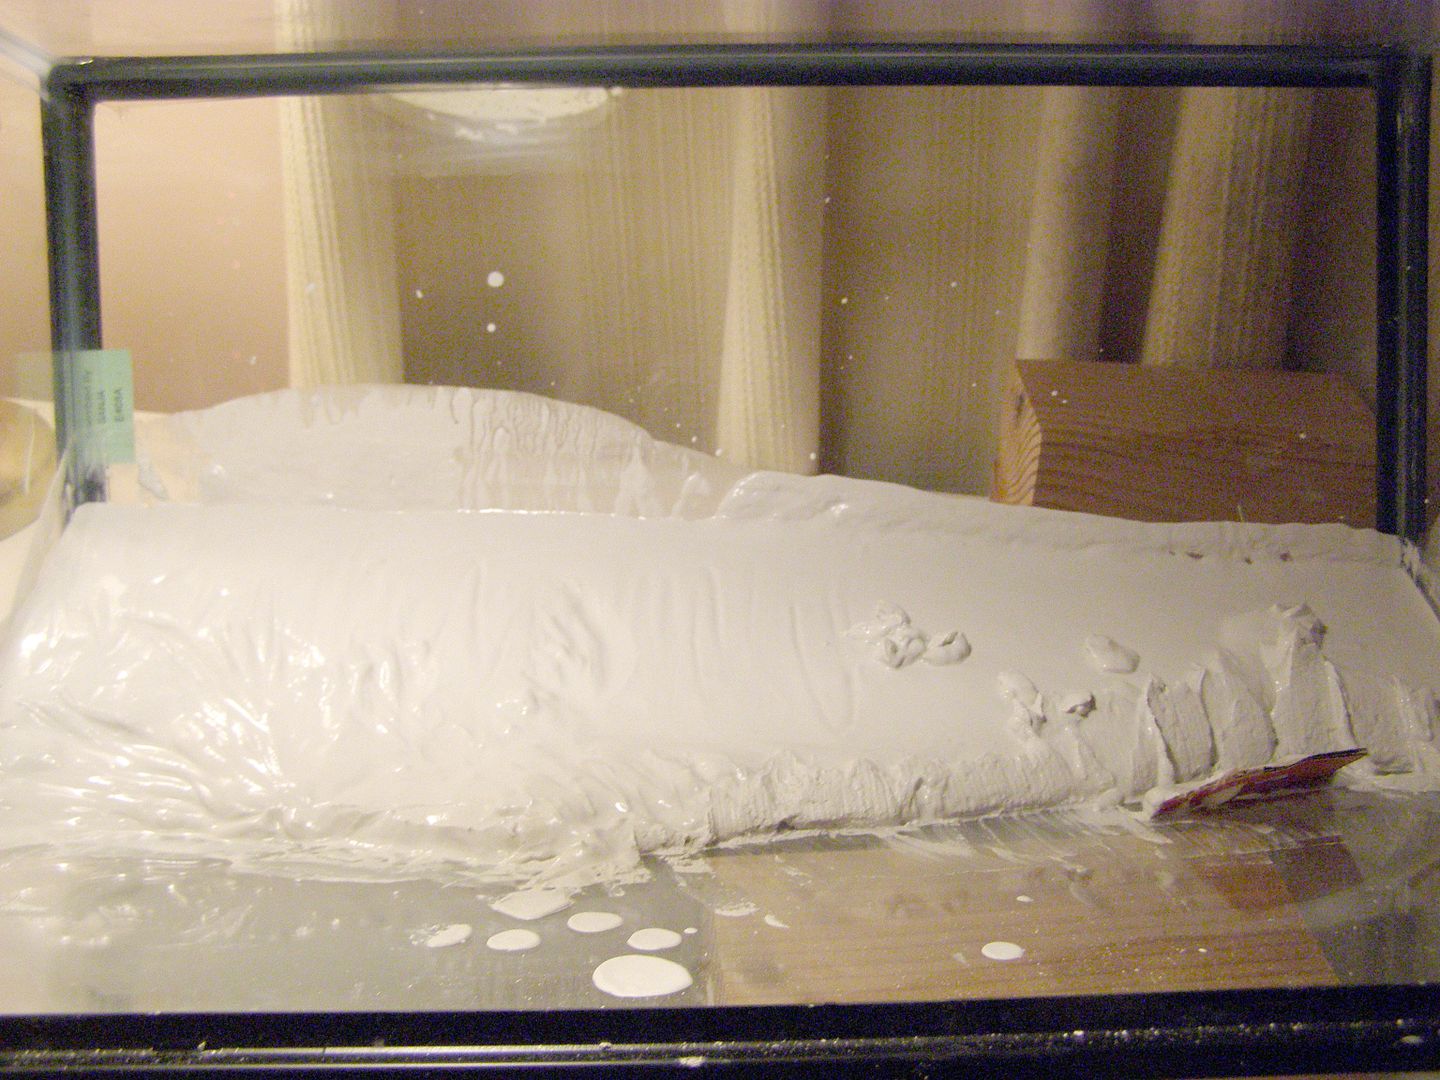
It's hard to tell from this photo but the Terrarium is tilted forward now and being held up by the wooden block under it (lower right). There were also wooden blocks in the tank to sway the plaster into it's current shape. The plaster was poured in here and allowed 10 minutes to set up.
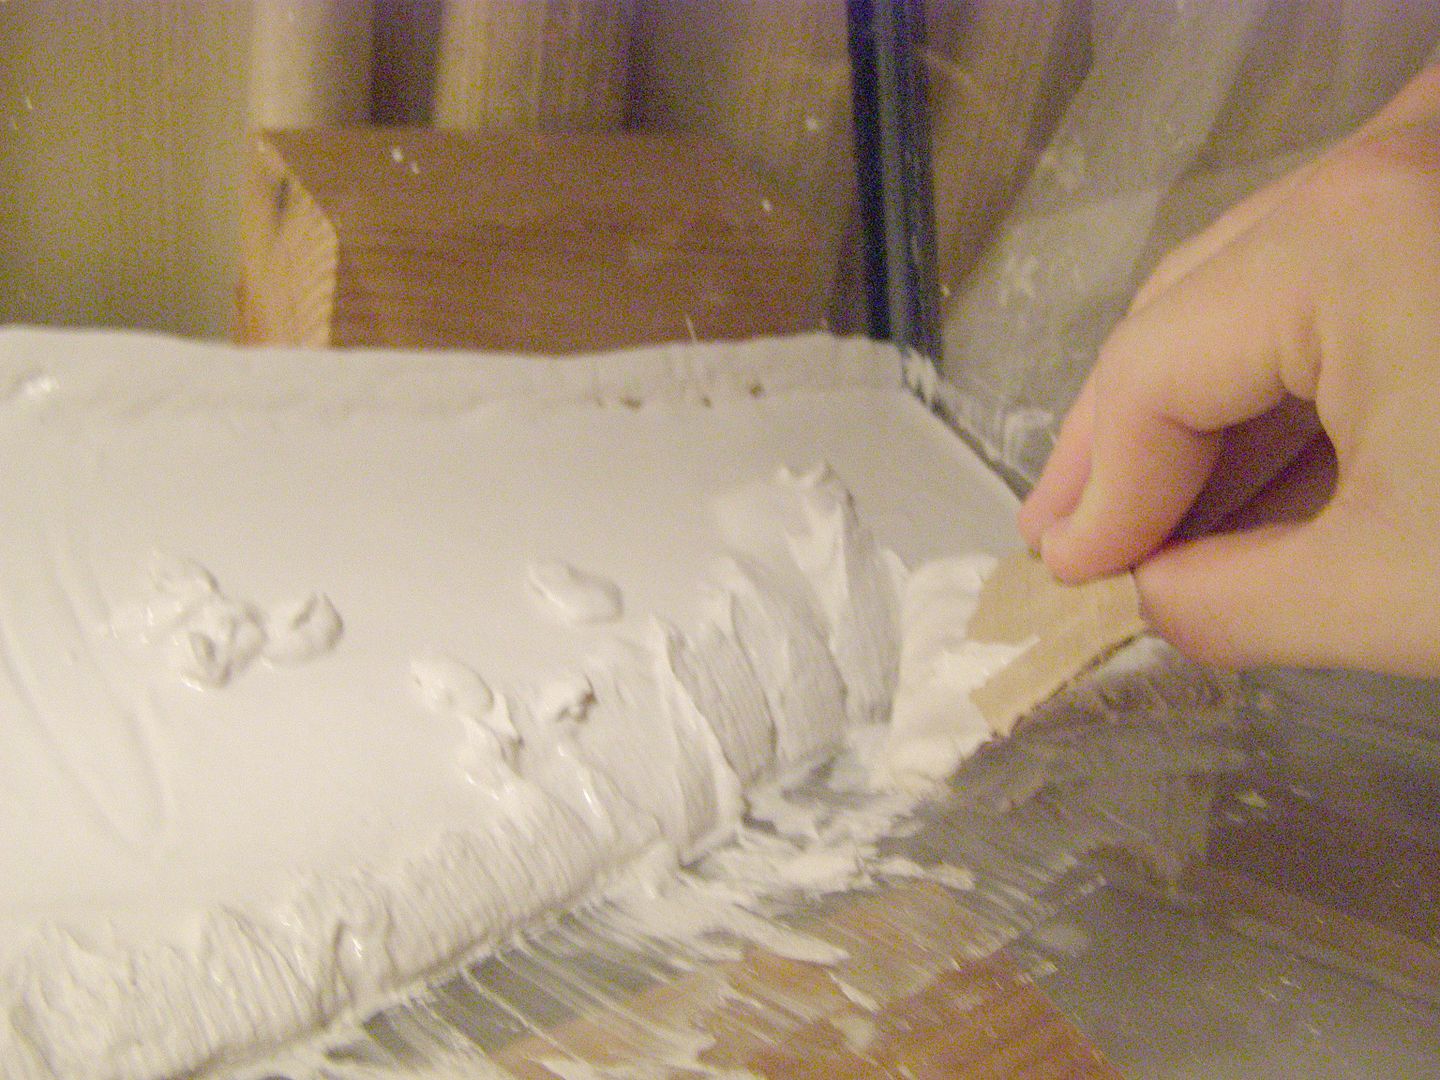
After 10 minutes (give or take) you're ready to start shaping the plaster. It should be hard enough now that it's turning from a gooey slime to a paste. Add texture with piece of cardboard to push the plaster back as needed.
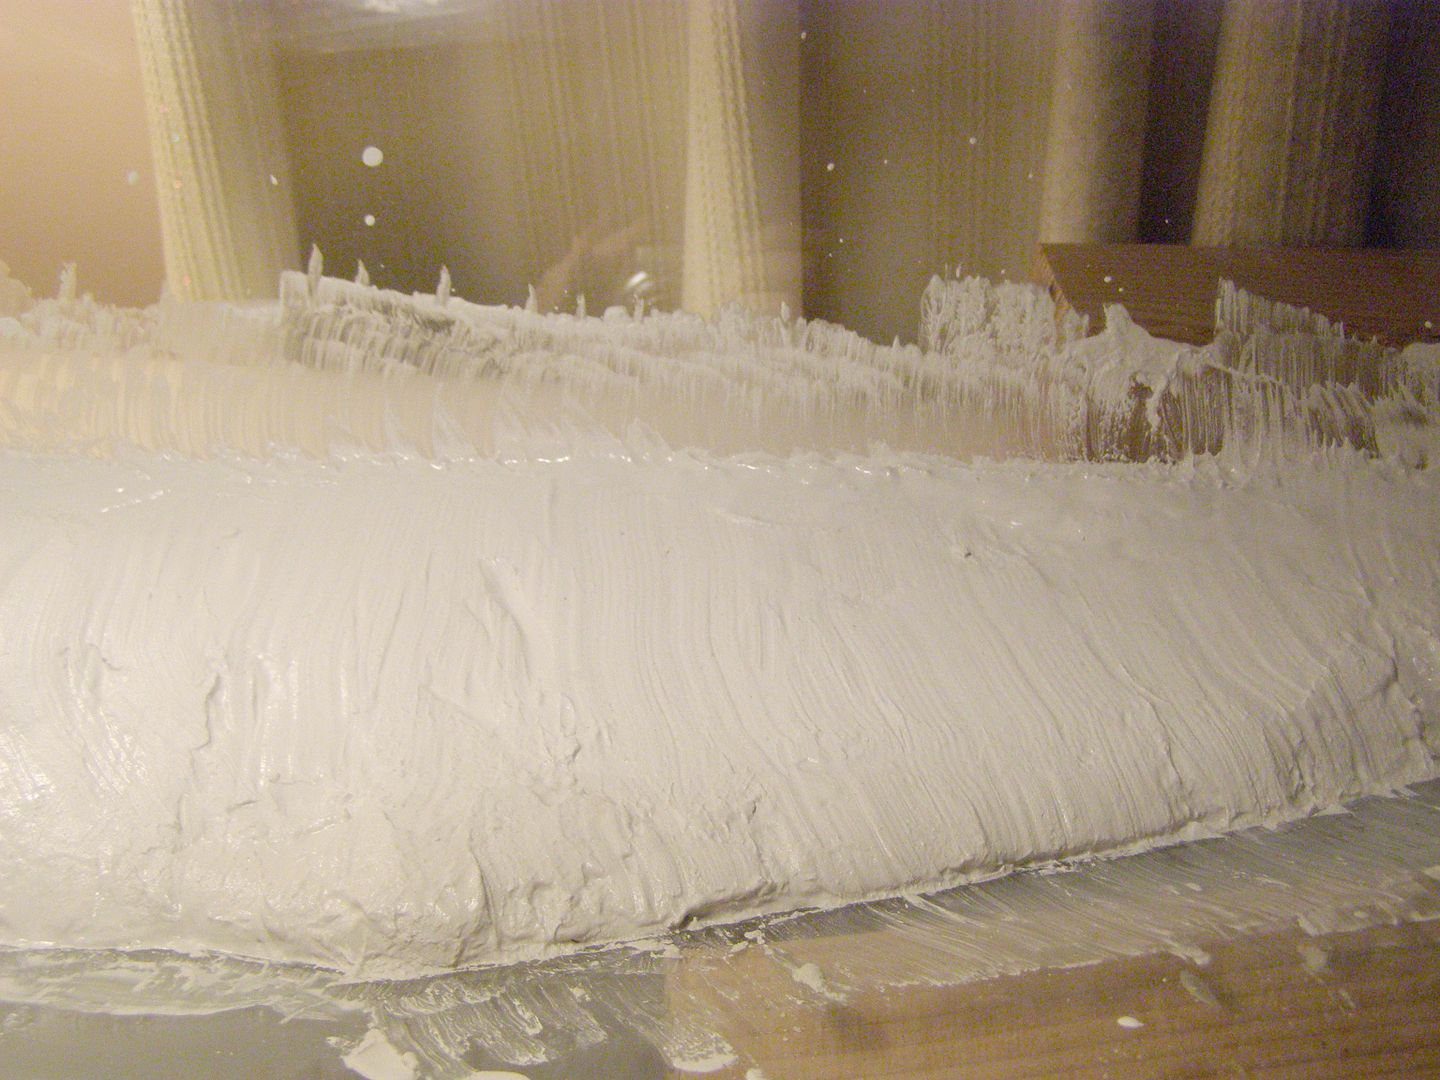
There is a line effect from the ridges in the cardboard that looks nice but we can do better.
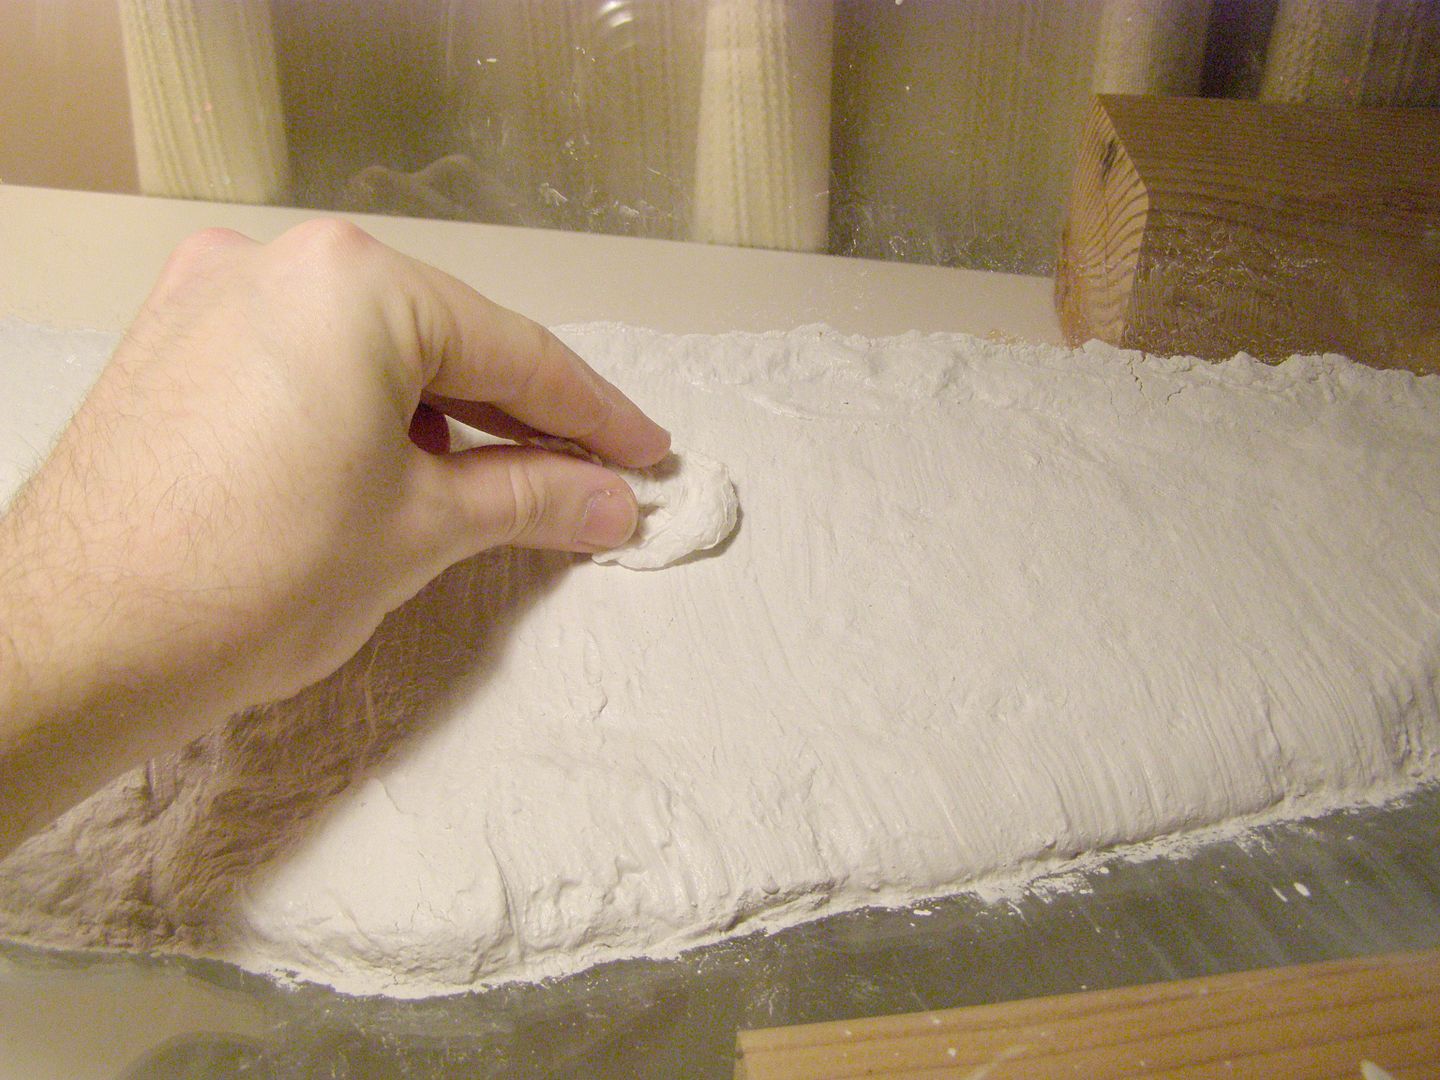
Dabbing with a large cotton ball or crumbled up paper towel will soften the lines and add a rock like texture. Feel free to clean up the glass too. If you don't you'll have tons of tiny flakes of plaster in your setup. It's best to work those in while they're still wet.
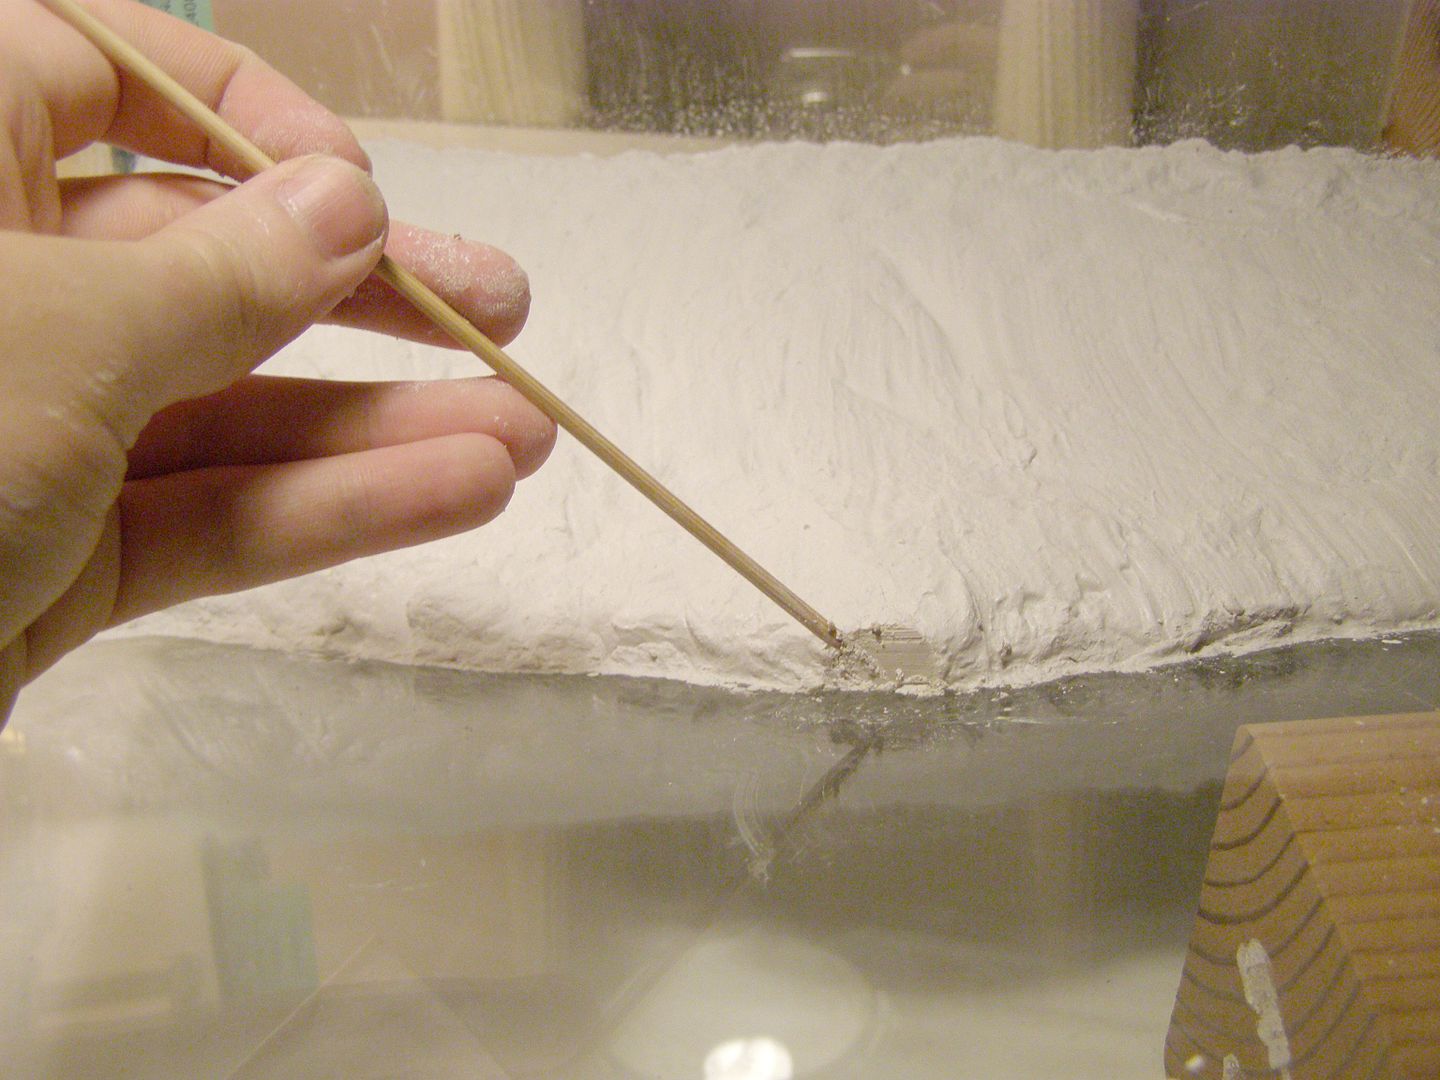
Before it hardens completely it's important to find the entrance(s). They are easily seen by looking under the setup. The pointed stick can be used to neatly scrape off a clean line.
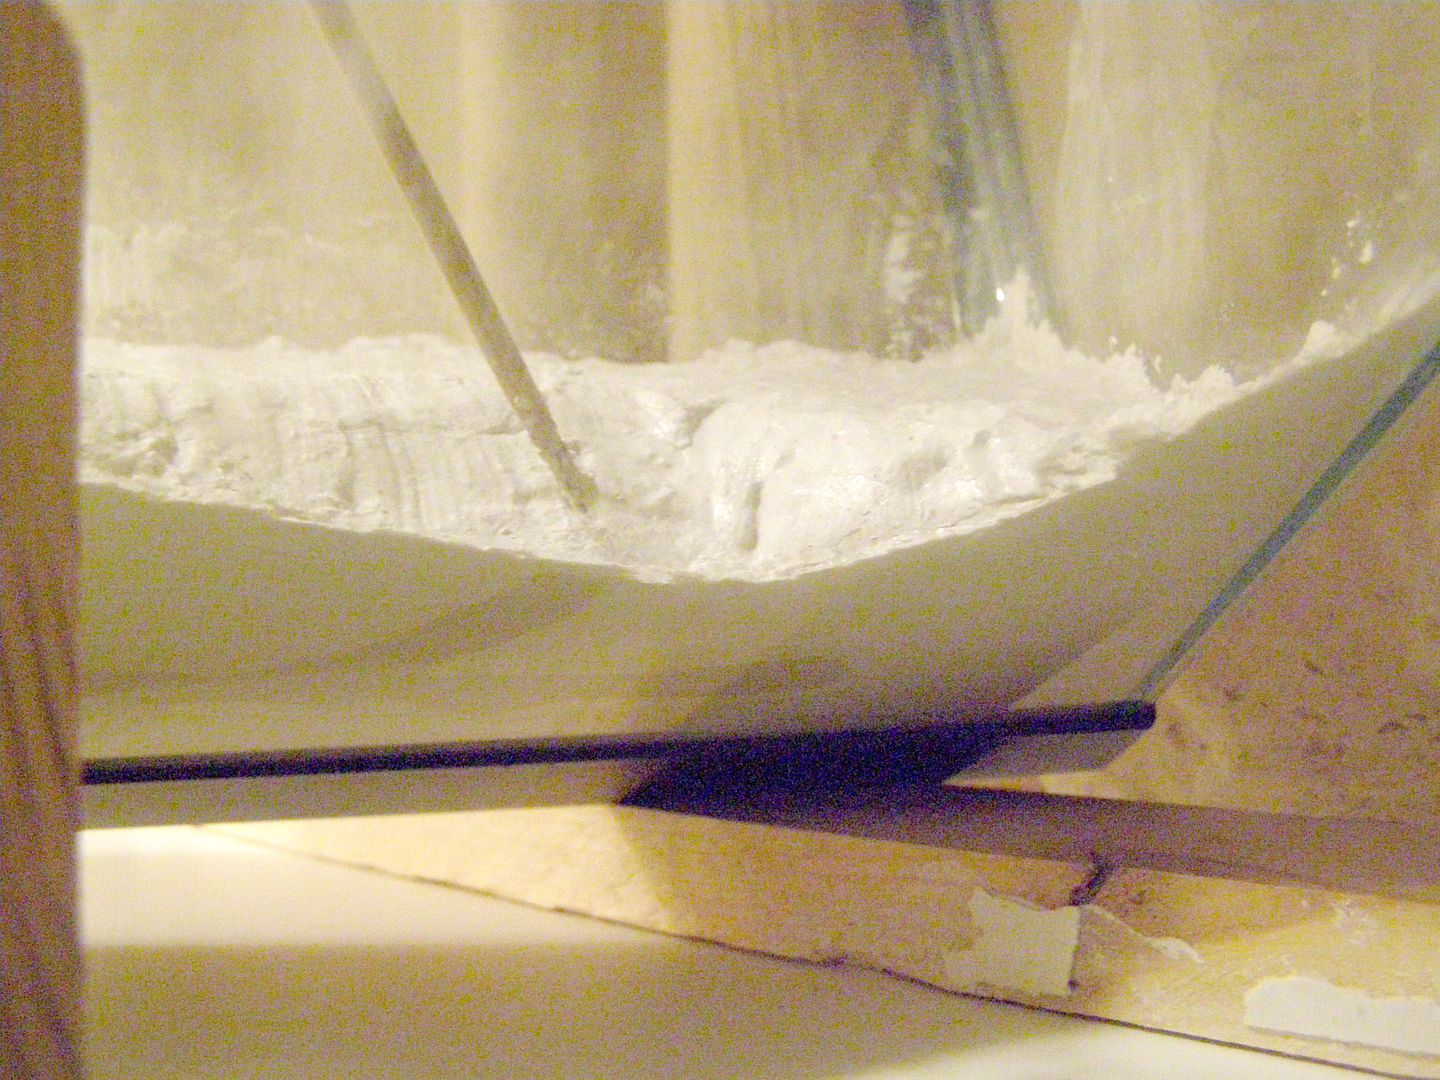
Don't forget the other entrance if you made one.
After 20 minutes of fine poking you should be reasonably pleased with the exterior look.
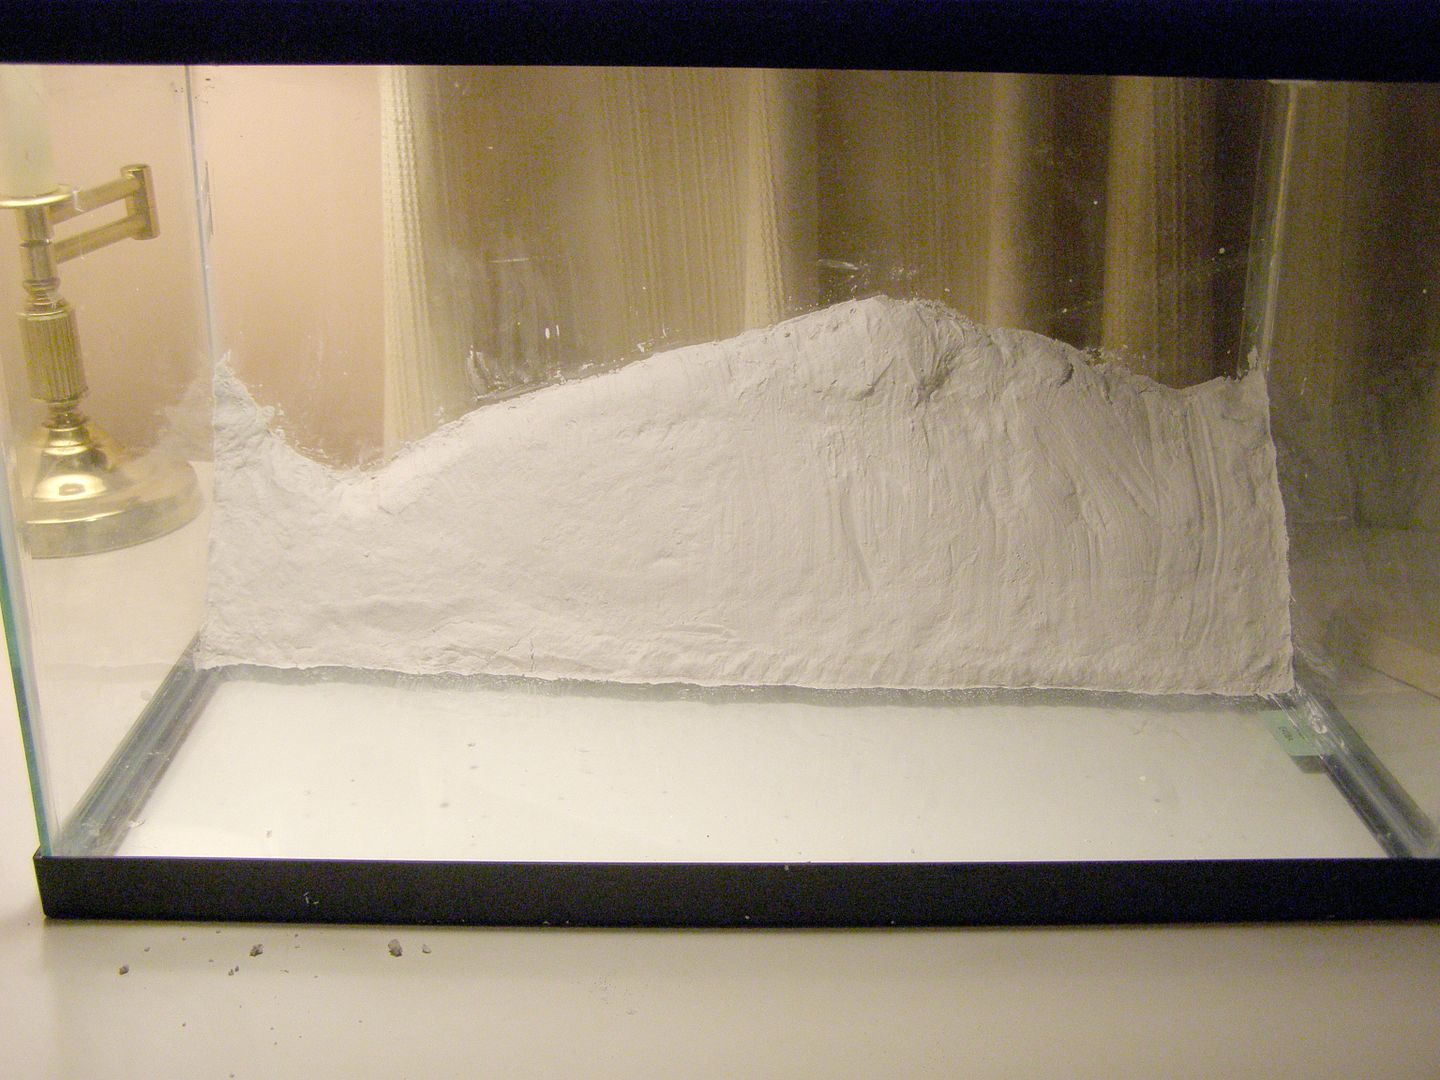
Allow another hour for it to get good and hard. This will reduce massive damage thanks to actions for the following step.
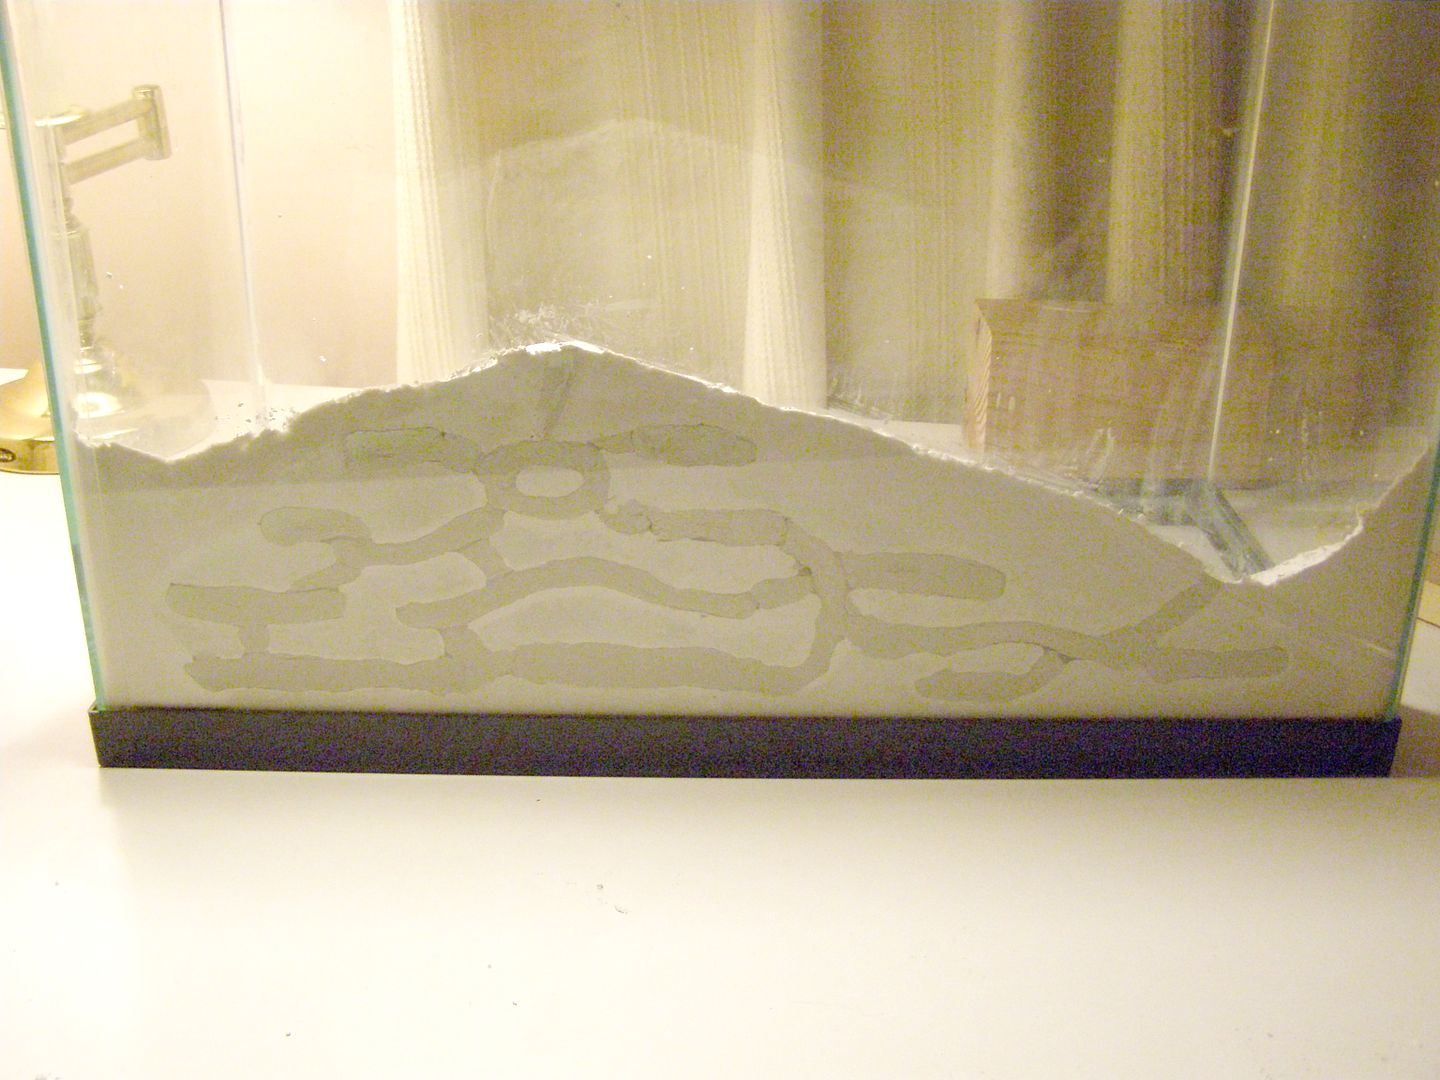
Now that it's ready we can continue. All that's really needed is to remove the clay. The trouble is we've made a setup that's perfectly flush with the sides of the glass. And even when the tank is turned completely upside down it won't budge. (I tried)
The easy solution would have been to put a wooden block to one side of the tunnels before we started pouring the plaster. After allowing it to set we could have simply removed the wooden block at this stage and had ample room to move the setup. The only thing holding it in place would be the clay on the glass, but that has to come out of there anyhow. The space the block of wood filled could later be filled in with more plaster.
I didn't do that so we're stuck using a thin piece of metal to pry it back. In this case I used two very odd looking long butter knives. It's not their proper name but they're a solid piece of metal, meaning the dull blade doesn't bend easily.
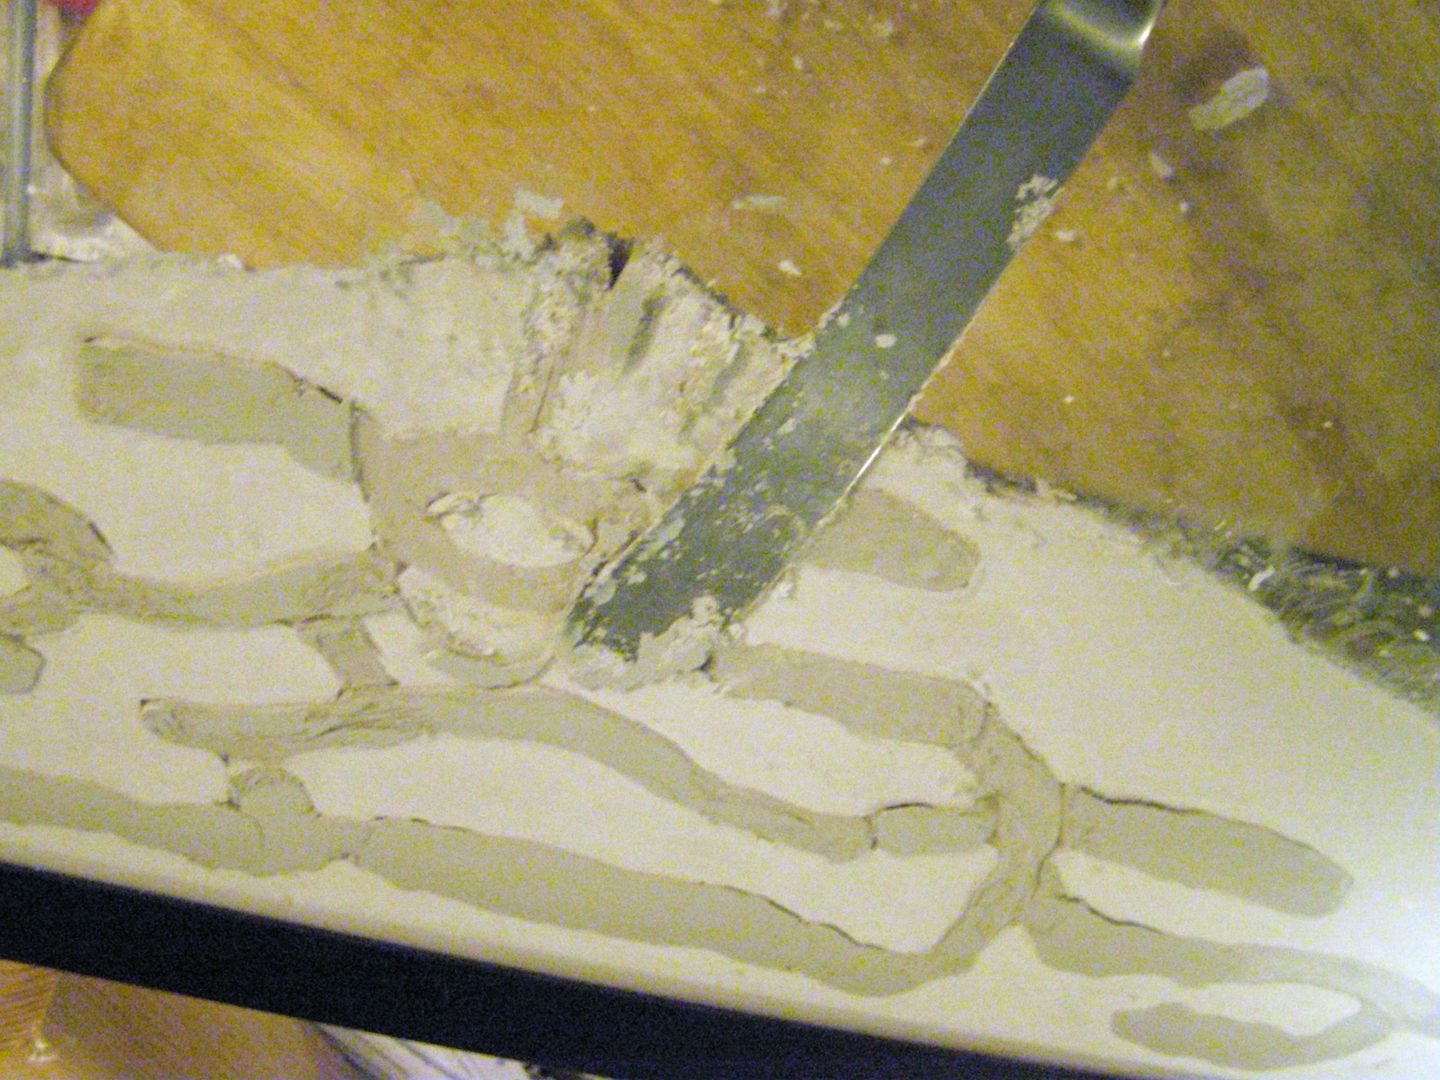
For the most part the plaster is a now a solid chunk of rock. But remember it's weakest at the edges. So you need to work the knife/piece of metal down several inches before attempting to pry it from the side. The Modeling Clay is still very soft so I suggest starting from the entrance(s) and working your way out from there.
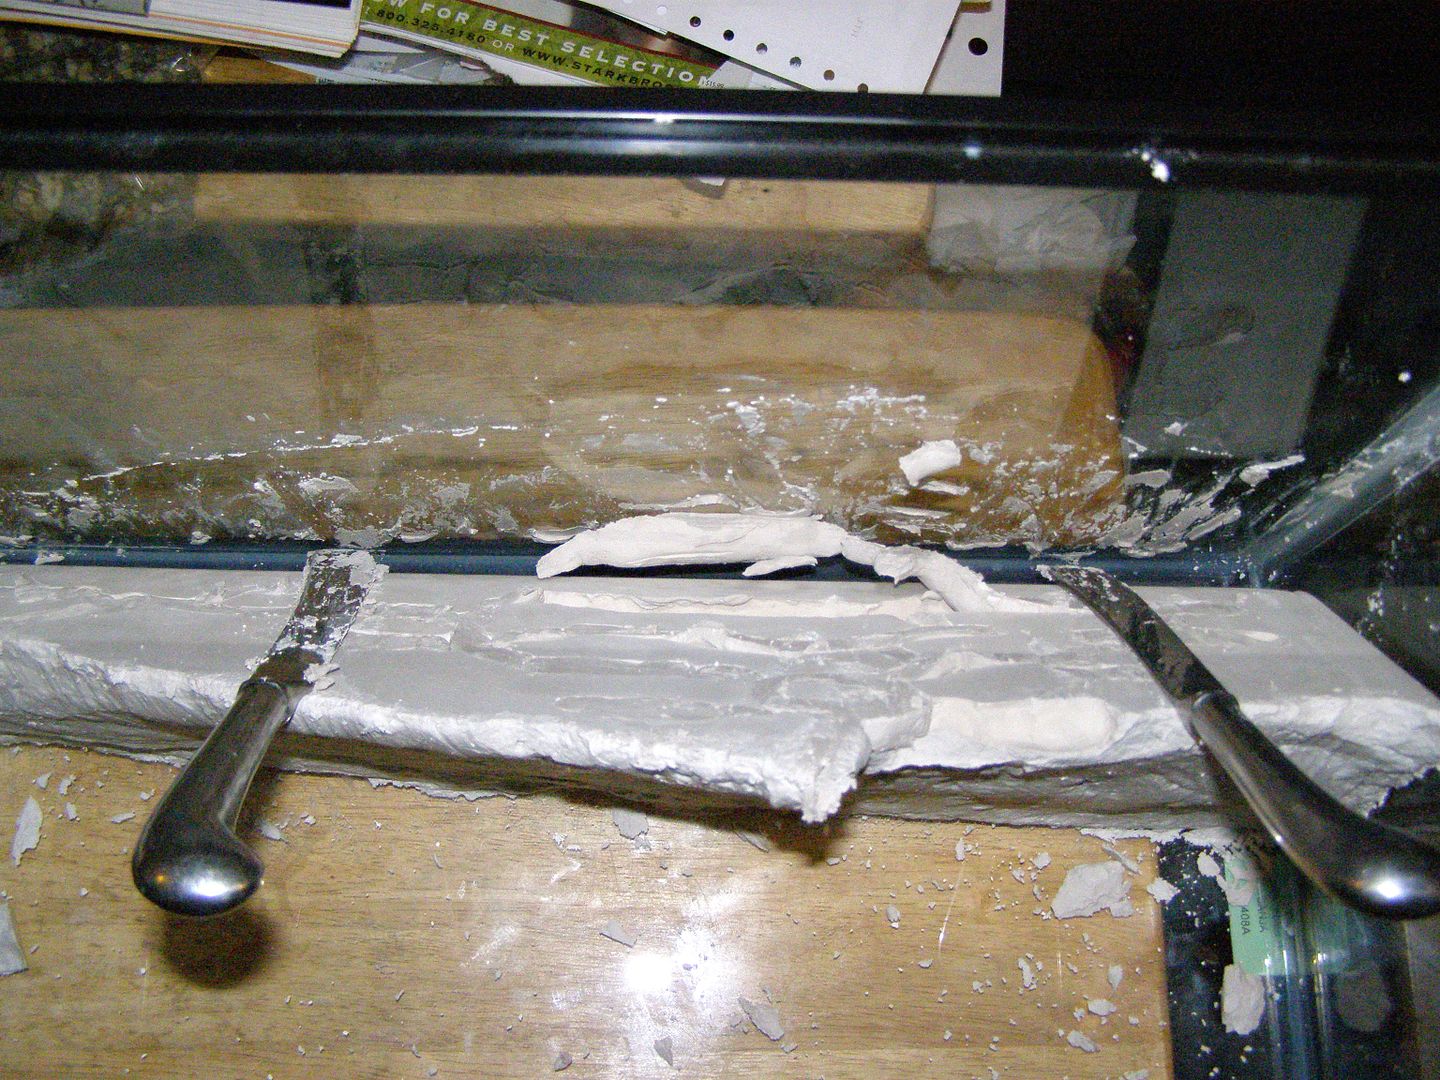
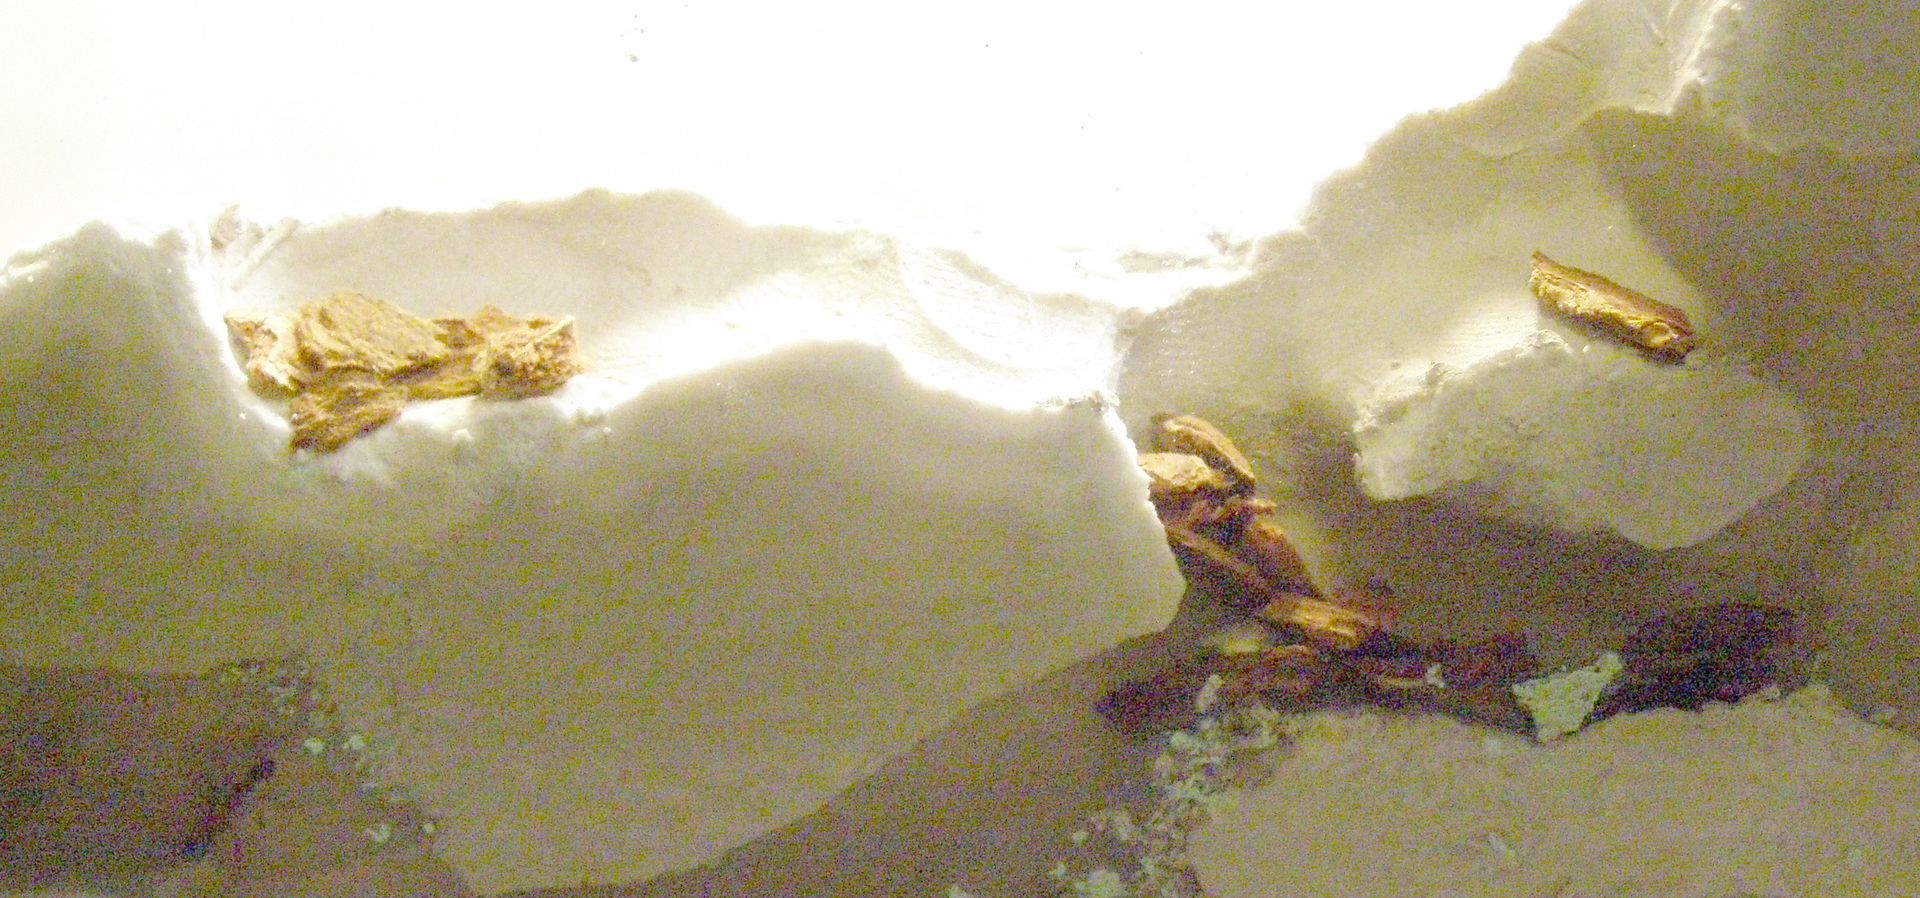
Success! It doesn't move so much as turn away from the glass. Also note that half the main entrance tunnel and the top of a room chipped off. A small price to pay in my opinion.
Remove the clay from the setup, and clean the glass as best you can. Modeling clay will dissolve when rubbed with a wet paper towel. You'll still need to go back and dry it up of course, but it cleans almost perfectly.
Notice that the setup is still viable inside the tank at this time. Because it was molded to be flush with the sides there's no way of getting it out of the tank. So leave it there for now.
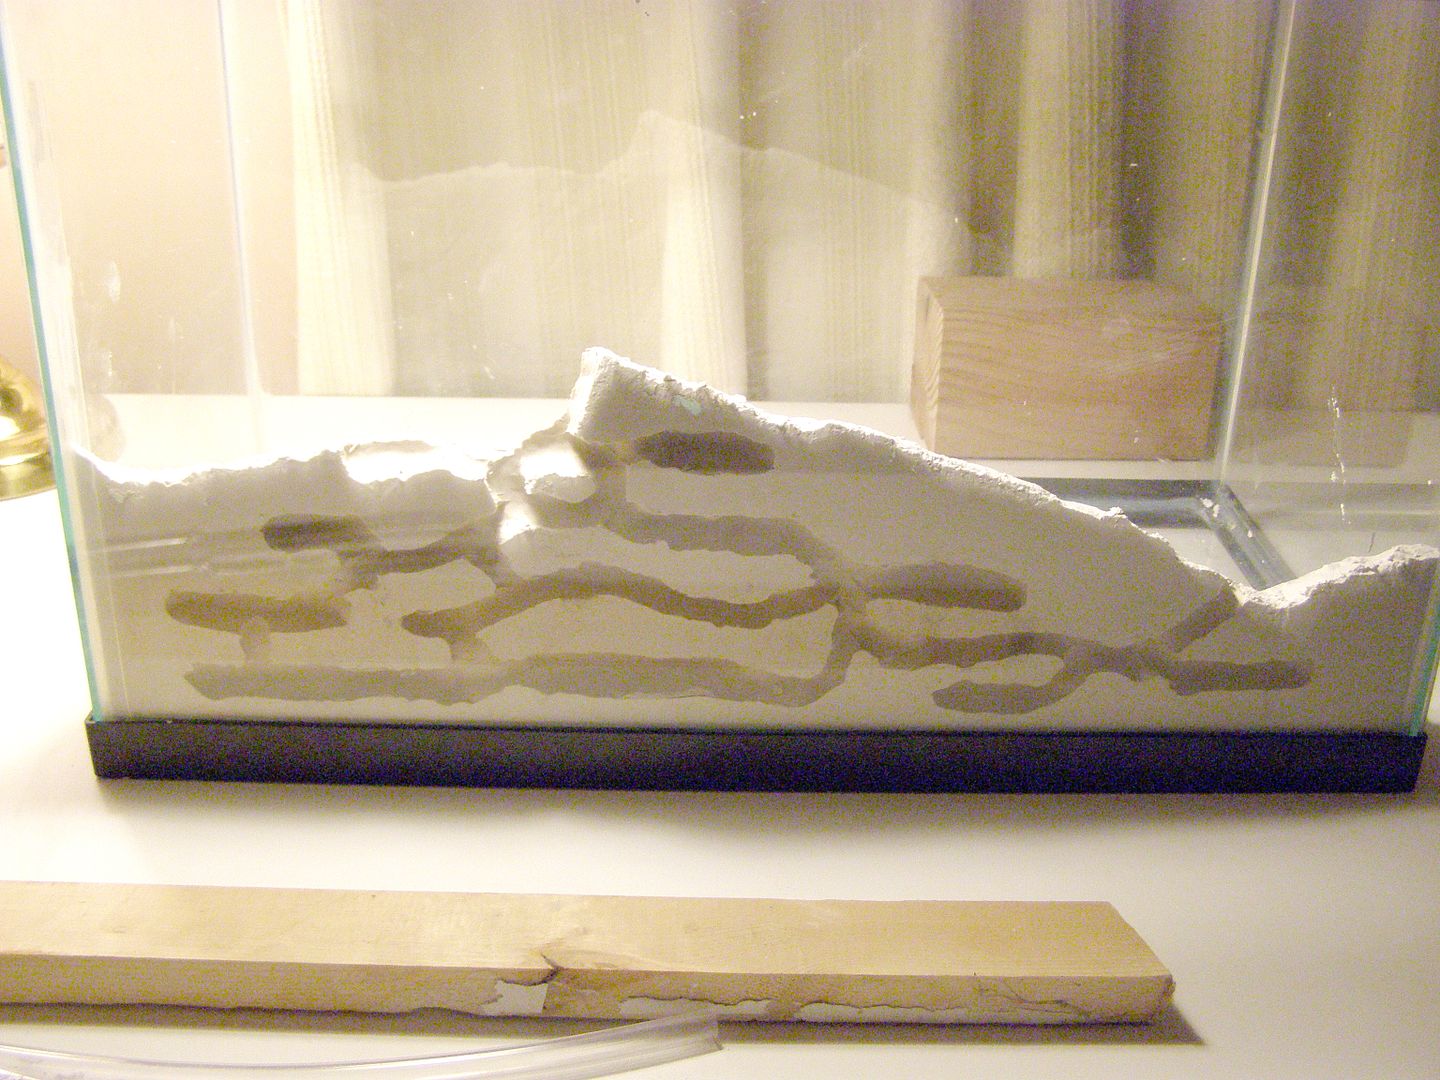
Now that everything is cleaned up you can see what we're left with. The damaged top room and entrance area is hardly noticeable.
I also used a small hand held dust vac to get pieces of plaster out of there but they could have been swept out easy enough.
I did attempt to fix it with some plaster but found this to be impossible. The wet plaster immediately dries when it touches the dry plaster. Rather than living with a cracked setup I simply threw the pieces away and moved on.
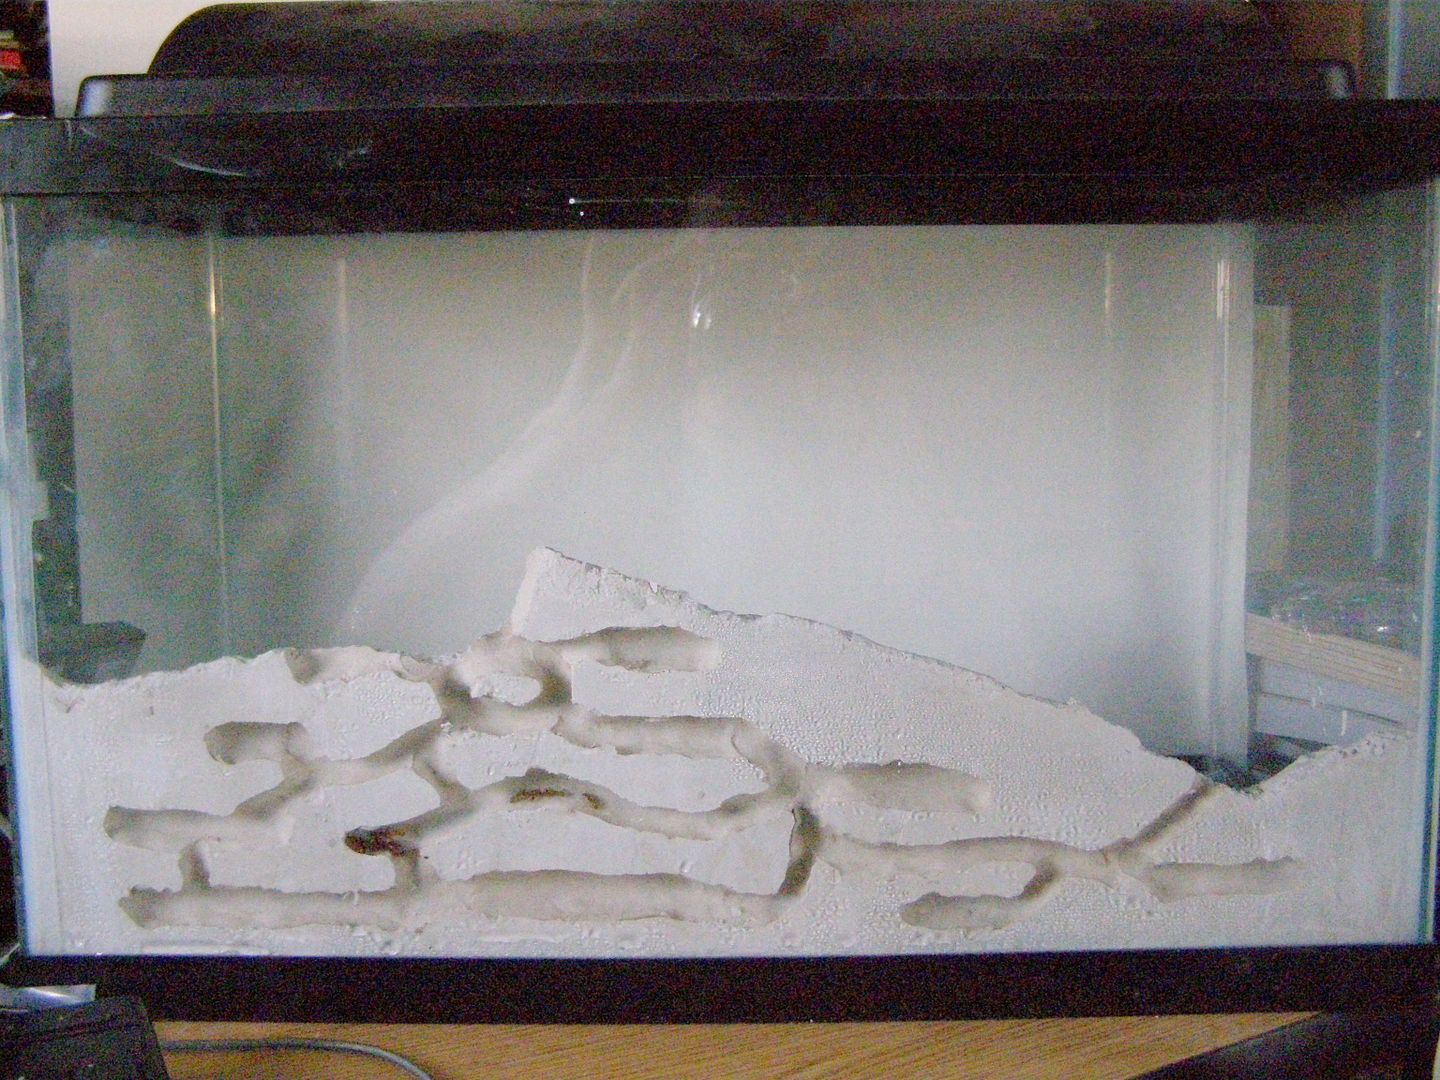
In the next post I will discuss adding ants.
Labels:
Ants,
How To,
Tank Setup
Subscribe to:
Posts (Atom)