In the past I have been able to get milkweed seeds to germinate simply by keeping them damp. I'd always wondered why though after about two months I'd find them already germinated, and poking out some shoots. Well this class answered my questions and more and I'd like to share what I learned.
Bare in mind, a three hour course is anything but comprehensive. It was very instructive and inspirational enough that I'd like to explore the topic more seriously. Until then, here's the basics of what I learned.

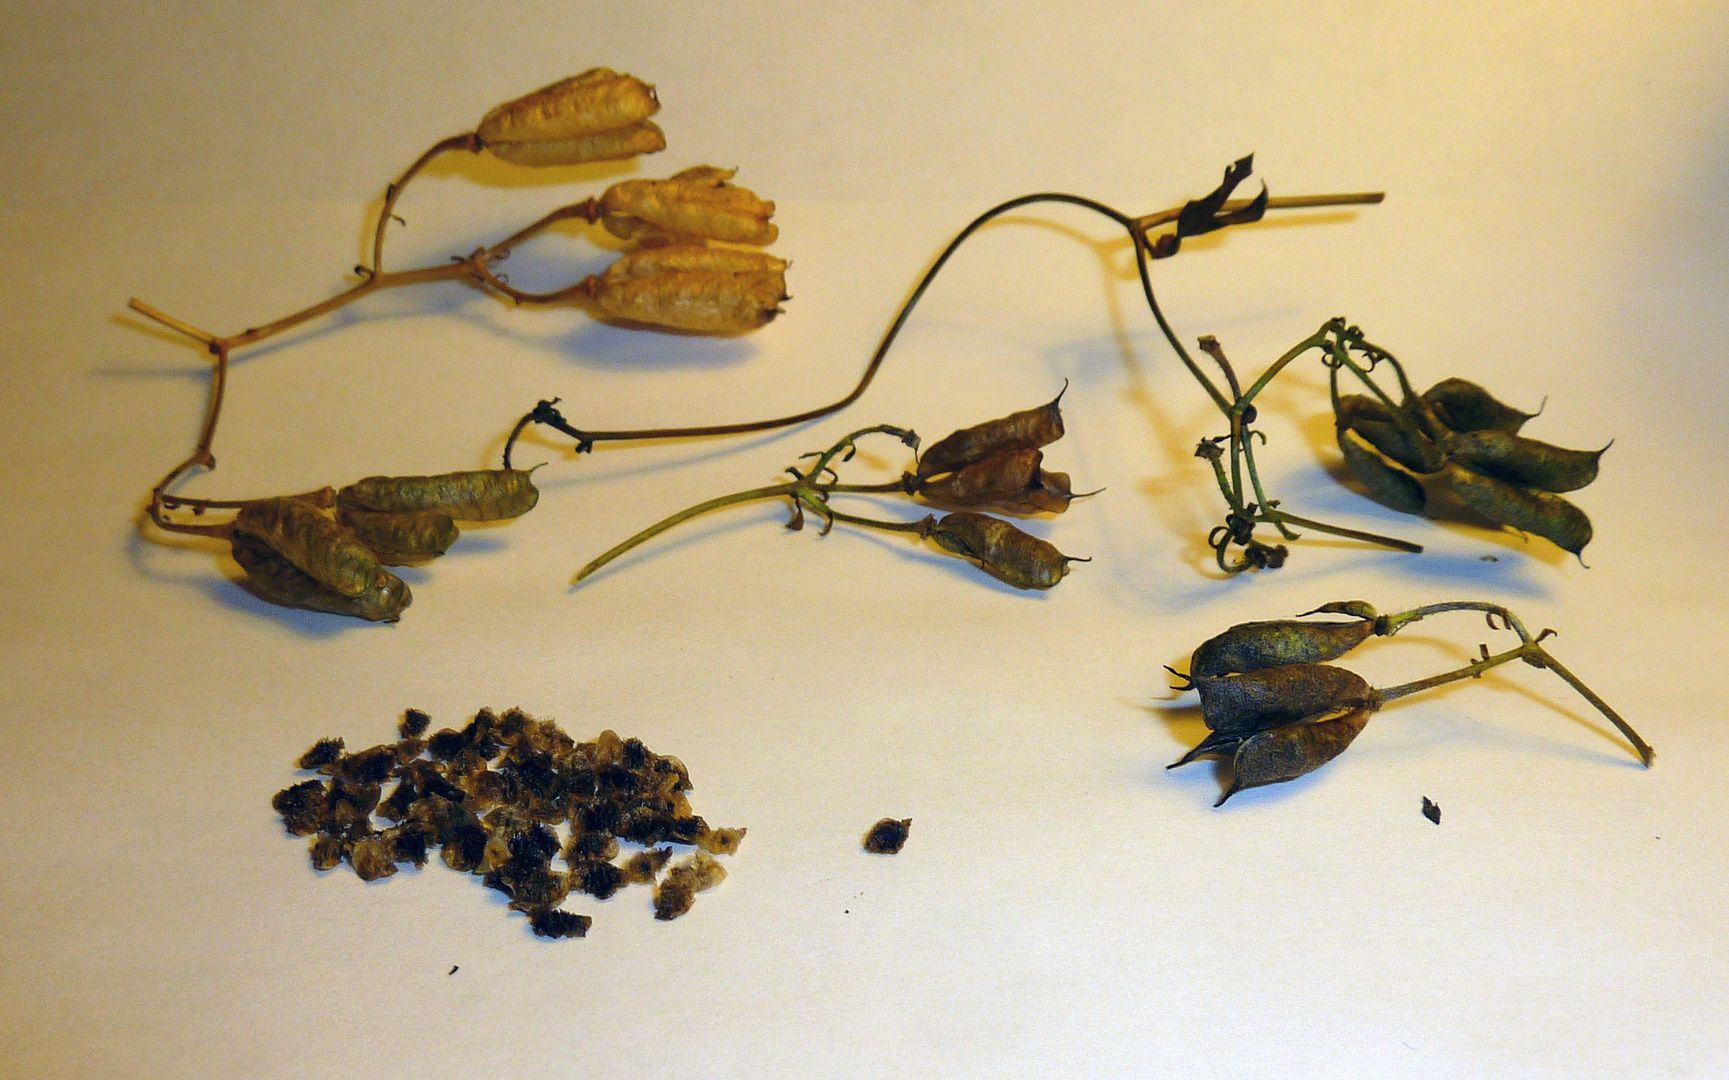
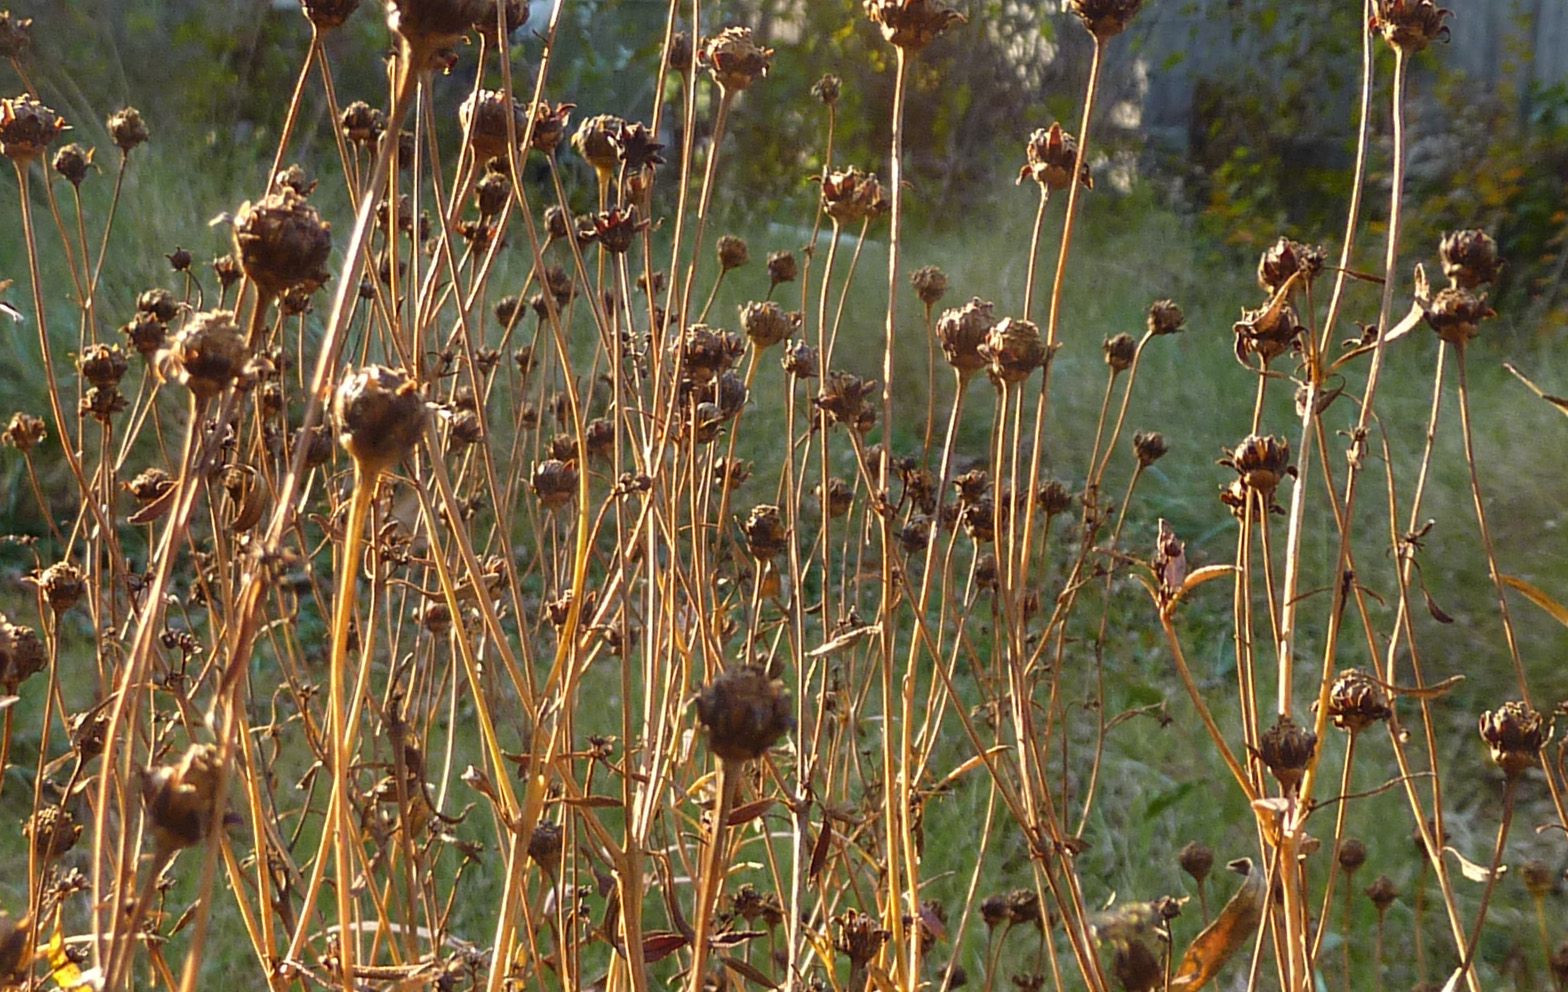
Collecting seeds should be done on a dry day. Seed heads can otherwise be mushy and plants that produce compartments full of seeds don't release them when it's wet. The water gets everywhere and collecting is so much easier when things are dry.
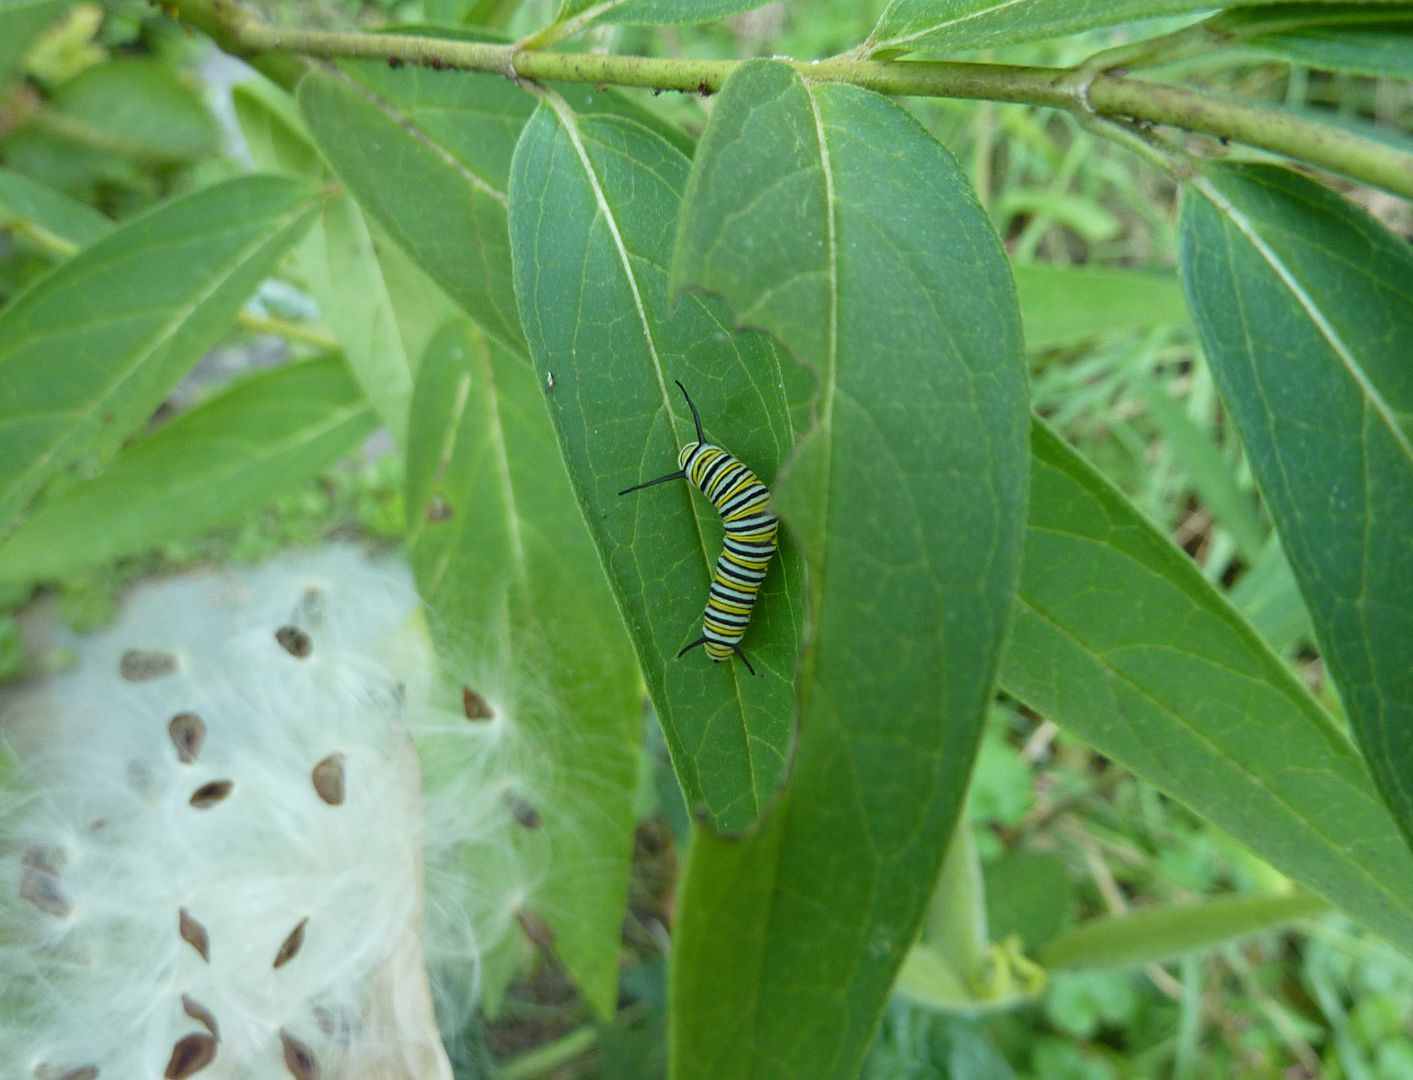
While collecting it's important to sort and label out in the field. Use paper or plastic bag and label everything. Plants that have tiny dots for seeds all look the same.
How to Clean
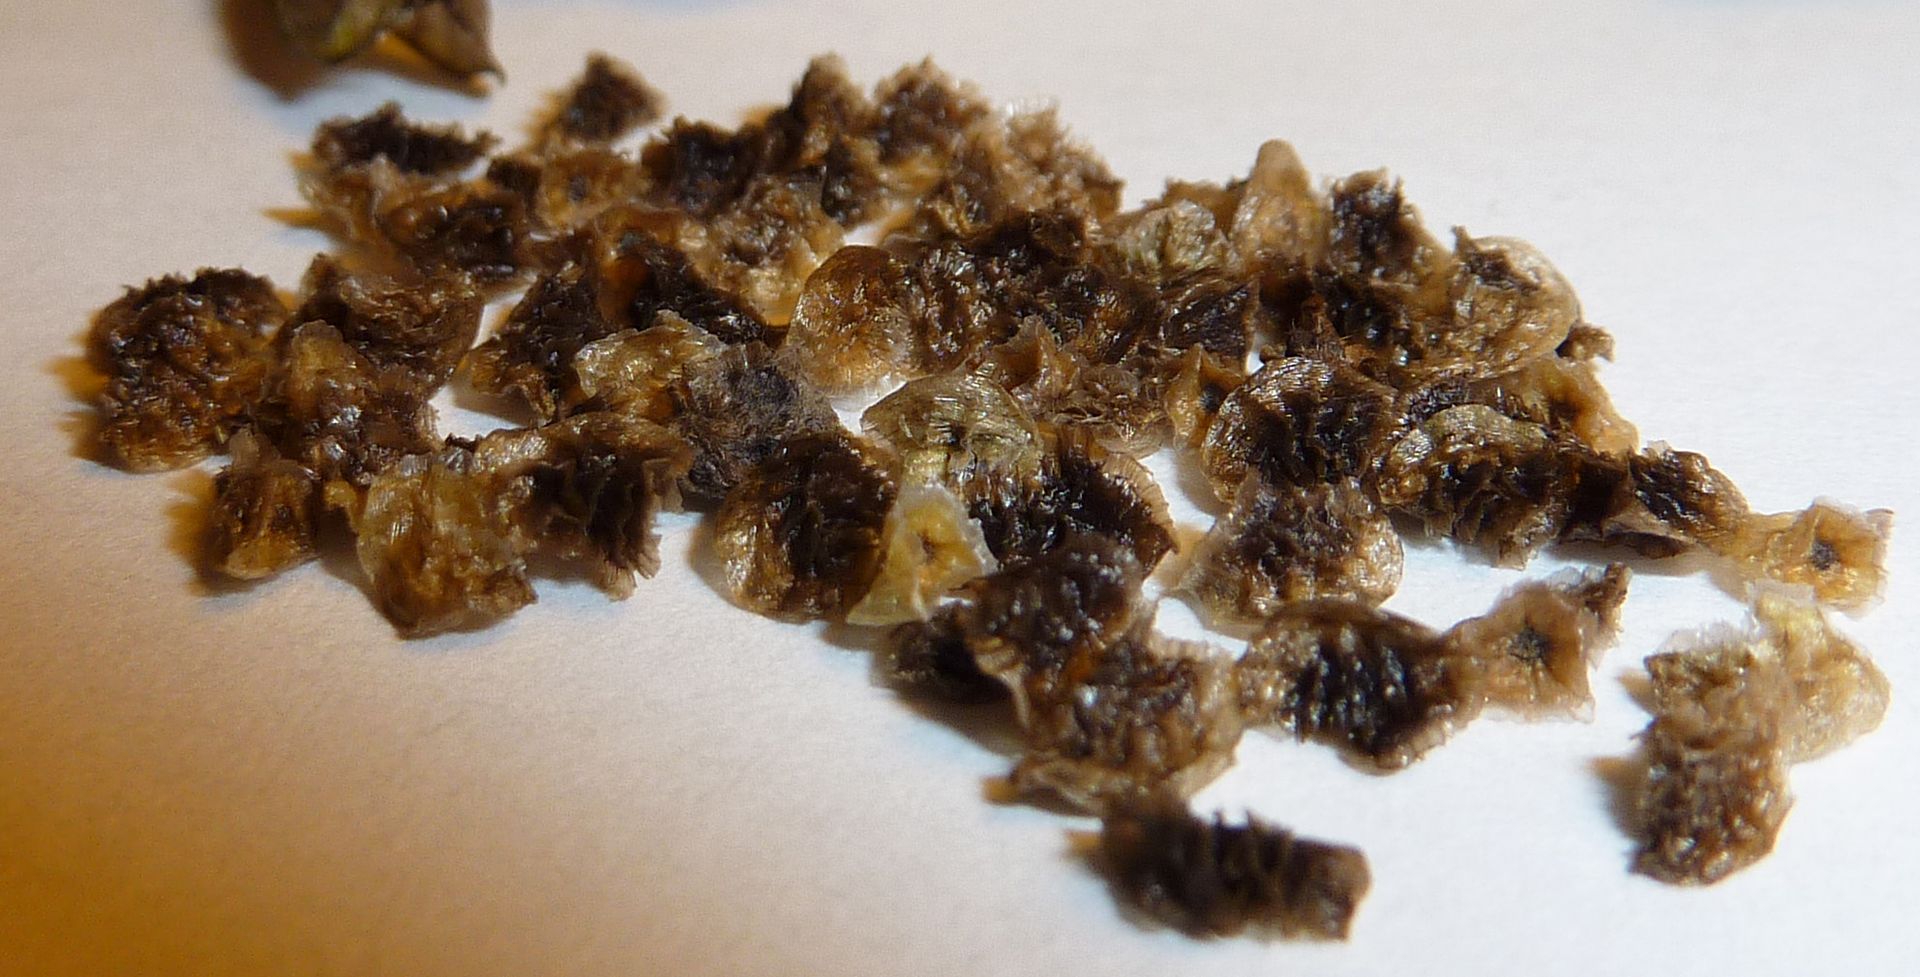
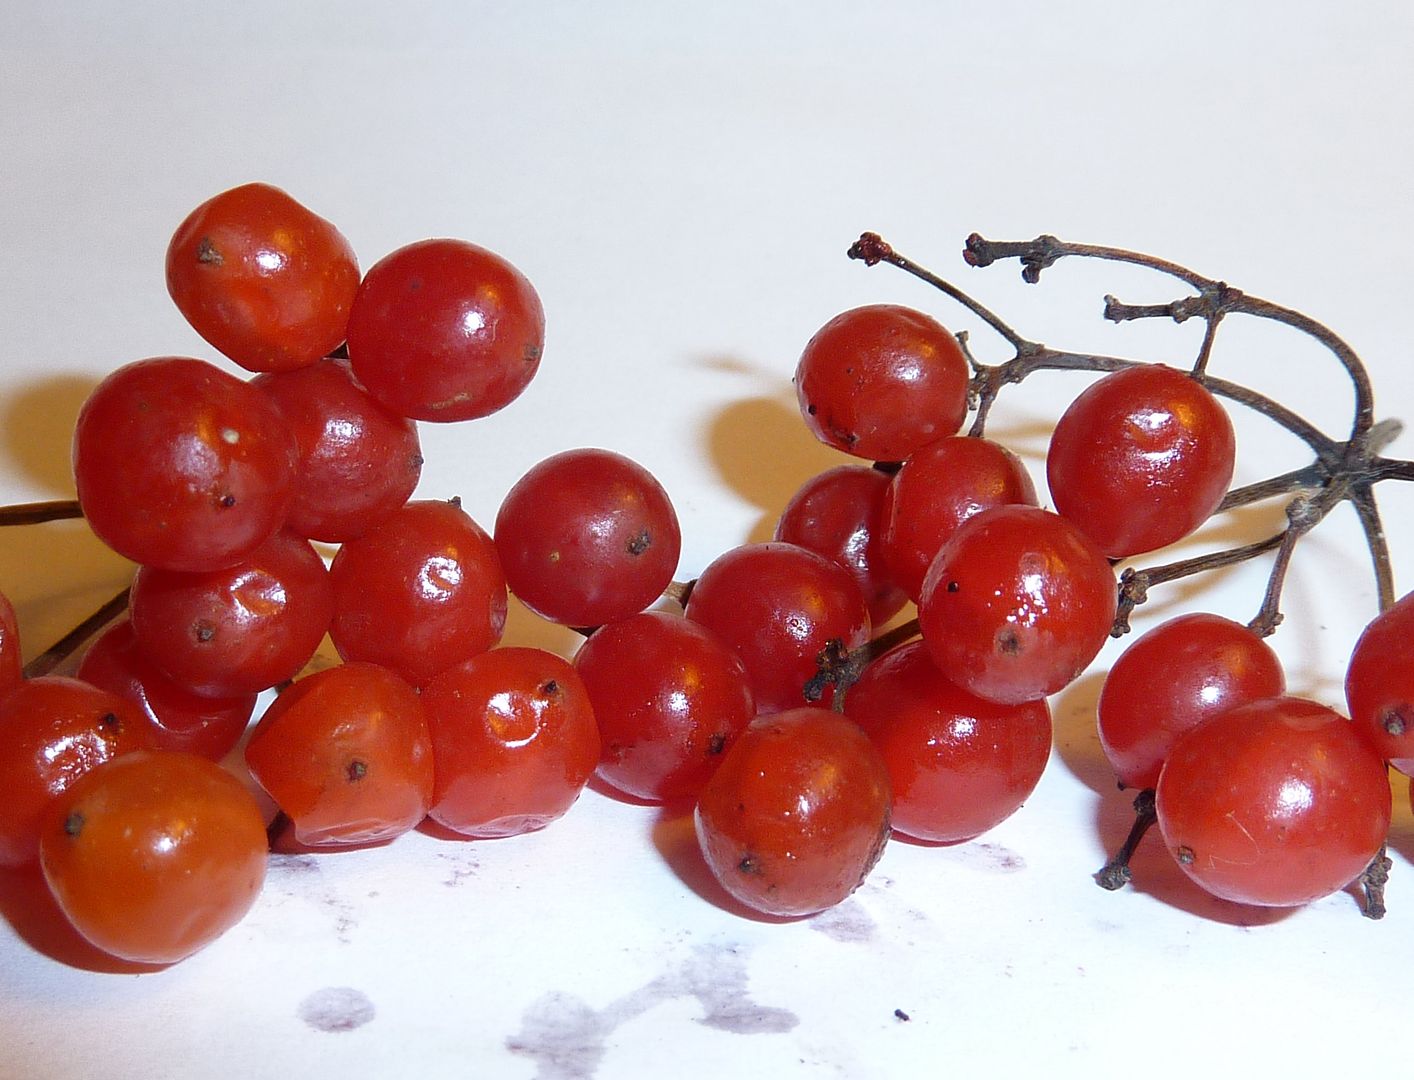
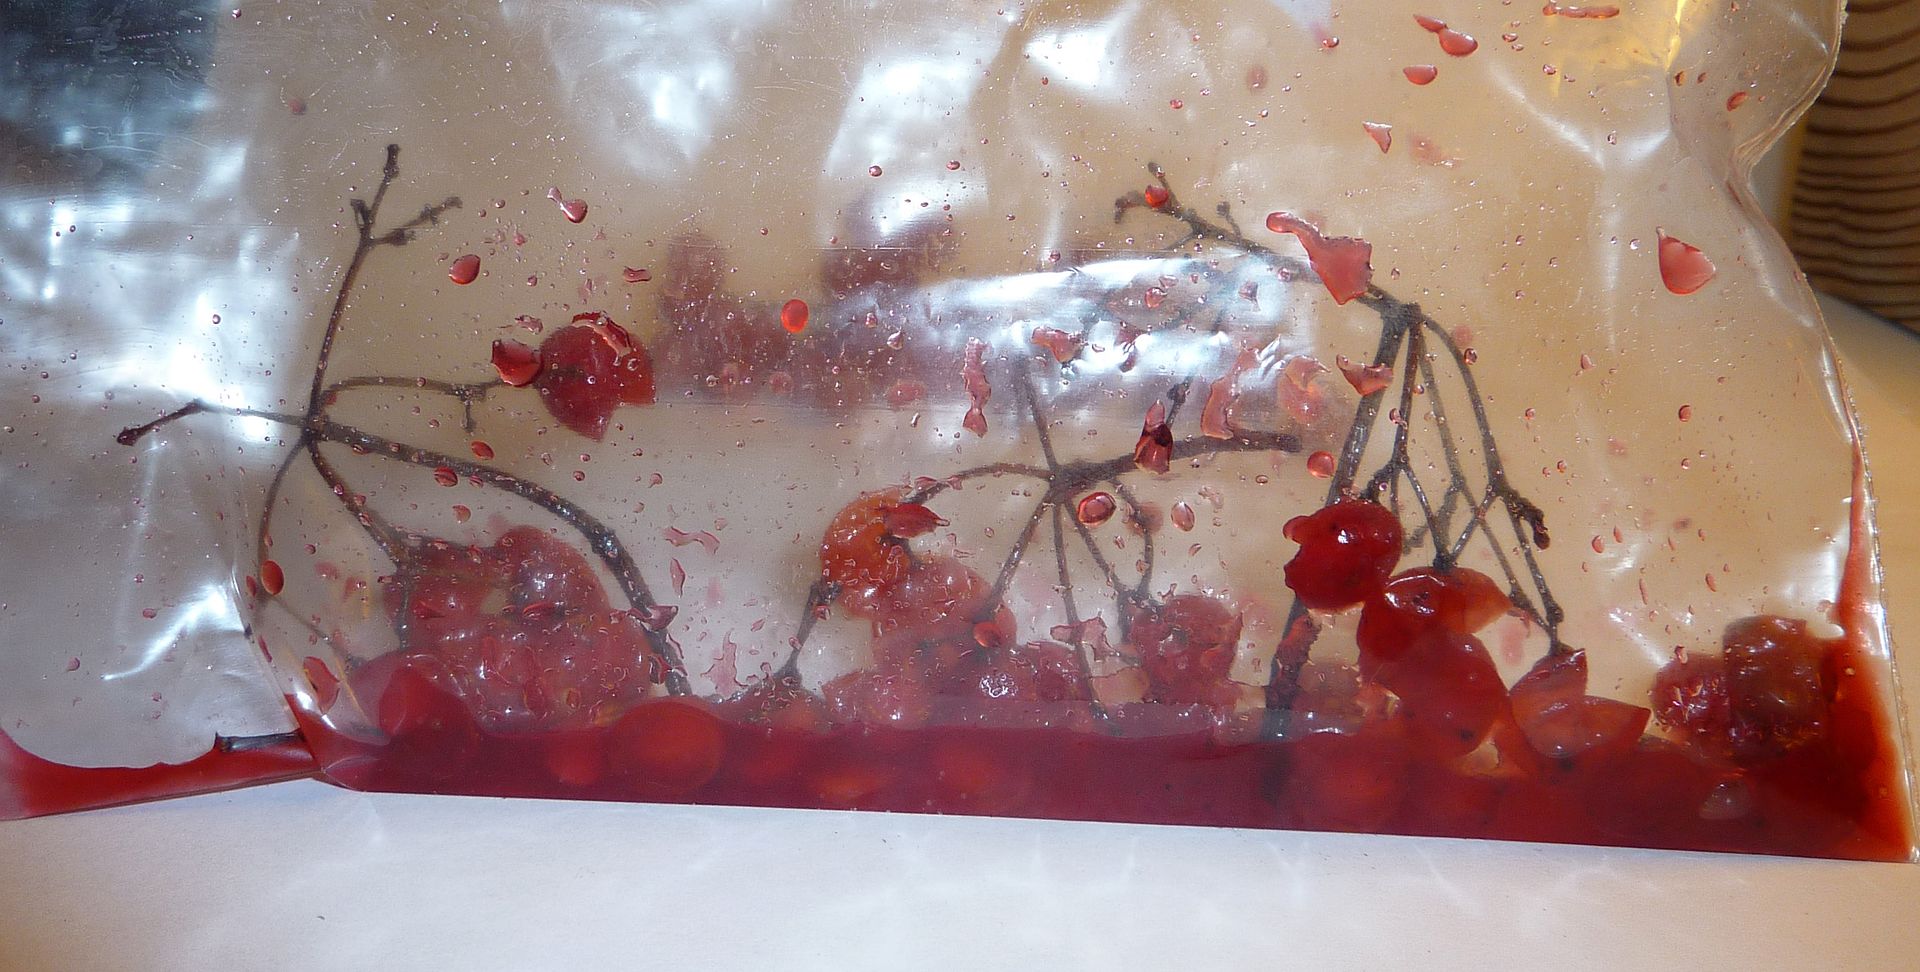
There are "Dry Seeds" and there are "Wet Seeds." Dry seeds are seeds that have developed without any sort of exterior edible parts to them. I use the word edible loosely as many seeds are themselves edible. Generally Wet seeds differ from dry because they developed inside a fruit or otherwise have external food pockets attached to them such as elaiosome.


Checking for Viability
The easiest method is to place the seeds in a bowl of water and maybe shake out all the air bubbles for a few minutes. Room temp is fine, nothing to hot or cold though. Bad seed typically floats, unless you're dealing with a wetland species who's seeds are intended to float. In that case this test is unreliable. For everything else though, bad seeds float because they are hollow. And yes seeds that look good can in fact be bad. It's one of those things you'll never know for sure unless you crack one open or do this test. Good seed typically sinks or is otherwise botany just under the surface.
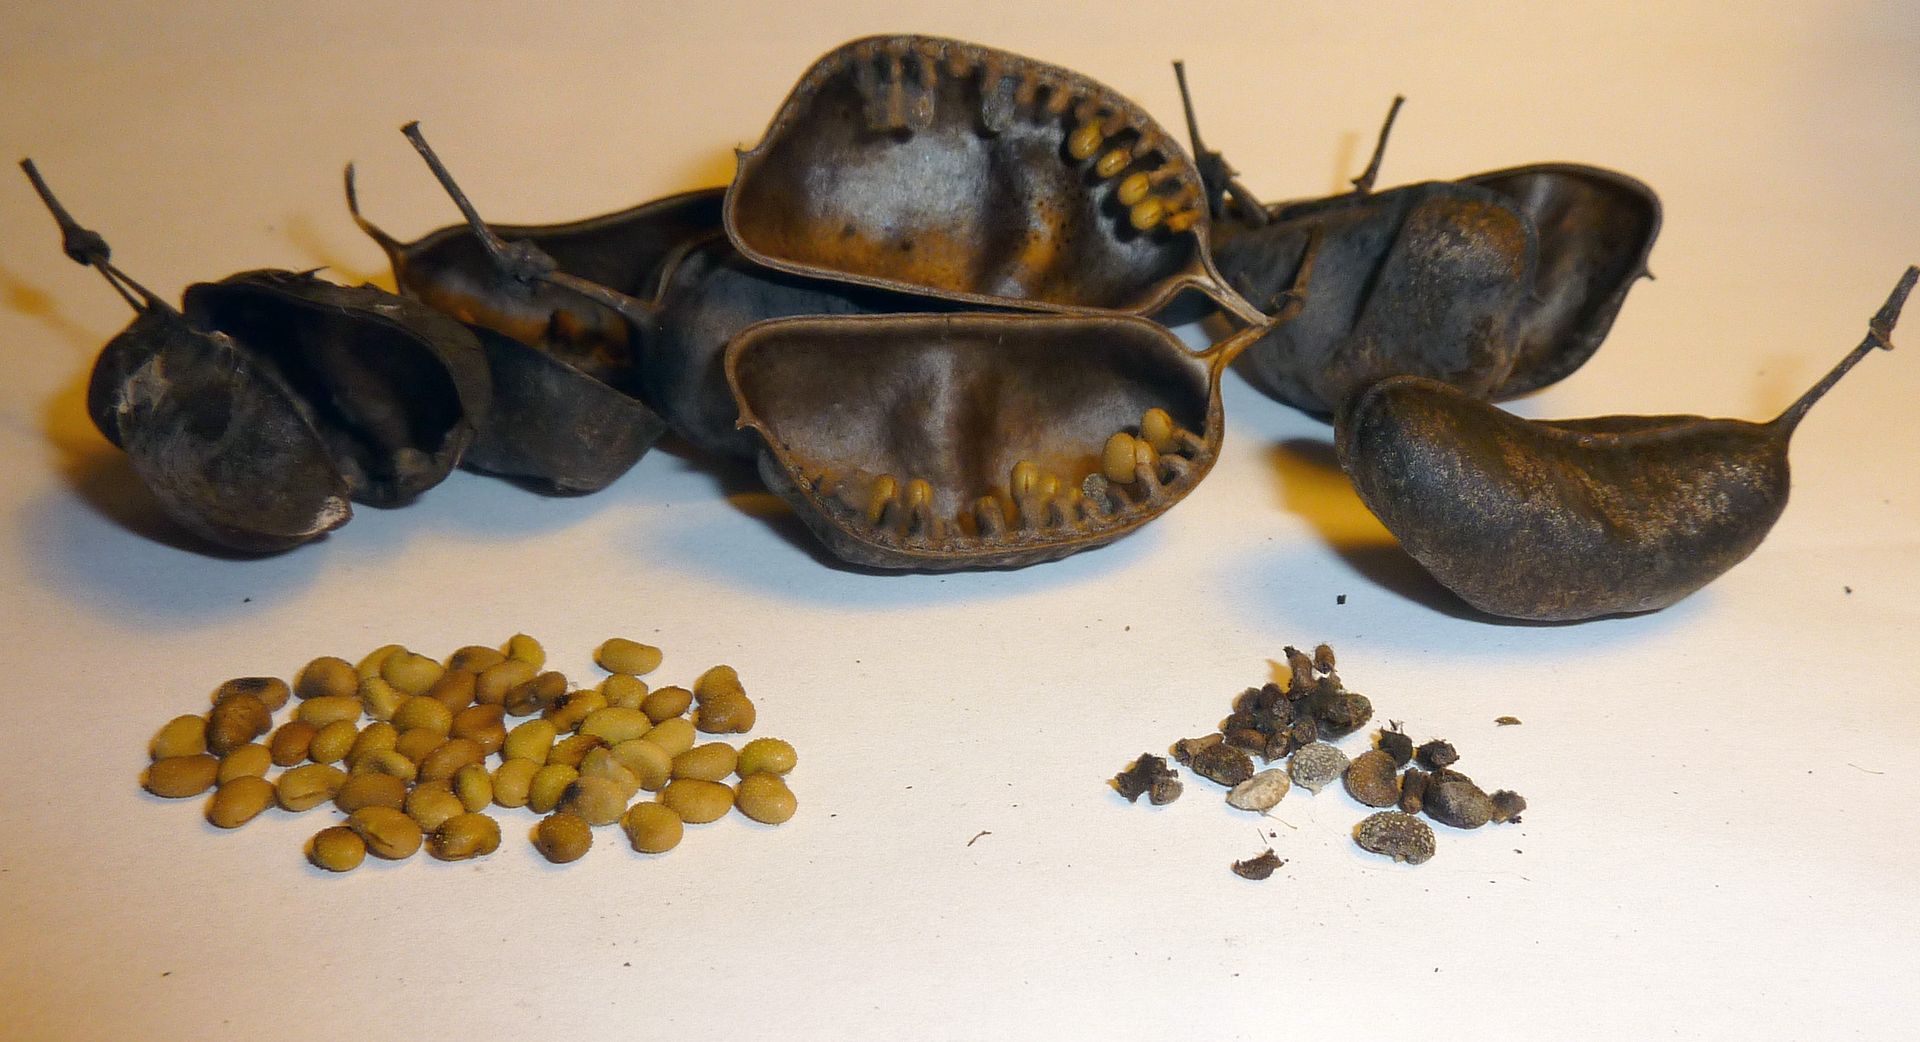

An issue with the soaking test and member of the pea family is that the seeds need to expand in order to germinate. When checking for viability don't leave these seeds in the water for more than a half hour or so. Maybe don't risk doing it at all even.
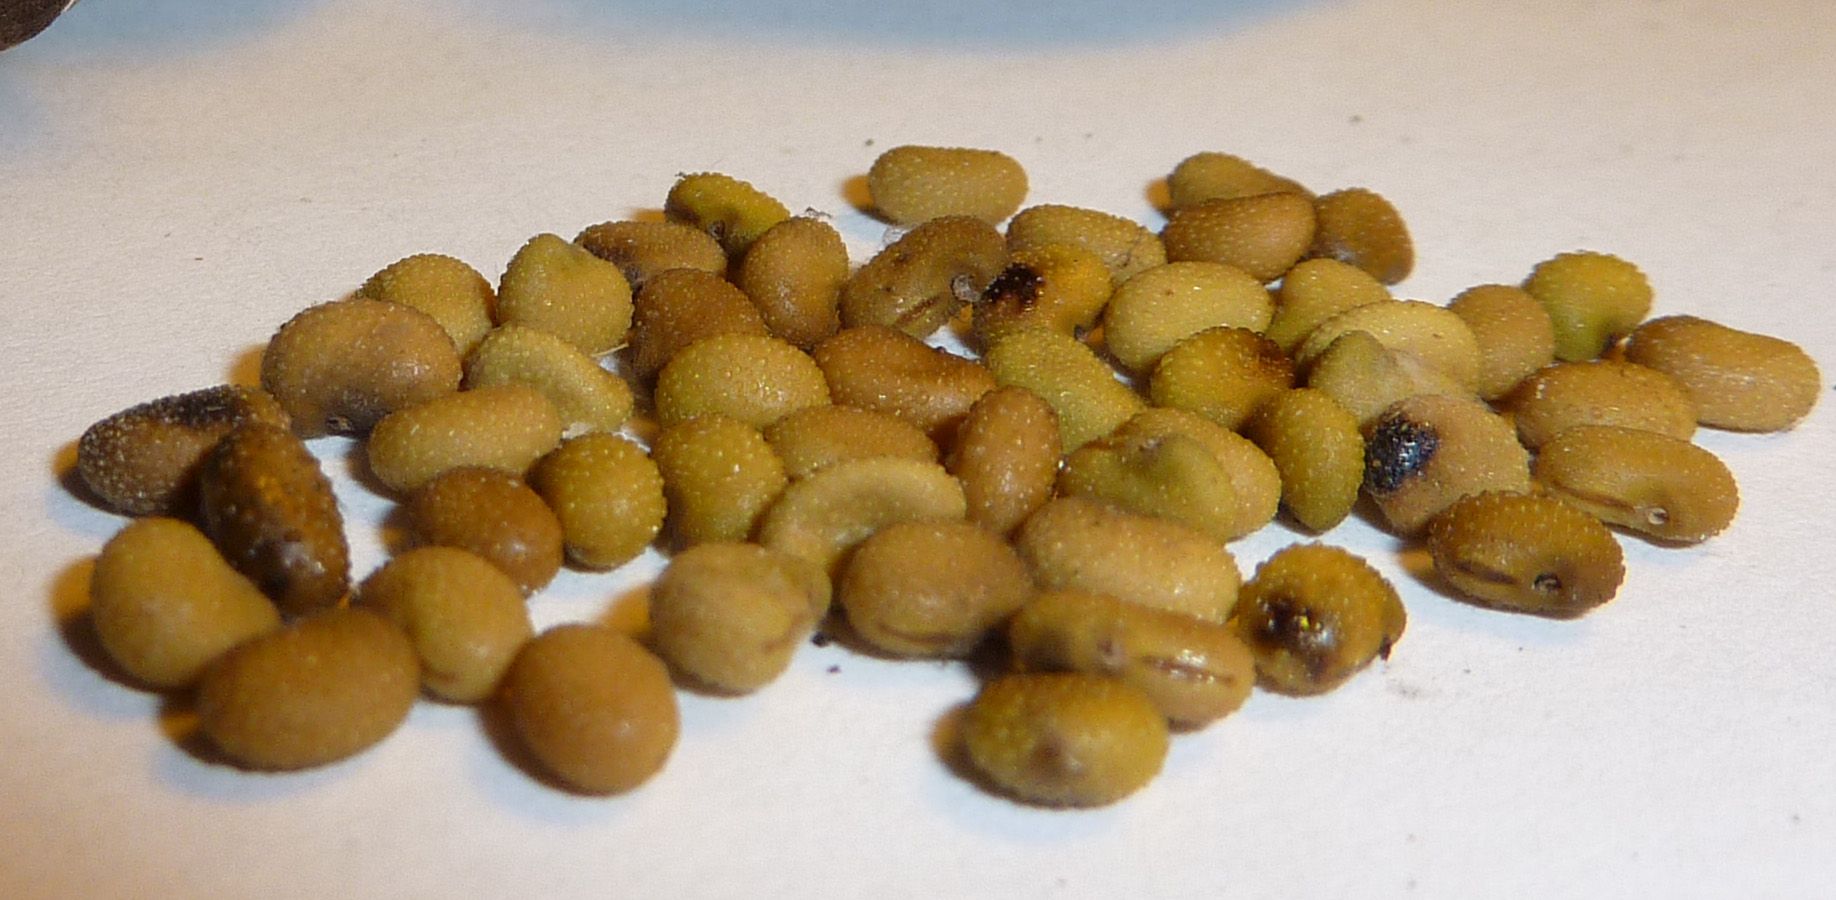
For storage leaving them this way is fine. When it comes time to germinate though, this species needs to be soaked in very warm (not scolding) water for 24 hours. They should expand about 3 times bigger and look more pea-like. They can be planted immediately from there and germinate with warmer weather.
How to Store
Moisture is the factors here. Some seed needs to be stored dry or else risk early germination. Others benefit in mortality rate by being kept moist and are triggered to germinate more from periods of hot and cold. For seeds that need to be stored wet, the absolute bare minimum of water is all that's required.
An example the instructor gave was when you take a paper towel and drench it in water, then squeeze out every last drop... that is still too wet! They recommend placing the seeds in a dry paper towel and spraying it twice with a squirt bottle. From there they can be placed in a cheap zip lock bag. Cheap as in nothing fancy, you're not worried about freezer burn, you want the air to circulate and breath somewhat. Leaving the bag open can make them dry out quickly.
Storage can be done at room temperature and in a dark place, however, it's recommended they be kept cool. Once the seed gets the trigger to germinate, some won't hesitate to do so.
How to Germinate
There are many triggers for germination. Just add water being the most common, and most important. Many species require at least a 90 day period of being Cold and Moist as the trigger. For species that don't germinate on cue, being exposed to warmer temps is all that's needed to germinate. More touchy species will require multiple cycles of 90 days of cold, and 90 days of warm to trigger.
Feel free to experiment with methods but also remember to collect enough seeds to experiment with. There are a fair amount of books on the topic of seed germination. Some of them contradict one another. But also some seeds don't care if they're stored in dry or wet conditions. And likewise the need for multiple cycles of hot and cold might not be true for 100% of a population, even if all the seeds came from one plant.
There are a few cases where seeds need Scarification in order to germinate. In nature this would mostly be frozen then thawed, or burned. Gardeners sometimes use acid, sandpaper, or lightly scoring the seed coat to break dormancy.
Once the method of germination has been figured out they recommend placing them in a plastic bag with equal parts medium to seeds. So a light airy seed starting mix is what's required. Mix to combine, then give them just a squirt of water. When they germinate they can carefully be moved to a flat. The idea of adding the soil is to maximize moisture contact.
You can skip the soil in bag method and just plant seeds directly into flats. When you do, make sure soil is up to the rim of each chamber. Lightly water before you plant the seeds. NOTE: it is physically imposable for a plant to absorb more than it's mass in water in one day. Watering with an eye dropper is perfectly fine! Adding too much water is the easiest way to kill all of your plants. Over watering causes the soil in each compartment to form a dense layer on top which is ideal for mold and fungi to cling onto and eventually nibble the narrow shoot of each seedling. Also don't pat the soil down! You want nice even airflow but some mild tampering is okay.
Seeds that demand sunlight to germinate can be sprinkled on the surface. There are special tools sold for this purpose and some mail order places even provide them with orders. Otherwise the general rule is to plant each seed 3 to 4 times deep as the seed is wide.
Heating pads and seed germinating products are also okay to use. In the case of heating pads though they really aren't needed after germination. Especially in a green house setting you can end up cooking your plants. They do benefit some plants such as tomatoes though which don't grow until the soil is over 60F. As your plants grow bigger and bigger their water demands will be greater and greater.
Mold Gnats will be a problem. These are those annoying flies that always seem to show up around potted plants. They are slow moving compared to the typical house fly and fairly easy to swat. The trouble is by the time you see the adults they've more than likely laid eggs for the next generation. These are typically an indoor problem and quickly disperse in an opened green house or outdoor setting. Pesticides can kill them easy but are also harsh on young seedlings, so don't use them! Nematodes are an easy solution but have to be reapplied every few weeks.